


Hubbard squash is a delightful vegetable to grow for any gardener. This large winter squash has a sweet nutty flavor that adds wonderful versatility to dishes. When properly stored, hubbard squash can last for months to provide garden-fresh produce through the winter. This guide covers everything needed to successfully grow hubbard squash, from selecting the right location to harvesting the bountiful fruits of your labor. Let’s explore the wonderful world of hubbard squash gardening!
Overview of Hubbard Squash Varieties
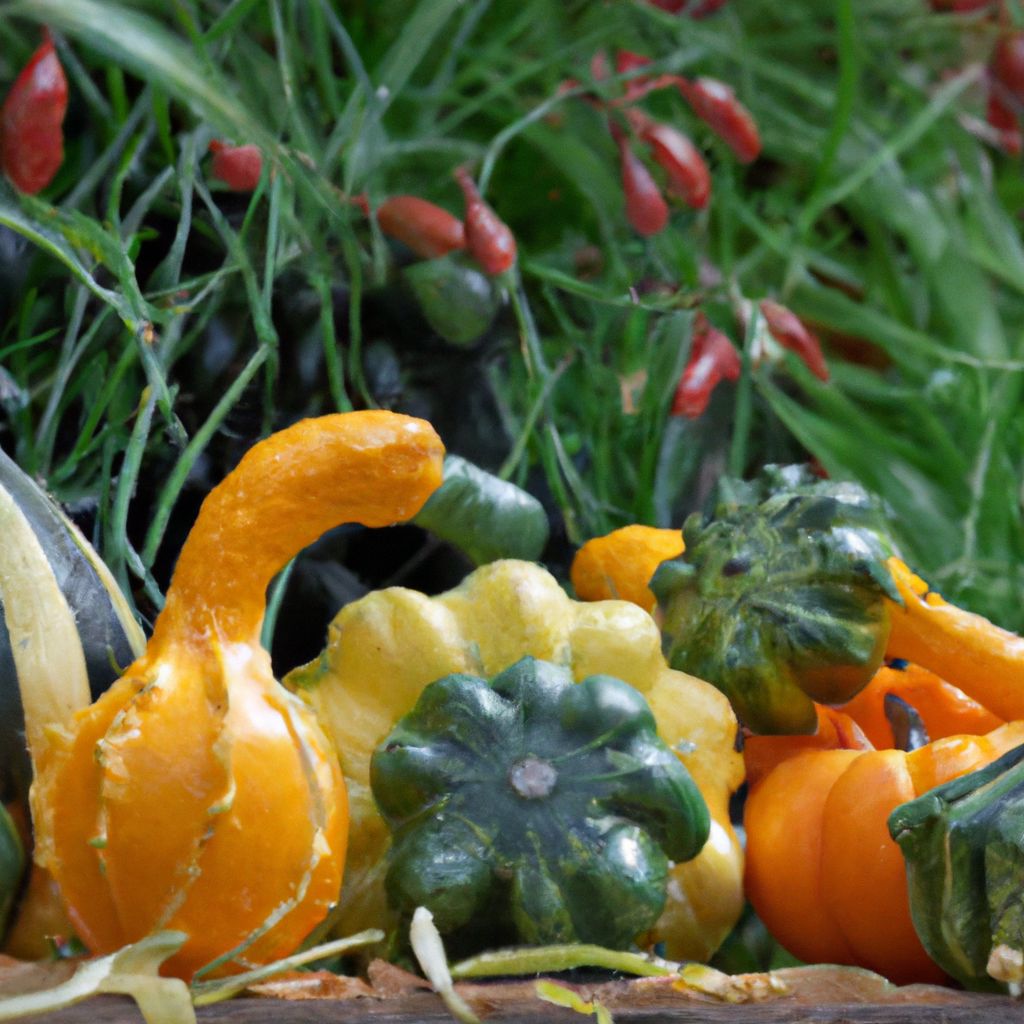
Hubbard squash refers to a group of large winter squash cultivars that are perfect for gardening, recognized by their dense sweet flesh and thick outer skin. There are several popular varieties to consider:
Blue Hubbard
- Bluish-gray rough skin covers bright orange flesh
- Round oval shape can reach 30+ pounds when mature
- Sweet flavor with exceptionally creamy, dense texture
- Stores longer than other varieties, lasting 6+ months
Chicago Warted Hubbard
- Dark green skin covered in large wart-like bumps
- Oblong squash weigh 15-25 pounds at full size
- Rich, nutty sweet taste perfect for baking dishes
- Keeps 3-5 months in cool cellar storage
Golden Hubbard
- Bright golden-yellow rind with orange interior
- Tear-drop shape and relatively small size (5-10 pounds)
- Milder flavor than other hubbards with smooth, firm texture
- Lasts 3-4 months properly cured and stored
Green Hubbard
- Smooth, dark green skin and golden flesh
- Club-like rounded shape reaches 10-15 pounds
- Stringy texture but excellent mild sweet flavor
- Stores well for 4-5 months after harvest
No matter which variety you select, hubbard squash delivers excellent source of vitamins A and C, antioxidants, potassium, magnesium and fiber. Home gardening allows fresh harvests without chemicals.

Why Grow Hubbard Squash?
Hubbard squash is highly valued among home gardeners for good reasons. Consider adding this crop for:
Storage Longevity
The dense flesh and thick skin enables hubbard squash to be cellared for winter use, lasting for months longer than most produce from the summer garden. Properly stored, they keep from September until March or longer – providing fresh nutrition when little else thrives. The starches slowly convert to sugars after harvest, making flavor continuously improve over time.
Nutritional Value
All varieties offer impressive amounts of dietary fiber, antioxidants like beta-carotene, essential minerals such as potassium and magnesium, plus vitamins A, C, B6, and more. Hubbard squash makes healthy soups, sides, baked dishes that benefit your body.
Sweet, Nutty Flavor
Once cooked, hubbard squash offers smooth, sweet texture with rich, nutty taste. The flesh beautifully absorbs surrounding seasonings. Hubbard squash brings warmth and comfort, with versatility allowing either savory or sweet preparations.
Pest & Disease Resistance
Compared to other cucurbits, hubbard squash proves less susceptible to common squash pests and diseases. The rugged vines and bitter leaves seem to deter most insects. Powdery mildew can still be an issue, but hubbard plants tend to power through minor infections without major impacts on harvests.
Space Efficiency
As a vining plant, hubbard squash makes good use of vertical growing area in small garden plots. The sprawling plants readily take to trellises and fences. Or the vines can simply be allowed to spread lengthwise down rows. Each plant produces 3-6 large fruits on average.
For home gardeners with space for a few hubbard squash hills, the big payoffs in winter food storage, nutrition, and sweet flavor make this crop well worth the effort.

Preparing to Plant Hubbard Squash
Selecting optimal locations, building raised planting beds, and properly preparing the soil gets your hubbard squash vines off to a vigorous start.
Choosing Planting Sites
When deciding where to cultivate hubbard squash, keep these factors in mind:
Sunlight
- Full sun exposure reaching at least 8 hours daily is vital
- Areas that receive morning sun and afternoon shade work as well
Soil Quality
- Hubbard squash thrives in nutrient-rich loam or sandy loam soil
- Must have excellent drainage to prevent root rot issues
- Low-lying areas that collect water with dense clay soil should be avoided
Air Circulation
- Some airflow and space between plants helps prevent disease
- Avoid sheltering site too much or moisture can get trapped
Space
- Allow plenty of area for vines to lengthen up to 10 feet
- Plan for at least 10 square feet per hill or more
Shelter
- Protect from strong wind gusts which can damage vines
- North or east side of home/fence often provides good cover
When prepping your vegetable garden, identify a few optimal spots meeting these conditions for hubbard squash to flourish.

Building Raised Beds
Constructing raised garden beds can further enhance growing performance. Elevating the planting area improves drainage while the frames provide climbing support for vines later on.
You can create raised beds for hubbard squash using:
- Wood planks or timber arranged into rectangles
- Stacks of bricks, concrete blocks, or landscape stones
- Mounded soil formed directly into free-standing hills
Build raised beds at least 12-18 inches high and about 4 feet across. This allows sufficient room for vine spread and fruit development.
Then fill the structures with a rich potting mix blended with compost and organic fertilizers. The loose, nutrient-enhanced soil gets plants established quickly. Top off beds with mulch to conserve moisture and discourage weeds.
Preparing Soil
Taking time to properly prepare your planting area pays off all season long. Follow these tips when readying garden soil for hubbard squash:
Clear & Loosen
First remove any weeds, rocks or debris. Use a garden fork and shovel to deeply turn over and loosen the top 8-12 inches of soil. Breaking up dense clods encourages better root development.
Add Organic Amendments
Mix 2-3 inches of aged compost, worm castings, well-rotted manure or other organic matter into the top layer of soil. This enriches nutrition, improves texture and enhances drainage.
Rake Smooth
Next rake beds smooth and create planting mounds or hills spaced several feet apart. Mounds improve drainage compared to flat beds.
Warm Soil
Consider using black plastic sheeting or cloches to help warm up the planting sites more quickly in early spring. Warmer soil tempers stimulate faster germination and growth after seeding.
By properly preparing your vegetable garden soil and establishing raised beds for support, you help ensure your hubbard squash vines get off to vigorous starts!

Planting Hubbard Squash Seeds
Once daytime air temperatures climb over 70°F, the soil has warmed to at least 65°F at a 2 inch depth, and the danger of spring frosts has passed, you can start sowing hubbard squash seeds directly in the garden.
When to Sow Seeds
Ideally time hubbard squash planting after these conditions are met:
- Soil temperature reaches 65-70°F
- Daytime air temperature hits 70+°F consistently
- Last frost date has passed for your zone
- Weather forecast shows warmer weather ahead
While hubbard squash seed will germinate in cooler soil, warmer conditions significantly speed up emergence.
You can track soil temp with a thermometer. Paying attention to long-range weather forecasts helps determine spring frost risk as well. Adjust timing as needed based on weather variability in your local area.
How to Plant Seeds
Follow these steps when sowing hubbard squash seeds:
- Dig holes 1-2 inches deep spaced several feet apart
- Place 2-3 seeds in each hole and cover with soil
- Gently water after planting to moisten soil
- Thin seedlings to one strong plant every 2-3 feet
- Support vines by erecting trellises/cages
- Cover young plants with row cover to protect from pests
Proper spacing allows plenty of room for these spreading vines. Water gently after seeding for best germination rates.
Tips for Improved Germination
You can further optimize hubbard squash seed germination by:
- Sprouting seeds indoors 2-3 weeks before last spring frost
- Soaking seeds in room temperature water overnight before planting
- Maintaining 75°F soil temp with heating mats if needed
- Covering planted seeds with humidity domes until they sprout
- Gently pressing seeds down into soil contact when planting
- Keeping top 1⁄2 inch of soil moist (not soaked)
Getting seeds started strongly promotes vigorous vines and better yields. Monitor new seedlings for insect pests which can weaken small plants. Respond promptly if issues arise.

Caring for Hubbard Squash Vines
Consistent deep irrigation, routine fertilization, and preventative measures to control pests/disease are vital for nurturing fast-growing, healthy hubbard squash in your home garden.
Watering & Irrigation
Hubbard squash plants require 1-2 inches of water per week for robust growth. Monitor soil moisture and rainfall levels. Water thoroughly when the top few inches become dry. There are several effective irrigation methods:
Drip Lines
Drip irrigation tubing or soaker hoses slowly supply moisture directly to the root zone while minimizing water waste.
Overhead Sprinklers
Position sprinklers to water the soil underneath plants without wetting foliage (which can cause mildew to develop).
Hand Watering
Use a wand attachment for your hose to gently soak the base of plants. Avoid sprinkling leaves.
Proper watering during flowering and fruit swelling stages is particularly important. After heavy rains, allow soil to slightly dry to prevent fungal issues.
Fertilizing
Before planting, test soil nutrients then supplement based on results. Hubbard squash vines have big appetites. They require consistent fertilizer to reach full potential:
Preplant
- Dig 2-4 inches of compost or well-rotted manure into soil
Early Season
- Side dress nitrogen-rich fertilizer monthly up to blossom drop
Fruiting
- Switch to phosphorus-heavy mixes when fruits start swelling
Organic fertilizers like bone, blood, fish meals or compost tea provide excellent nutrition without chemicals. Dilute and apply according to label instructions to prevent burning tender roots.
Controlling Pests & Diseases
Be vigilant about signs of trouble from pests or fungal issues:
Common Pests
- Squash vine borers
- Squash bugs
- Cucumber beetles
- Aphids
- Cutworms
Diseases
- Powdery mildew
- Downy mildew
- Bacterial wilt
- Mosaic virus
- Anthracnose
Prevention Tactics
- Floating row covers
- Organic insecticidal soap
- Beneficial insects
- Neem oil applications
- Garden sanitation
- Ensure good airflow
- Crop rotation between seasons
Catching problems early makes treatment easier. Proactively implementing prevention measures leads to healthier plants and more abundant yields. Keep a watchful eye and be prepared to take action at the first sign of trouble.

Harvesting Hubbard Squash
With proper growing conditions and care, hubbard squash matures 80-120 days from seed planting. Identifying ripeness, harvesting carefully, and curing the fruits properly ensures you maximize flavor and storage potential.
Identifying Mature Squash
Monitor vines in late summer/early fall for these signs fruits are fully developed and ready for picking:
- Skin darkens and surface hardens
- Tendrils near stem become dry and shriveled
- Rind resists denting from fingernail pressure
- Full-sized for variety with rounded shape
- Hollow thump when tapping exterior
The exact harvest window varies slightly depending on cultivar, weather patterns, and other conditions. But these markers signal prime maturity.
Harvesting Methods
Follow these steps for collecting ripe hubbard squash:
- Use sharp bypass pruner shears or knife
- Carefully cut squash from vines, leaving 2-3 inches of stem attached to each fruit
- Handle gently to prevent splits, cracks, and bruises
- Move from garden to curing area promptly
- Never carry fruit by the stem as it may break
Avoid damaging squash skins during harvest and transport. Cracks and punctures severely reduce potential storage lifespan later on.
Curing & Storing Squash
Curing hubbard squash properly after picking helps improve flavor and prolongs preservation time. Follow these tips:
Curing
- Place fruits in single layer in dry location between 75-80°F
- Allow to cure for 14-21 days until skin fully hardens
- Turn occasionally while keeping stem elevated
- Discard any squash showing mold or rot spots
Storage
- Once cured, store undamaged squash in cool (50-55°F) basement
- Arrange on slatted racks allowing airflow circulation
- Check monthly for any rot issues and discard
- Wipe occasional condensation buildup
With ideal curing and storage conditions maintained, hubbard squash keeps for at least a few months to over six months after fall harvests.

Delicious Ways to Enjoy Hubbard Squash
Baking, roasting, pureeing, and stuffing Allows you to indulge in hubbard squash’s sweet, nutty flavor and smooth, creamy texture. The fruits become sweeter in storage – perfect for warming cold weather meals.
Complement the natural taste by seasoning with:
- Cinnamon, ginger, nutmeg, curry, fennel, paprika, cumin
- Garlic, sage, thyme, rosemary, chili flakes
- Maple syrup, brown sugar, honey
- Toasted pepitas, pecans, walnuts
- Grated parmesan, crumbled feta, cheddar, goat cheese
Incorporate hubbard squash into:
Savory Dishes
- Risotto with wilted spinach and goat cheese
- Lasagna layers with squash, tomato sauce, ricotta
- Enchilada casserole filled with spiced squash and beans
- Baked pasta shells stuffed with sausage and cubed squash
- Soup stock simmered with carrots, onions and herbs
Sweet Treats
- Streusel coffee cake with pumpkin puree batter
- Quick bread with cubed squash swirled into banana mix
- Cupcakes topped with maple cinnamon cream cheese frosting
- Pancakes studded with roasted diced squash and pecans
- Pumpkin custard layered into mason jars with gingersnaps
The seeds can even be toasted for snacking once squash is cut. Those who nurture hubbard squash from seed to harvest are rewarded with winter provisions, impressive nutrition, and incredible versatility in dishes.

Storing Squash Long Term
After enjoying early seasonHubbard squash fresh, you can stash away extras using proper post-harvest curing and preservation methods for winter provisions that last 6 months or longer.
The keys to long term squash storage include:
- Harvesting at peak maturity
- Curing to harden skins
- Cool cellar conditions ~50°F
- Good airflow circulation
- Separating damaged fruit immediately
Start the storage process by leaving squash on vines until completely developed. Ripe winter squash has hardened, deep-colored rinds and dried, shriveled stems. Carefully cut fruits from vines with shears, retaining several inches of stem.
Before storage, allow squash to cure for 10-14 days in 75-80°F space on racks that allow air circulation all around. Turn occasionally while curing until rinds fully harden.
Sort out any bruised or damaged squash showing signs of decay. Then move your best specimens to a cool basement, root cellar, or unheated room around 50°F for winter storage.
Arrange cured squash loosely on slatted shelves, racks or pallets enabling airflow underneath and around fruits. This protects from condensation and mold growth.
Check storage squash every 4-6 weeks, watching for any soft spots or mold development. Remove bad sections or whole rotting squash immediately to prevent disease spread.
The starches in hubbard squash convert to sugars over time, intensifying sweetness. Stored properly, the fruits offer garden fresh nutrition and flavor through winter months when the landscape lies dormant outside.

Frequently Asked Questions About Hubbard Squash Gardening
Growing impressive hubbard squash involves learning key details on varieties, planting, care, pests, harvest times, storage longevity and more. Here are answers to some frequently asked questions:
What are the best hubbard squash varieties for home gardens?
Some top recommendations include Blue Hubbard, Chicago Warted, Golden Hubbard or Green Hubbard. All offer excellent sweet flavor and large yields. Blue Hubbard stores the longest while Golden Hubbard is smaller.
When is the optimal time to sow hubbard squash seeds outdoors?
For best germination rates, plant hubbard squash seeds directly in garden beds after the last spring frost once soil warms to at least 65°F. This is typically early to mid summer. Starting seeds indoors can give vines a few weeks head start.
How much space do hubbard squash vines need?
Allow significant room for sprawling vines, providing at least 10 square feet per hill. Raised beds spaced several feet apart or wire fencing for vertical climbing helps save space. Support structures prevent breakage later as fruits develop.


