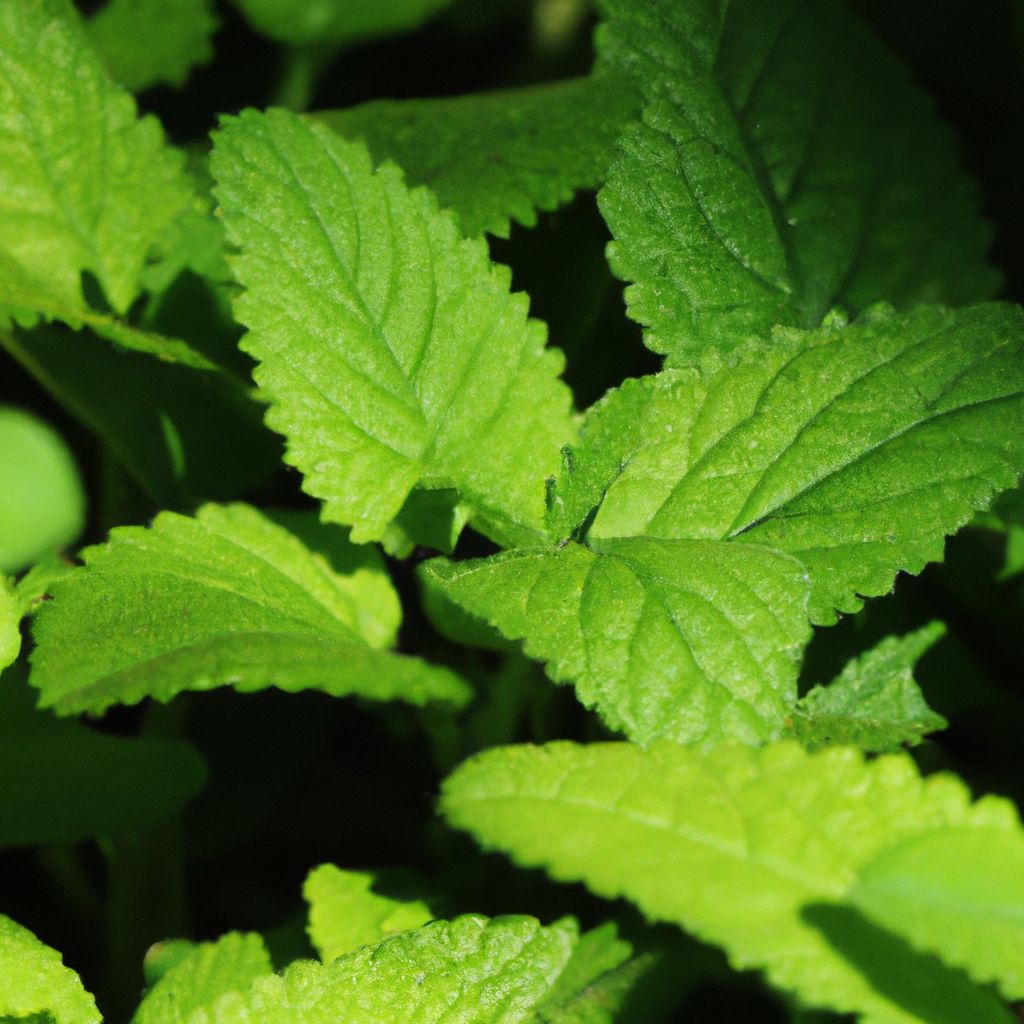
With their vibrant colors and full blooms, hydrangeas can transform any outdoor space. Growing these adaptable plants is easier than you may think. This guide covers everything you need to know to successfully understand hydrangea growing conditions and cultivate hydrangeas in your own garden.
Why Grow Hydrangeas?
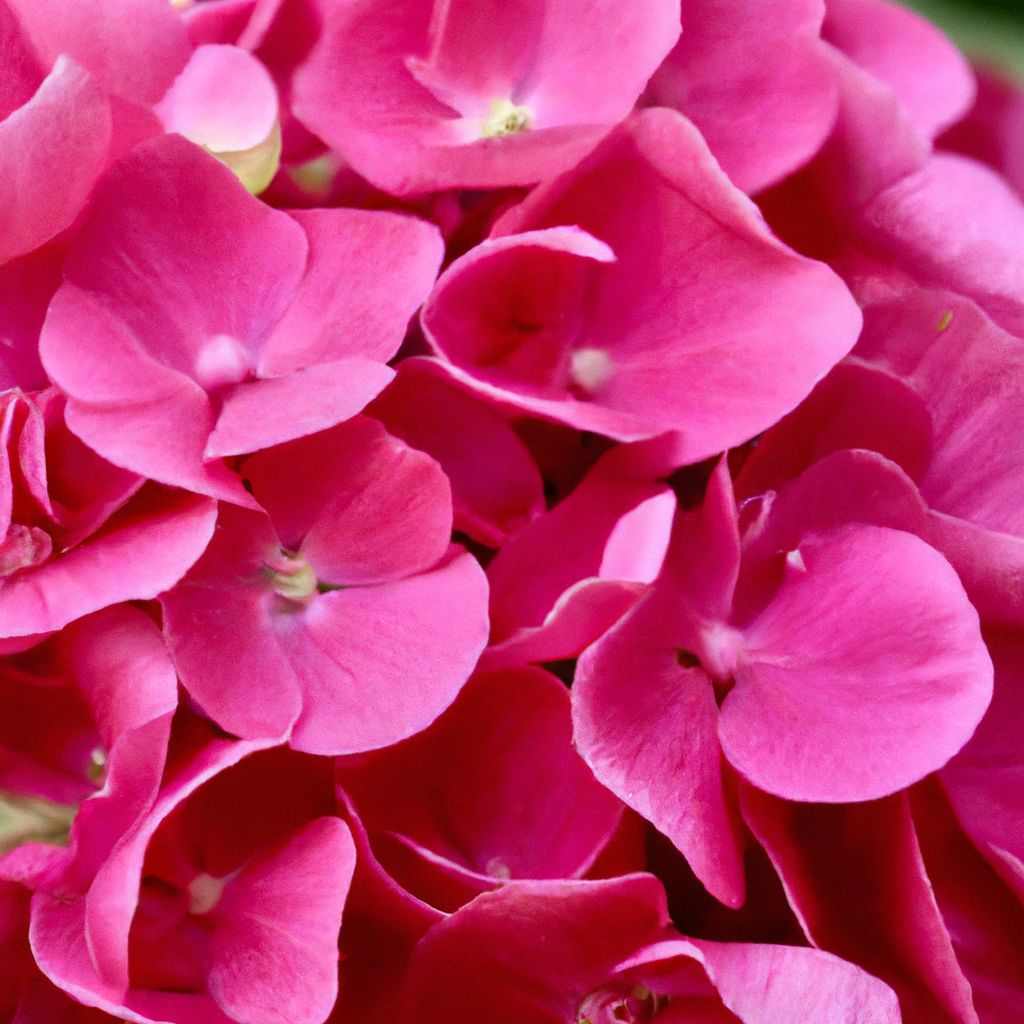
Hydrangeas offer captivating visual beauty through their lush, colorful blossoms that can transform any outdoor space. Their vibrant flowers come in a diverse range of hues from bright blues and purples to soft pinks and pristine whites. When in full bloom, hydrangea shrubs put on an impressive floral display that adds a touch of vibrancy to any garden.
Beyond their aesthetic appeal, hydrangeas are prized for being relatively easy to grow. They readily adapt to a wide range of climates and soil conditions, making them a great choice for both novice and seasoned gardeners.
Hydrangeas also make excellent focal points in gardens and can be used in borders, beds, or containers. With the right care and pruning, their shapely shrubs and showy blossoms can enhance the overall landscape design.
Furthermore, nurturing your own hydrangea plants can have therapeutic benefits and provide stress relief. The act of gardening and being out in nature has been shown to lower anxiety, reduce blood pressure, and boost mood.

Adding Year-Round Interest
An added benefit of growing hydrangeas is that they provide ornamental interest during every season, not just when in bloom.
- In spring, the bare stems sprout fresh green foliage. Oakleaf hydrangea varieties unfurl eye-catching leaves reminiscent of oak trees.
- In summer, lush green foliage backs vibrantly colored blossoms. The leaves often take on rich tones of dark green or purple.
- In fall, the foliage of some varieties transforms into brilliant shades of red, orange, and burgundy.
- In winter, the striking skeletal frames left behind when foliage falls offers sculptural interest.
With variation through the seasons, hydrangeas give your landscape visual appeal all year long.
Long Blooming Season
Most hydrangea shrubs put on an extended floral display, often blooming from early summer well into fall. Some reblooming varieties flower on and off from spring until frost. With up to six months of flowers, hydrangeas provide a long season of captivating color.
Attracting Pollinators
The nectar-rich blossoms of hydrangeas also entice bees, butterflies, and other beneficial pollinating insects to visit your garden. By supporting backyard biodiversity of pollinators, growing hydrangeas helps play a small role in environmental conservation efforts.
Adding Privacy and Structure
Large, dense hydrangea shrubs serve well as flowering hedges and screens. Their thick growth habits make them ideal for creating privacy barriers, defining garden spaces, concealing unsightly views, and adding structural bones to garden beds.
Selecting Hydrangeas for Your Region
With diverse hydrangea species and cultivars to choose from, selecting the right ones for your specific growing region is key to success.
When choosing hydrangeas, the first consideration is your USDA Hardiness Zone, which indicates what plants can withstand the winter temperatures in your area. While most hydrangeas thrive best in zones 5-9, some are cold hardy to zone 3. oakleaf hydrangea and climbing hydrangea varieties tend to be the most cold tolerant.
Beyond hardiness zone, also factor in these elements to select suitable hydrangea plants:
- Sunlight Exposure – Most do best with morning sun and afternoon shade. Some tolerate more sun, others need more shade.
- Soil – Hydrangeas grow well in moisture-retentive loamy soil with good drainage. Amending soil can help.
- Rainfall – Supplemental water is needed in dry regions, while those in rainy climates may need good drainage.
- Extreme Heat or Cold – Protect plants from temperature extremes that may impact blooms or damage growth.
With these factors in mind, consult this guide to pick hydrangeas for your unique conditions:
Recommended Hydrangea Species & Cultivars
| Common Name | Type | Hardiness Zones | Exposure | Soil Moisture | Features |
| Oakleaf hydrangea | Species | 5-9 | Part sun to shade | Moist, well-drained | Unique foliage, great fall color |
| Climbing hydrangea | Species | 4-8 | Part sun to shade | Moist, well-drained | Vining, good for trellises |
| Bigleaf hydrangea | Species | 5-9 | Morning sun, afternoon shade | Moist, well-drained | Classic mophead blooms |
| Panicle hydrangea | Species | 4-8 | Morning sun, afternoon shade | Moist to dry | Upright and cone-shaped panicles |
| Smooth hydrangea | Species | 4-9 | Part shade | Moist, well-drained | Round flattened clusters, largely white |
| Limelight | Panicle – Cultivar | 3-8 | Sun or part shade | Moist to dry | Bright greenish white blooms |
| Little Lime | Panicle – Dwarf | 3-8 | Sun or shade | Average moisture | Lime green flowers, compact plant |
| Pink Diamond | Smooth – Cultivar | 4-9 | Part shade | Consistently moist | White to light pink blooms |
| Twist-n-Shout | Lacecap – Reblooming | 4-9 | Morning sun, afternoon shade | Moist, well-drained | Blue or pink blooms through summer |
Providing Optimal Growing Conditions
When cared for properly, hydrangeas are vigorous growers and excellent performers in gardens. Set your plants up for success by providing ideal growing conditions matched to their requirements.
Sunlight Needs
Most hydrangeas thrive in spots with morning sunlight and afternoon shade or dappled shade all day. Exposure to hot midday sun can cause leaf scorching and inhibit blooming.
Panicle and oakleaf hydrangea varieties tend to be the most sun tolerant, handling several hours of direct sun. Smooth hydrangeas and some mopheads prefer more shade.
To optimize sunlight for hydrangeas:
- Site them on the east side of taller plants, houses or structures that will shade afternoon sun.
- Provide shade with a canopy or shade cloth if afternoon sun is unavoidable.
- Grow sun-loving panicle types in open sunny spots.
- Plant more shade-preferring bigleaf or lacecaps amidst and under trees.
Soil Requirements
- Soil Type – Hydrangeas thrive best in rich organic soil with substantial compost worked in. Clay soils benefit from additions of compost or topsoil to improve texture. Very sandy soils often hold too little moisture, requiring more frequent watering.
- Drainage – Hydrangeas need a well-draining soil. Standing water leads to root rot. Add compost, peat moss or bark chips to improve moisture retention while still allowing excess water to drain away freely.
- Acidity – Special consideration should be made to soil pH, as it affects hydrangea bloom color (see more below).
Watering Needs
- Newly planted hydrangeas require more frequent watering as they establish roots. Water them thoroughly 2-3 times per week during the first year.
- Established plants need about 1″-2″ of water weekly during the growing season, including both rain and supplemental watering when rain is lacking.
- During summer heat spells, hydrangeas benefit from additional mid-week watering to maintain consistent soil moisture. Wilt, drooping leaves or soil drying over an inch down indicates under-watering stress.
- Container-grown hydrangeas often require more frequent watering to accommodate their confined root space. Check soil moisture frequently.
- Soak the full root zone rather than frequent light sprinklings. Hydrangeas develop deeper, stronger root systems when encouraged to grow roots downwards in search of water.
Temperature Protection
- Newly planted hydrangeas benefit from winter mulching with leaves, straw or other organic materials to moderate soil temperatures and prevent frost heaving of roots.
- Hot summer climates may require afternoon shade covers to prevent heat stress. Light shade cloths that allow airflow are ideal.
- Extreme cold can damage flower buds, impacting the next season’s blooms. In cold winter zones, wrap or cover plants through winter months.
Fertilizer Application
- Use a balanced organic fertilizer for hydrangeas, such as an 8-4-4 or 10-5-5 formula. Options like Espoma Organic Plant Tone work well.
- Apply in early spring just before growth resumes and again after flowering in early summer if needed.
- Late summer fertilizing is not recommended, as it may inhibit plants from hardening off for dormancy and decrease cold tolerance.
Controlling Hydrangea Flower Color
One of the most intriguing aspects of growing hydrangeas is the ability to modify the color of the lush blossoms they produce.
While flower color is partly influenced by hydrangea variety, the acidity or pH of the soil also plays a major role in determining bloom color. This is especially true for bigleaf and oakleaf types.
Here’s an overview of how soil pH impacts coloring:
- Acidic soils with pH below 6.0 tend to produce blue to purple flower coloration.
- Alkaline soils with pH above 6.2 yield more pink or red hues.
- A neutral pH around 6.5 results in white flowers.
By adjusting soil acidity, spectacular shifts in hydrangea color can be achieved. To modify soil pH, aluminum sulfate is used to lower pH (inducing bluer blooms) while garden lime raises pH for pinker blossoms.
The impact of soil pH on bloom color is less pronounced in smooth and panicle hydrangeas, but can still affect intensity of color.
Here are some tips for achieving desired flower colors:
- Test soil pH yearly using an at-home test kit and adjust as needed.
- Make pH adjustments in early spring before buds form.
- For richest blue flowers, aim for a soil pH around 5.2-5.5.
- For bright pink flowers, apply lime to boost pH to 6.2-6.7.
- For purplish-red blooms, target a pH of 6.0-6.2.
- For rarest burgundy blooms, allow soil pH to stay above 6.7.
- Mix in organic compost when amending soil pH as compost supports healthy microbial activity needed for plants to absorb nutrients properly.
- For mixed flower color from the same shrub, amend only soil on one side.
While adjusting soil chemistry takes some diligence, it is incredibly rewarding to tweak soil conditions to achieve stunning blue or pink floral displays.
Planting Hydrangeas
Spring and fall are the best times for planting hydrangeas to allow them to establish roots outside of heat and cold extremes. Follow these key steps when placing them in your landscape.
1. Choose plants suited to your growing conditions in terms of hardiness zone, sunlight, and other factors unique to your region.
2. Select a site with proper sunlight. Most prefer morning sun with afternoon shade. Provide supplemental shade if intense sun is unavoidable.
3. Prepare soil by loosening and mixing in liberal amounts of compost or organic material. Adjust pH if aiming for specific flower colors. Moisten soil before planting.
4. Dig a hole as deep as the root ball and 2x as wide. Set the plant at the proper depth so the top of the root flare is level with the soil surface.
5. Backfill around root ball with native soil, pressing gently to stabilize plant and eliminate large air pockets.
6. Water thoroughly to saturate surrounding soil. Apply mulch around the base. Stake tall plants if needed.
7. Continue providing attentive care while plants establish, including regular watering, protection from temperature extremes and monitoring for pests.
When planting in containers, allow at least a 12” diameter pot for dwarf varieties and larger 24” pots for full-sized plants. Use a container mix amended with moisture-retaining polymers or bark/compost.
Caring for Established Hydrangeas
To keep hydrangeas looking their best once planted, proper year-round maintenance is key. Here are top care tips for tending to your plants.
Pruning Recommendations
Pruning hydrangea plants both beautifies them and encourages new growth. Follow these guidelines tailored to each species:
Bigleaf Hydrangeas
- Best pruned in late winter before spring growth starts
- Cut back oldest branches close to ground level
- Can hard prune up to 2/3 of total stem growth
- Bloom buds form on new season’s growth
- Deadhead faded flowers for reblooms
Oakleaf Hydrangeas
- Can be pruned anytime between spring and fall
- Remove oldest branches all the way down at base
- Retain young vigorous stems and deadhead spent blooms
- Does not flower well if hard pruned annually
Panicle Hydrangeas
- Prune in late winter removing up to 1/3 oldest branches
- Cut each remaining stem selectively 1/3 to 2/3 its length
- Trim back to just above a set of plump buds.
Climbing Hydrangeas
- Best pruned in fall after foliage changes color or goes dormant
- Cut oldest branches back to a main framework stem
- Try not to remove more than 1/3 of total growth
- Can shape and direct growth habits through summer pruning
Smooth & Mountain Hydrangeas
- Bloom on old wood so avoid heavy pruning
- Best shaped through thinning during summer months
- Can remove up to 1/3 of total branches
Properly pruning hydrangeas improves shape, size and flowering. Always prune with clean, sanitized tools. Dip tools in rubbing alcohol between cuts when removing dead or diseased branches.
Supporting Growth
Some hydrangeas benefit from staking or other methods to support heavy blooms and encourage proper form.
For bigleaf and oakleaf types:
- Place stakes around perimeter of shrub before planting.
- Use soft plant ties to lightly secure floppy stems to stakes as needed.
- For tree forms, provide a central stake for main trunk support.
For panicle and smooth types:
- Use small cages or rings inserted into soil to brace mature shrubs
- Stake specific floppy stems prone to sprawling under bloom weight
For climbing hydrangea vines:
- Supply heavy duty trellises or structures for vines to climb
- Use Velcro style plant ties to guide directional growth
- Prevent damage by supporting weight as blooms increase
Properly staking and supporting hydrangeas reduces risk of storm damage while maintaining structural beauty of plants.
Deadheading Guide
Deadheading, or selectively removing spent flowers, serves multiple functions:
- Keeps plants looking tidy by removing dying blooms
- Redirects energy to flower production instead of seeds
- Encourages reblooming on varieties capable of repeat flowering
- Can help prevent potential disease issues in fall
Follow these tips when deadheading hydrangea varieties:
- Snip each faded bloom down to the first set of full, healthy leaves.
- Use clean, sharp pruning shears for easiest cutting.
- For mophead types, remove whole flower including the fading sepals.
- Deadhead panicle hydrangeas selectively by cutting stems back beneath spent flowers to a strong bud.
- Smooth hydrangeas and oakleaf types can be deadheaded completely down to the main framework.
Time deadheading with the final phase of bloom, typically late summer or fall. End regular deadheading by mid-September to allow old growth to harden off before heavy frosts begin.
Winterizing Care
Preparing hydrangeas for winter dormancy helps ensure they overwinter successfully to return with vigorous growth each spring. Follow these winter care tips:
- Provide winter mulch such as shredded leaves, straw or other organic matter around the base after the ground freezes over.
- Mulch provides insulation from extreme cold and prevents rapid thawing and refreezing of soil that can damage roots.
- In very cold climates below zone 5, wrap burlap or protective barrier around plants if extreme cold threatens flower buds on stems.
- Give deep waterings in fall so plants have ample moisture stores heading into winter dormancy.
- Remove mulch or other protections in early spring as temperatures stabilize to allow sunlight to reach emerging growth.
- Prune any dead, damaged or diseased branches noticed over winter before new growth hides issues.
Taking steps to winterize your hydrangea plants will help ensure many years of lush blooms and healthy growth.
Preventing Hydrangea Problems
When provided proper growing conditions, hydrangeas tend to be vigorous, long-lived plants. However, they can occasionally suffer pest, disease or cultural issues. Catching problems early makes treatment easier.
Avoiding Watering Woes
Too much or too little water impacts hydrangea health. Monitor soil moisture frequently and adjust watering accordingly.
Under-Watering Stress Signs
- Wilting or drooping leaves and buds
- Leaves browning on edges
- Lackluster, smaller blossoms
- Stunted growth
Over-Watering Concerns
- Yellowing leaves
- Defoliation
- Rotting stems/branches
- Fungus growth around base
- Plants declining/dying out
Allow soil to dry an inch below surface before watering deeply again. Water at base avoiding wet leaves. Provide drainage if soil stays soggy.
Controlling Common Pests
Hydrangeas face assault from certain insects. Identify and manage pests promptly to limit damage. Common offenders include:
Aphids – Soft-bodied insects clustering on leaves and buds sucking plant sap. Leaves curl or wilt. Control by hosing with water or use insecticidal soap sprays targeting underside of leaves. Attract beneficial ladybugs.
Spider Mites – Tiny reddish spiders colonize on undersides of leaves. Speckled stippling damage shows on surface. Knock off with strong water sprays, prune damaged leaves and apply neem oil for prevention.
Japanese Beetles – Metallic green/copper beetles devour leaf tissue between veins leaving lacy skeleton. Hand pick and drop in soapy water. Use pheromone traps to catch. Spray neem oil as repellent before damage begins.
Caterpillars – Larvae of some moths and butterflies chew ragged holes in leaves. Identify species then remove by hand or use Bacillus thuringiensis treatments. Attract birds.
Monitor for insects regularly. At first signs, use gentlest method possible such as hosing off pests, hand removal, traps or natural sprays like insecticidal soaps or neem oil before resorting to stronger synthetic pesticides if absolutely needed.
Treating Diseases
Certain fungal or bacterial diseases sometimes plague hydrangeas. Symptoms and solutions for common issues include:
Powdery Mildew – White powdery coating grows on leaves and flowers causing blight. Favorable conditions include shade, high humidity and poor air circulation. Improve air flow and light levels. Remove affected parts. Apply fungicides or gentle horticulture oil sprays as preventative during early stages of infection.
Leaf Spot – Brown spots with dark borders form on leaf surfaces eventually causing defoliation. Fungal issue worsened by crowded conditions and excessive moisture. Promote air circulation. Clean up and dispose fallen debris. Apply appropriate leaf spot fungicides at first signs.
Blight – Leaves rapidly wilt, brown and drop. Stems show blackened cankers often oozing reddish residue. Fungal disease encouraged by wet conditions. Avoid overhead watering. Remove infected parts well below obvious symptoms. Disinfect tools after use. Apply fungicides containing chlorothalonil early as preventative measure.
Rust – Bright orange powdery spots form on leaf undersides eventually turning rusty brown. Fungal disease preferring cool, moist weather. Promote air circulation and reduce excessive moisture. Apply fungicides labeled for rust at early stages of infection.
Prompt identification and treatment of diseases reduces severity of damage and infection of other plants nearby. Remove severely infected plants entirely to protect remaining plantings if fungal problems persist. Prevent most troubles by providing good growing conditions.
Correcting Cultural Issues
Environmental stresses related to site and care regimes also trigger hydrangea problems. Reassess conditions and adjust accordingly if plants decline.
Insufficient Sun – Weak, leggy growth with few blooms likely indicates too much shade. If possible, increase sunlight levels or change locations to receive more early and late day sun.
Extreme Temperatures – Wilting from intense heat or desiccation from winter winds causes distress. Provide screens or shade barriers during heat waves and insulate plants growing in zones colder than recommended range.
Excess/Deficient Moisture – Drooping leaves with bullseyes signify overwatering while dried leaf edges indicate under-hydrating. Check soil moisture and irrigation frequency against plant needs.
Poor Drainage – Yellowing foliage, reduced vigor and high susceptibility to root diseases signals overly wet soil. Add organic material like bark chips to improve drainage or install raised planting beds.
Nutrient Issues – Interveinal chlorosis with green leaf veins indicates low pH reducing nutrient absorption while overall pale leaves likely show nitrogen shortage. Test soil and apply appropriate amendments as warranted.
By observing plants routinely for early indicators of cultural, environmental or pest-related stresses, prompt adjustments prevent major plant health issues from developing. Provide ideal growing conditions matched to the needs of your hydrangea varieties.
Getting the Most Blooms
One of the greatest rewards of growing hydrangeas is the prolific floral displays they offer. Follow these tips to encourage the most abundant blossoms from your plants season after season.
Prune Properly – Strategic pruning stimulates vigorous new growth that in turn produces more bloom buds. Remove oldest branches entirely down to the ground.
Deadhead Often – Removal of spent blooms promotes repeat flowering on reblooming types. Always snip back to a strong, healthy set of leaves or buds.
Water Deeply – Hydrangeas form the most bountiful blossoms if soil moisture is consistent. Allow top couple inches to dry between thorough soakings.
Use Fertilizer – Applying balanced organic fertilizer in early spring gives an added nutrient boost to enhance flowering.
Provide Support – Use stakes or cages to properly support tall mophead and oakleaf shrubs. This prevents breakage that reduces floral displays.
Protect Buds – In cold climates, shield buds on stems through winter to avoid desiccation from wind and damage from extreme cold.
Control Pests – Aphids, beetles and other pests interfere with flowering by disturbing bud formation and growth. Manage insects promptly if detected.
Choose Flowering Varieties – When selecting plants, seek out cultivars described as prolific, abundant or continuous bloomers on plant tags and descriptions.
Follow these tips to encourage the most spectacular floral displays from your beloved hydrangeas for years of colorful garden enjoyment!
Enjoying Hydrangeas in the Landscape
With proper variety selection for your growing region and ideal site conditions matching the needs of plants, growing lush hydrangeas can be a delight. They bring captivating blossoms, visual interest through the seasons and backyard habitat for pollinators – not to mention sheer gardening enjoyment.
Here are some creative ways to showcase the beauty of hydrangeas in your own landscape:
Garden Beds & Borders – Hydrangea shrubs serve as exquisite focal points and foundation plantings. Interplant them with perennials like hostas, ferns and ornamental grasses.
Containers & Planters – Dwarf varieties look lovely in pots on patios and decks. Site containers in areas with shade or use varieties better suited to more sun.
Flowering Hedges & Screens – Plant closely spaced groupings of hydrangeas to form attractive flowering hedges that provide privacy and hide unattractive views.
Shady Settings – Make hydrangeas part of a woodland garden or shade garden combining them with shade lovers like astilbe, hellebores and heuchera.
Pollinator Gardens – With nectar-rich blossoms, hydrangeas help attract bees, butterflies and hummingbirds. Allow spent blooms to remain providing seed heads for birds over winter.
Cut Bouquets – Hydrangea blooms hold up remarkably well when cut for bringing indoors. Various preservation methods allow enjoying them for weeks.
With so much to offer across the seasons, hydrangeas are a versatile addition to nearly any garden setting. Give them proper care and they will reward you with their lush beauty for years to come.


