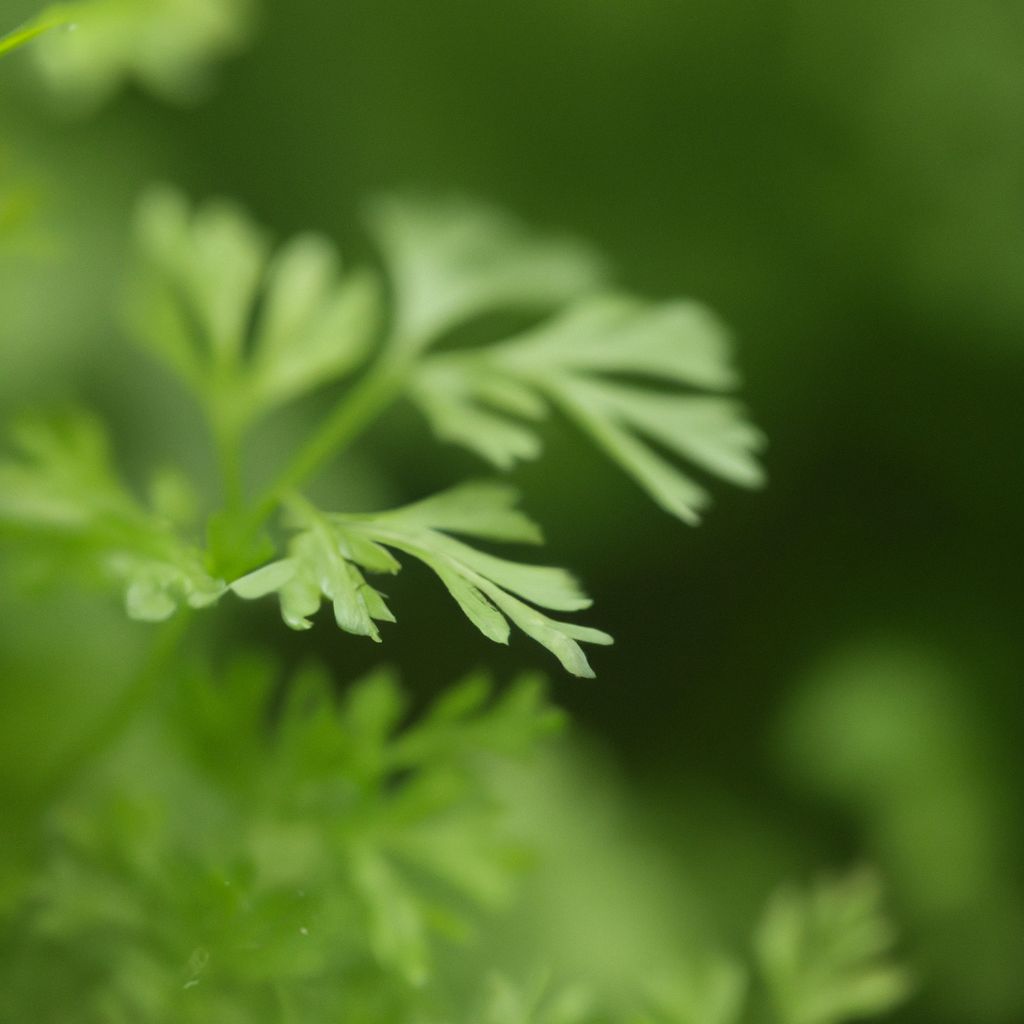
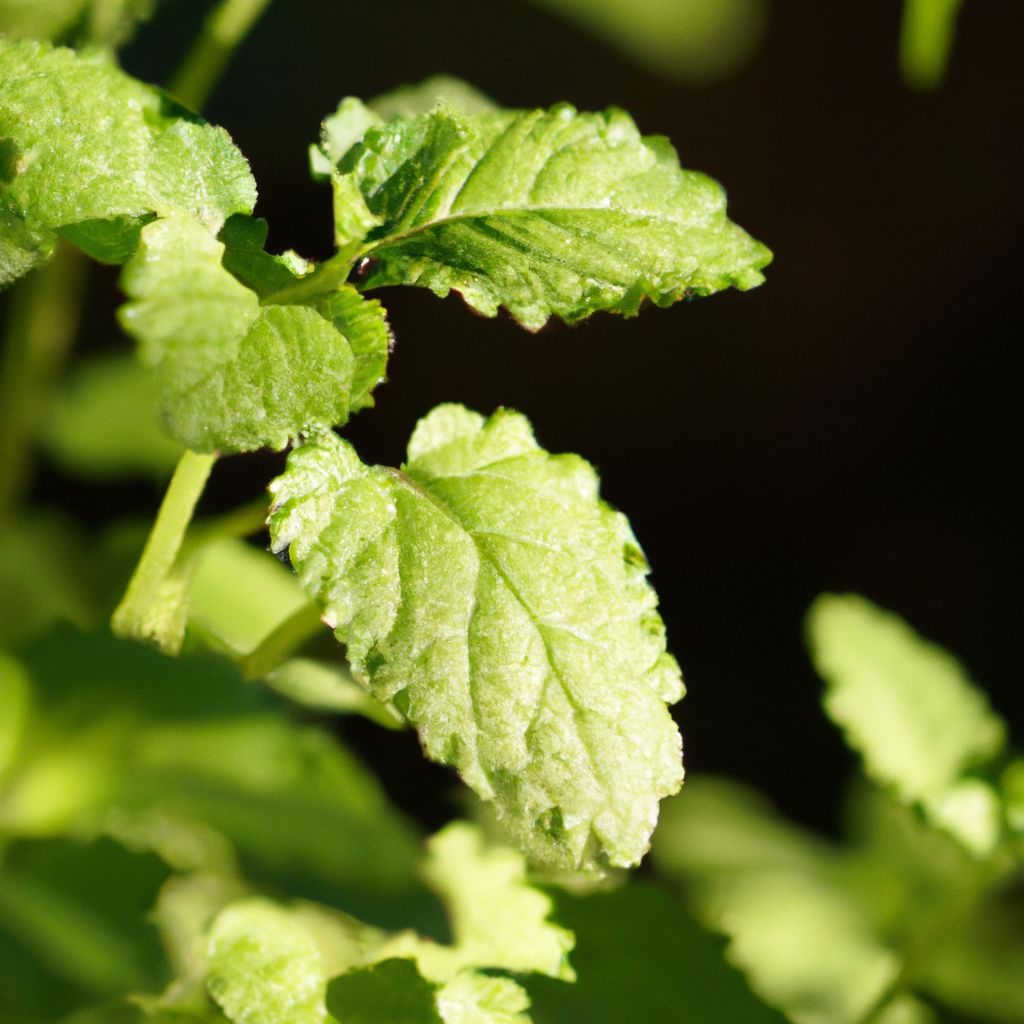
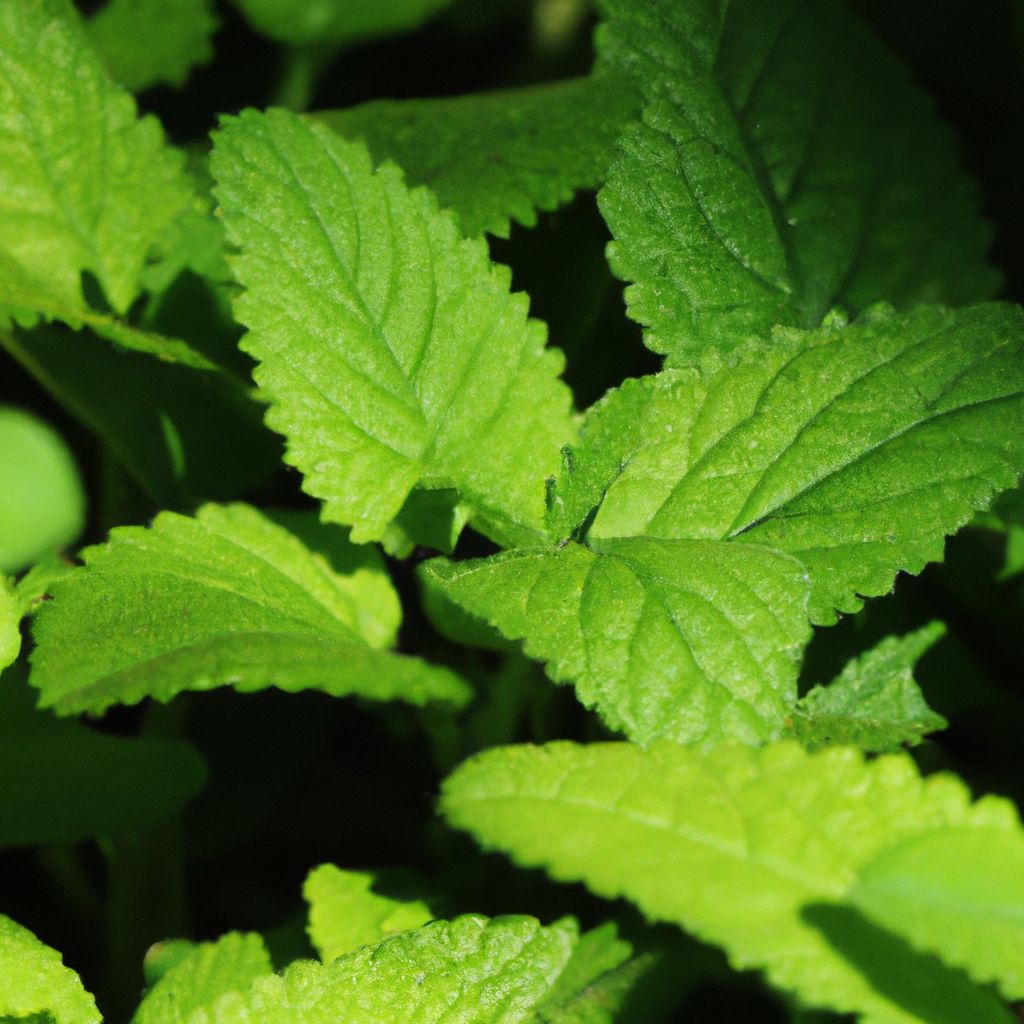
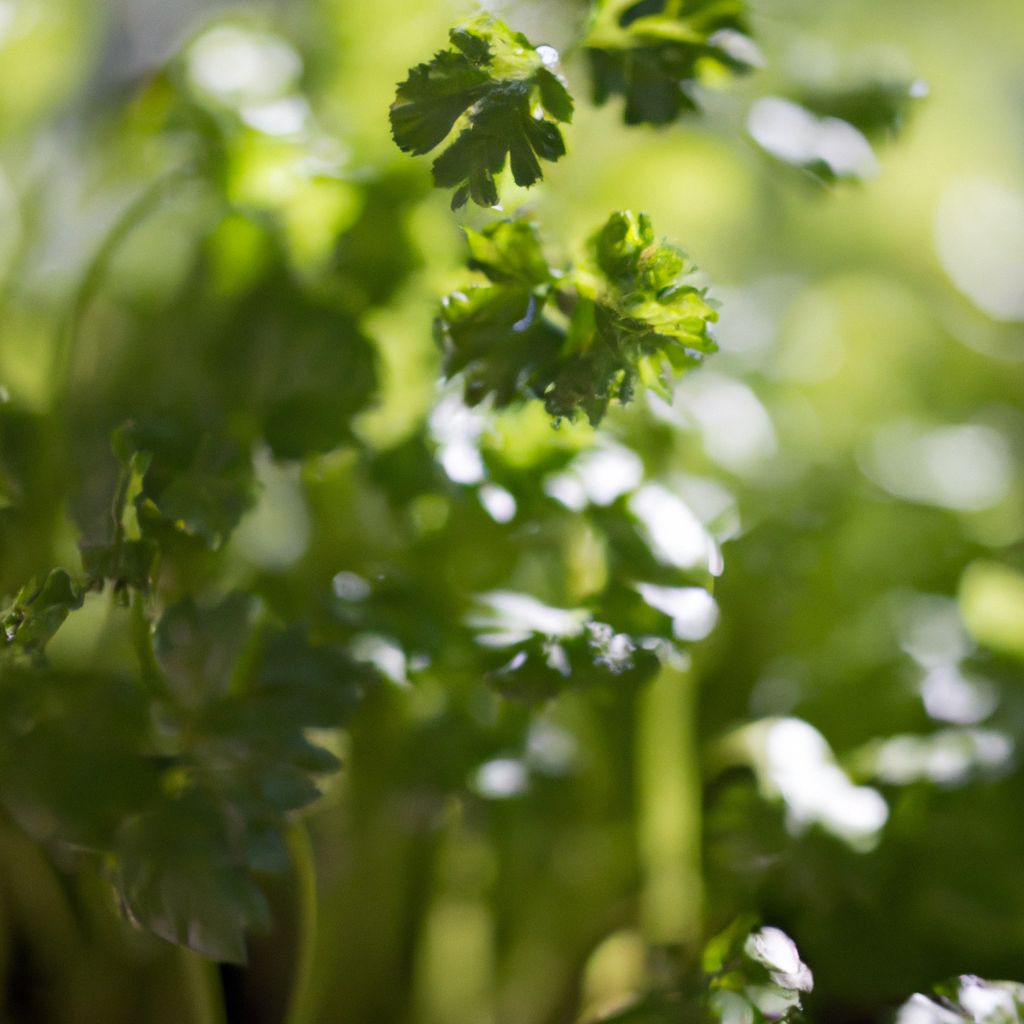
Growing and caring for chervil in your garden can be a rewarding and enjoyable experience. With the right knowledge and techniques, you can successfully cultivate this versatile herb. In this expert chervil herb care guide, we will walk you through the essential steps and considerations for growing and caring for chervil in your garden.
1. Selecting the Right Location:
Choosing the right location is crucial for the success of your chervil plants. Opt for a spot that receives partial shade or filtered sunlight, as chervil prefers cooler temperatures. Avoid planting in direct sunlight, as it can cause the plants to wilt or bolt.
2. Preparing the Soil:
Chervil thrives in well-draining soil that is rich in organic matter. Prepare the soil by removing any weeds or debris and incorporating compost or aged manure to improve soil fertility and texture.
3. Planting Chervil Seeds:
Chervil is typically grown from seeds. Sow the seeds in shallow furrows or containers, ensuring a spacing of about 6 to 8 inches between each seed. Lightly cover the seeds with soil and water gently.
4. Watering and Irrigation:
Chervil requires consistent moisture to thrive. Water the plants regularly, keeping the soil evenly moist but not waterlogged. Avoid overhead watering to prevent fungal diseases.
5. Providing Adequate Sunlight:
While chervil prefers partial shade, it still requires a few hours of sunlight each day. Ensure that the plants receive at least 3 to 4 hours of sunlight, preferably in the morning or late afternoon.
6. Fertilizing Chervil Plants:
To promote healthy growth, fertilize chervil plants every 4 to 6 weeks with a balanced organic fertilizer. Avoid over-fertilization, as it can negatively affect the flavor and aroma of the herb.
7. Controlling Weeds:
Regularly remove weeds around your chervil plants to prevent competition for nutrients and water. Mulching can also help suppress weed growth and maintain soil moisture.
8. Pruning and Harvesting:
Prune chervil plants regularly to encourage bushier growth and to prevent it from flowering and going to seed. Harvest the leaves when they are young and tender, using sharp scissors or pruning shears.
9. Storing Chervil:
Store harvested chervil leaves in an airtight container or plastic bag in the refrigerator. They can stay fresh for up to a week, but it is best to use them as soon as possible for the most flavor.
10. Common Pests and Diseases:
Chervil is relatively resistant to pests and diseases. However, watch out for aphids, slugs, and powdery mildew. Regularly inspect your plants and take appropriate measures such as using organic insecticides or practicing cultural controls to manage any issues.
By following these guidelines, you can cultivate healthy and thriving chervil plants in your garden. Whether you plan to use it in culinary creations or enjoy its delicate fragrance, growing chervil can be a delightful addition to your gardening journey.
1. Selecting the Right Location
When it comes to growing and caring for chervil in your garden, selecting the right location is crucial for its successful growth. Here are the steps to consider:
- Choose a spot in your garden that receives partial shade. Chervil prefers a cooler, shaded area.
- Ensure that the soil is well-drained and rich in organic matter. Chervil thrives in moist soil.
- Test the soil pH to determine if it is within the ideal range of 6.0 to 7.0. Adjust the pH if necessary using organic amendments.
- Consider the proximity to other plants. Chervil can benefit from being planted near herbs like parsley and cilantro.
- Provide protection from strong winds, as they can damage the delicate foliage of chervil.
By following these steps, you can select the right location and create an ideal environment for chervil to grow and flourish in your garden.
2. Preparing the Soil
When preparing the soil for growing chervil in your garden, follow these steps:
- Clear the area: Remove any weeds, rocks, or debris from the soil.
- Till the soil: Use a garden tiller or a hand trowel to loosen the soil and break up any large clumps.
- Add organic matter: Incorporate compost or well-rotted manure into the soil to improve its fertility and drainage.
- Adjust the pH: Chervil prefers slightly acidic soil with a pH level between 6.0 and 7.0. Test the soil and make any necessary adjustments by adding lime to raise the pH or sulfur to lower it.
- Amend with nutrients: Chervil benefits from a balanced fertilizer. Apply a slow-release fertilizer according to the instructions on the package.
- Level the soil: Smooth out the soil surface with a rake to create a uniform planting bed.
- Water the soil: Before planting, thoroughly water the soil to ensure it is moist but not waterlogged.
In the 15th century, chervil was grown in monastic gardens due to its culinary and medicinal properties. The herb was praised for its delicate, anise-like flavor and its ability to aid digestion and reduce inflammation. Chervil’s popularity spread throughout Europe, becoming a staple in French cuisine, particularly in classic dishes like fines herbes and béarnaise sauce. Today, chervil continues to be prized for its unique taste and versatile usage in culinary creations around the world.

3. Planting Chervil Seeds
When planting chervil seeds in your garden, here are some simple steps you can follow:
- Choose a location: Find a spot in your garden that receives partial shade, as chervil prefers cooler temperatures.
- Prepare the soil: Chervil grows best in well-drained soil with a pH level between 6.0 and 7.0. To enrich the soil, add organic matter, such as compost.
- Sow the seeds: Plant the chervil seeds directly into the soil, planting them about 1/4 inch deep. Remember to space them about 6 inches apart to allow room for growth.
- Water regularly: It is important to keep the soil consistently moist but not waterlogged. To avoid evaporation, watering in the morning or evening is recommended.
- Provide some shade: As chervil prefers cooler temperatures, you can create some shade by using a garden fabric or by planting the chervil near taller plants that will provide shade.
Did you know that chervil seeds usually germinate within 7 to 14 days? This makes chervil a relatively quick-growing herb to cultivate in your garden.
4. Watering and Irrigation
When it comes to watering and irrigation for chervil in your garden, there are some key points to keep in mind:
- Consistent watering: Chervil requires regular moisture in its soil to thrive, so it’s crucial to water it consistently.
- Adequate drainage: Make sure the soil has proper drainage to prevent waterlogged conditions, which can lead to root rot.
- Deep watering: When you water, aim to provide enough water that reaches the root zone, typically about 6 to 8 inches deep.
- Watering frequency: Water chervil when the top inch of soil feels dry to the touch. Generally, this means watering every 1 to 2 days, depending on the weather.
To promote optimal growth and health, follow these recommendations:
- Monitor soil moisture: Regularly check the moisture level in the soil by feeling the top layer. Adjust watering frequency accordingly.
- Use mulch: Apply a layer of mulch around chervil plants to retain moisture in the soil and reduce weed growth.
- Time of day: Water in the early morning or late evening to minimize water loss through evaporation.
- Consider irrigation systems: Depending on your garden’s size, you may choose drip irrigation or a sprinkler system to efficiently water your chervil.
By following these watering and irrigation practices, you can ensure healthy growth and a fruitful harvest of chervil in your garden.
5. Providing Adequate Sunlight
When growing and caring for chervil in your garden, providing adequate sunlight is crucial for its growth and health.
- Choose a planting location that receives at least 6 hours of direct sunlight each day for providing adequate sunlight.
- Ensure that the area is free from any obstructions that may cast shadows, such as tall trees or buildings, to ensure the chervil receives adequate sunlight.
- Place the chervil pots or containers in an area where they can soak up the sun’s rays throughout the day to provide adequate sunlight.
- If growing chervil indoors, position the pots near a sunny windowsill or use artificial grow lights to provide the necessary light for providing adequate sunlight.
- Regularly monitor the sunlight levels in the chosen area and adjust the position of the plants if needed to ensure they are receiving adequate sunlight.
By following these steps and providing the proper amount of sunlight, you can ensure that your chervil thrives and produces flavorful leaves for your culinary creations.
6. Fertilizing Chervil Plants
- To ensure healthy growth, it is important to fertilize your chervil plants and provide them with essential nutrients. When choosing a fertilizer, opt for a balanced one that contains equal amounts of nitrogen, phosphorus, and potassium.
- Apply the fertilizer around the base of your chervil plants, directly on the soil.
- Gently work the fertilizer into the top layer of soil using a garden fork or rake.
- During the growing season, fertilize your chervil plants once every four to six weeks.
- Always refer to the instructions on the fertilizer packaging for the recommended amount to use.

7. Controlling Weeds
- Regularly inspect your garden for any signs of weeds.
- Pull out weeds by hand, making sure to remove the entire root system.
- Use a hoe or cultivator to loosen the soil and disrupt weed growth.
- Apply mulch around your plants to suppress weed growth and conserve moisture.
- Avoid using chemical herbicides, as they can harm beneficial plants and animals.
- Consider using organic weed control methods, such as vinegar or boiling water, to kill weeds.
- Monitor your garden regularly and continue to control weeds as soon as they appear to prevent them from spreading.
- Controlling weeds in your garden requires consistent effort and attention. By following these steps, you can keep your garden free from unwanted plant growth and ensure the health and success of your chervil.
8. Pruning and Harvesting
- It is important to regularly prune and harvest chervil plants to promote bushier growth and prevent flowering.
- Using clean pruning shears, trim the outer stems and leaves starting from the bottom.
- Harvest the leaves when they reach a length of 6 to 8 inches (15-20 cm) in size.
- Remove the leaves by pinching them off at the base of the stem.
- For the most flavorful leaves, it is recommended to do the harvesting in the morning.
- To ensure a continuous supply of fresh leaves, it is advisable to regularly prune and harvest chervil.
- When pruning, avoid removing more than one-third of the plant to prevent stunting its growth.
- After harvesting, store the chervil leaves in a plastic bag in the refrigerator for up to one week.
- Pro-tip: Pruning and harvesting chervil not only encourages new growth but also ensures that you have a steady supply of fresh leaves for culinary use. By following proper pruning techniques, you can maintain the health and productivity of your chervil plants. Harvesting in the morning when the leaves are at their best flavor will elevate the taste of your dishes.
9. Storing Chervil
- Store fresh chervil in the refrigerator to maintain its freshness and flavor. Wrap the leaves loosely in a damp paper towel and place them in a plastic bag. This will help to retain moisture and prevent wilting.
- Alternatively, you can trim the roots of fresh chervil and place the stems in a glass of water, similar to a bouquet of flowers. Change the water every couple of days to keep it fresh.
- If you have harvested more chervil than you can use, consider drying or freezing it for later use. To dry chervil, tie small bunches together and hang them in a cool, dark place until the leaves are completely dry. Once dry, store the leaves in an airtight container.
- To freeze chervil, wash and chop the leaves, then lay them out in a single layer on a baking sheet. Place the baking sheet in the freezer until the leaves are frozen, then transfer them to a freezer-safe container or bag. Frozen chervil can be used directly in recipes without thawing.
Remember: Proper storage is key to preserving the flavor and aroma of chervil. Whether you choose to refrigerate, dry, or freeze it, make sure to handle the herb with care to maintain its quality. Enjoy the fresh taste of chervil in your dishes all year round with these storage techniques.
10. Common Pests and Diseases

- Aphids: These common pests feed on the leaves and stems of chervil plants, causing stunted growth and yellowing. Use insecticidal soap or neem oil to control aphid infestations.
- Slugs and Snails: These common pests are attracted to the tender leaves of chervil and can cause extensive damage. Remove them by hand or set up beer traps to lure and drown them.
- Cabbage White Butterfly: The larvae of this common pest, also known as cabbage worms, can feed on chervil leaves, leaving behind visible holes. Apply organic insecticides like Bacillus thuringiensis to control these pests.
- Powdery Mildew: This common fungal disease appears as a white, powdery coating on the leaves, eventually causing them to wilt and die. Improve air circulation around plants and treat with a fungicide containing sulfur or potassium bicarbonate.
- Root Rot: Excessive moisture and poorly draining soil can lead to root rot in chervil plants. Ensure proper drainage and avoid overwatering to prevent this common disease.
- Pro-tip: Regularly inspect your chervil plants for signs of common pests or diseases so you can take action promptly. Additionally, practicing proper crop rotation and maintaining good garden hygiene can help prevent the recurrence of common pests and diseases.
Chervil Herb Care Guide: Growing and Raising
To provide an expert guide to growing and caring for chervil, the following table highlights the key aspects of its cultivation and maintenance.
| Aspect | Description |
| Climate | Chervil thrives in temperate climates with cool summers. |
| Soil | It prefers well-draining soil with a pH range of 6.0 to 7.0. |
| Sunlight | Partial shade to full sun exposure is ideal for chervil. |
| Watering | Keep the soil consistently moist, but avoid overwatering. |
| Sowing | Sow the seeds directly in early spring or late summer for a fall crop. |
| Germination | Chervil usually germinates within 7 to 14 days. |
| Thinning | Thin the seedlings to 6 inches apart to ensure healthy growth. |
| Harvesting | Begin harvesting the leaves when they reach 4 to 6 inches in length. |
| Pests | Common pests include aphids and slugs; regularly check for infestations. |
| Diseases | Chervil is generally disease-resistant, but watch for fungal infections. |
When cultivating chervil, it is essential to create optimal conditions, such as providing the right amount of sunlight and water, choosing suitable soil, and taking preventive measures against pests and diseases. Don’t worry if it seems complex at first! By following the table above and thise chervil herb care guide, you’ll find it very easy and rewarding.
Remember to always harvest the leaves at the right time and store them properly for maximum flavor and usage. Enjoy the culinary delights that chervil can bring to your dishes, and explore its versatility in various recipes. Happy gardening!
What Are the Ideal Growing Conditions for Chervil?
The ideal growing conditions for chervil include a suitable location, well-prepared soil, and proper care in terms of watering, sunlight, and fertilization.
The first factor to consider is the location. Chervil thrives in a spot that offers partial shade, as it prefers cooler temperatures and can tolerate some shade during the hottest part of the day.
Next, ensure that the soil is well-prepared. Chervil prefers a rich, moist soil that is well-drained. Before planting, it is recommended to amend the soil with organic matter, such as compost, to improve its fertility and moisture-retention capabilities.
Watering is essential for the growth of chervil. It is important to keep the soil consistently moist, but not waterlogged. Water the plants regularly, especially during dry periods, to prevent drought stress.
Proper sunlight is also crucial for chervil. While it prefers partial shade, it still requires some direct sunlight. Aim to provide around 4-6 hours of sunlight each day to ensure healthy growth.
When it comes to fertilization, chervil benefits from a balanced fertilizer that provides essential nutrients. Apply a slow-release fertilizer during planting and follow up with additional applications every few weeks to promote steady growth.
By considering these ideal growing conditions – suitable location, prepared soil, proper watering, adequate sunlight, and appropriate fertilization – you can cultivate healthy and thriving chervil plants in your garden.
When Is the Right Time to Plant Chervil Seeds?
The right time to plant chervil seeds is in early spring or late winter. During this time, the soil is beginning to warm up, which is essential for germination. Chervil seeds can be sown directly into the ground or started indoors and then transplanted outside. It is important to plant chervil seeds in cool weather because they are less likely to bolt in the heat.
To plant chervil seeds, prepare the soil by removing any weeds or debris and loosening it with a garden fork. Sow the seeds thinly and cover them with a thin layer of soil or compost. Keep the soil moist but not waterlogged and provide adequate sunlight for the seeds to germinate.
By planting chervil seeds at the right time, you can ensure a successful and productive harvest. Chervil is a delicate herb and prefers cooler temperatures, so planting in early spring or late winter allows it to grow in optimum conditions. Remember to check the specific planting recommendations for your region as the ideal planting time may vary depending on your location.
What Are Some Pro Tips for Watering Chervil Plants?
When it comes to watering chervil plants, it’s important to know some pro tips. Here are a few:
- Consistent moisture: Chervil plants thrive with consistently moist soil. Make sure to evenly moisturize the soil without overwatering.
- Avoid overwatering: While chervil plants appreciate moisture, excessive watering can cause root rot. So, water them thoroughly and let the soil slightly dry out before watering again.
- Water in the morning: The best time to water chervil plants is in the morning. This allows the foliage to dry out during the day, which reduces the risk of fungal diseases.
- Use a watering can or drip irrigation: Since chervil plants have delicate foliage, it’s wise to water them gently using a watering can or opt for drip irrigation. This helps prevent damage to the plants.
- Monitor the weather: During hot and dry periods, chervil plants may need more frequent watering. Keep an eye on the weather conditions and adjust your watering accordingly.
By following these pro tips for watering chervil plants, you can ensure that they receive the right amount of moisture while avoiding problems such as root rot or fungal diseases.
How Can I Ensure Proper Sunlight for Chervil?
To ensure proper sunlight for chervil, follow these steps:
- Choose the right location: Start by selecting a spot in your garden that receives full sun or partial shade. Chervil prefers about 4-6 hours of direct sunlight each day.
- Observe the sunlight patterns: One way to ensure proper sunlight for chervil herb is by paying attention to the movement of the sun throughout the day. This will help you determine the best placement for your chervil. Avoid areas that are excessively shaded by buildings or trees.
- Monitor for optimal exposure: Another important aspect of ensuring proper sunlight for chervil is placing it in a location where it receives morning sunlight and filtered shade during the hotter parts of the day. This will help prevent the herb from becoming stressed or burnt.
- Use shading techniques: In case your chervil is exposed to intense sunlight, you can use shading techniques to provide temporary shade. Lightweight fabric or a shade cloth can be used to protect the herb from direct sunlight during the hottest hours.
By following these steps and ensuring proper sunlight for your chervil, you can promote healthy growth and maximize its flavor potential.
Remember, chervil loves a balance of sunlight and shade, so finding the right spot in your garden will help it thrive.
What and How Should I Fertilize Chervil Plants?
What and How Should I Fertilize Chervil Plants? When it comes to fertilizing chervil plants, here are the essential steps:
- Choose the right fertilizer: To effectively fertilize your chervil plants, opt for a balanced fertilizer with equal amounts of nitrogen, phosphorus, and potassium. This specific fertilizer will provide the necessary nutrients for healthy growth and development.
- Apply the fertilizer: Start by spreading a thin layer of the chosen fertilizer around the base of the chervil plants. It is important to be careful not to apply too much, as excessive fertilizer can potentially harm the plants.
- Water thoroughly: After applying the fertilizer, water the chervil plants well to ensure that the nutrients penetrate the soil and reach the roots.
- Repeat as needed: To maintain a steady supply of nutrients, fertilize the chervil plants every 4-6 weeks during the growing season.
By following these essential steps, you can effectively fertilize your chervil plants and promote their healthy growth. Remember to always read and follow the instructions on the fertilizer packaging for the best results.
Additionally, consider organic fertilizers for a more natural approach. You can apply compost or well-rotted manure around the plants to provide essential nutrients. This will enhance the overall health and flavor of your chervil.
Remember to closely monitor the plants to ensure they are thriving, and adjust the fertilizer application if necessary. With proper fertilization, your chervil plants will be well-nourished and ready to enhance your culinary creations. Enjoy the rewards of your homegrown chervil herb!
How Can I Control Weeds in Chervil Garden?
Controlling weeds in your chervil garden is essential to ensure the optimal growth and health of your herb. Follow these steps to effectively manage weeds:
- Prepare the soil properly before planting chervil seeds. Clear any existing weeds and ensure the soil is free from debris and large clumps.
- Apply a layer of organic mulch around your chervil plants. This is one way to control weeds in your chervil garden, as it helps suppress their growth by blocking sunlight from reaching the soil.
- Regularly inspect your chervil garden for any emerging weeds. As soon as you spot them, remove them manually by pulling them out from the root.
- Avoid using herbicides or chemical weed killers in your chervil garden. These substances can harm the herb and contaminate the soil. Instead, opt for natural weed control methods.
- Consider using companion plants that can naturally deter weed growth, such as marigolds or basil. These companion plants provide a natural solution to control weeds in your chervil garden.
- Keep the chervil plants well-watered and ensure they receive adequate sunlight. This helps promote the growth and health of your chervil plants, making them more resistant to weed competition.
By following these steps, you can effectively control weeds in your chervil garden and promote the optimal growth and flavor of your herb.
When and How Should I Prune and Harvest Chervil?
To properly prune and harvest chervil, follow these steps. When the plant grows to around 6 inches in height, you can begin pruning. Use sharp pruning shears to carefully trim the outer stems, while leaving the inner stems untouched. Remove any yellow or wilted leaves, as well as any damaged or diseased stems. Remember not to prune more than one-third of the plant at a time, as this will ensure healthy growth.
For harvesting chervil leaves, you can either use a pair of scissors or a harvesting knife. Opt for the younger leaves on the outer part of the plant, as they have the best flavor and aroma. Leave the inner leaves and smaller stems intact to allow for continuous growth. Regularly harvesting chervil leaves will encourage new growth and prevent the plant from bolting.
Once harvested, store the chervil leaves in a plastic bag or an airtight container in the refrigerator. It is recommended to use the harvested leaves within a few days for the best flavor.

What Is the Best Way to Store Chervil Herb?
The best way to store chervil herb is to follow these simple steps:
- Harvest: Cut the chervil leaves just above the ground using a sharp pair of scissors or pruning shears.
- Remove excess moisture: Gently shake off any excess moisture from the harvested chervil leaves.
- Wash and dry: If needed, wash the chervil leaves under cold water to remove any dirt or debris. Pat them dry with a clean kitchen towel.
- Wrap in a damp paper towel: Take a damp paper towel and wrap the chervil leaves loosely. This will help to maintain moisture and prevent wilting.
- Place in a plastic bag: Put the wrapped chervil leaves inside a plastic bag, leaving the bag slightly open to allow for air circulation.
- Refrigerate: Store the bag of chervil in the refrigerator’s vegetable crisper drawer.
Fresh chervil can be stored in the refrigerator for up to one week using this method. Remember to check the leaves periodically and discard any that have started to wilt or turn brown.
Fact: Chervil is best used fresh, but if stored properly, it can retain its flavor and aroma for a short period of time.
How Can I Protect Chervil Plants from Pests and Diseases?
Are you wondering how you can protect your chervil from pests and diseases? Well, here are some natural steps you can take to ensure the health and vitality of your plants:
- Choose disease-resistant varieties: It is important to select chervil herb varieties that have been bred to be resistant to common diseases like powdery mildew or fungal infections.
- Practice good hygiene: Maintaining cleanliness in your garden and keeping it free from debris can help prevent the attraction of pests and the spread of diseases.
- Monitor for pests: Regularly inspect your chervil plants for any signs of pests, such as aphids or caterpillars, and take immediate action to remove them.
- Use natural repellents: Consider using natural repellents like neem oil or garlic spray to deter pests from feeding on your chervil plants.
- Rotate crops: Avoid planting chervil in the same location year after year as this can cause a buildup of pests and diseases in the soil. Instead, practice crop rotation to break the life cycle of potential pests.
- Provide proper airflow: It is essential to ensure that your chervil plants have adequate airflow around them. Good air circulation can help prevent the development and spread of fungal infections.
- Water at the base: When watering your chervil plants, try to avoid getting the leaves wet. Moisture on the leaves can create a breeding ground for fungal diseases.
By following these steps, you can protect your chervil from pests and diseases, ensuring healthy and thriving plants in your garden.
Frequently Asked Questions
1. Can chervil be grown in containers or does it require a garden?
Chervil can be successfully grown in containers as well as in a garden. It can be planted in a large pot with well-drained soil, making it a great option for those with limited outdoor space.
2. What is the best way to start growing chervil from seeds?
The ideal way to start growing chervil from seeds is to sow them directly in the garden where it will be growing. Make sure to plant the seeds ¼ inch deep and 3 inches apart, with plants spaced 6 inches apart. Alternatively, you can also start the seeds indoors a few weeks before the last frost.
3. How often should chervil be watered?
To keep the soil evenly moist, chervil requires regular watering, especially during dry spells. However, it is important to ensure that the soil is well-drained to prevent waterlogging, as this herb does not thrive in waterlogged conditions.
4. Can chervil be grown in hot climates?
Chervil grows best in cool temperatures and can be easily affected by hot weather. To grow chervil in hot regions, it is recommended to provide partial shade and use mulching to keep the roots cool. If the heat becomes too intense, the plants may bolt quickly and lose their flavor.
5. How can chervil be stored for future use?
Chervil leaves can be stored in different ways. They can be frozen by placing them in ice cube trays with water, dried for later use, or kept fresh in the refrigerator for up to 3 days. Freezing the leaves in ice cube trays helps to preserve their flavor and aroma.
6. Are there any companion plants that work well with chervil?
Chervil can benefit from companion planting with certain plants. It is said to repel slugs and improve the flavor of radishes. Consider planting chervil alongside radishes or other plants that help deter pests to create a more harmonious and productive vegetable garden.


