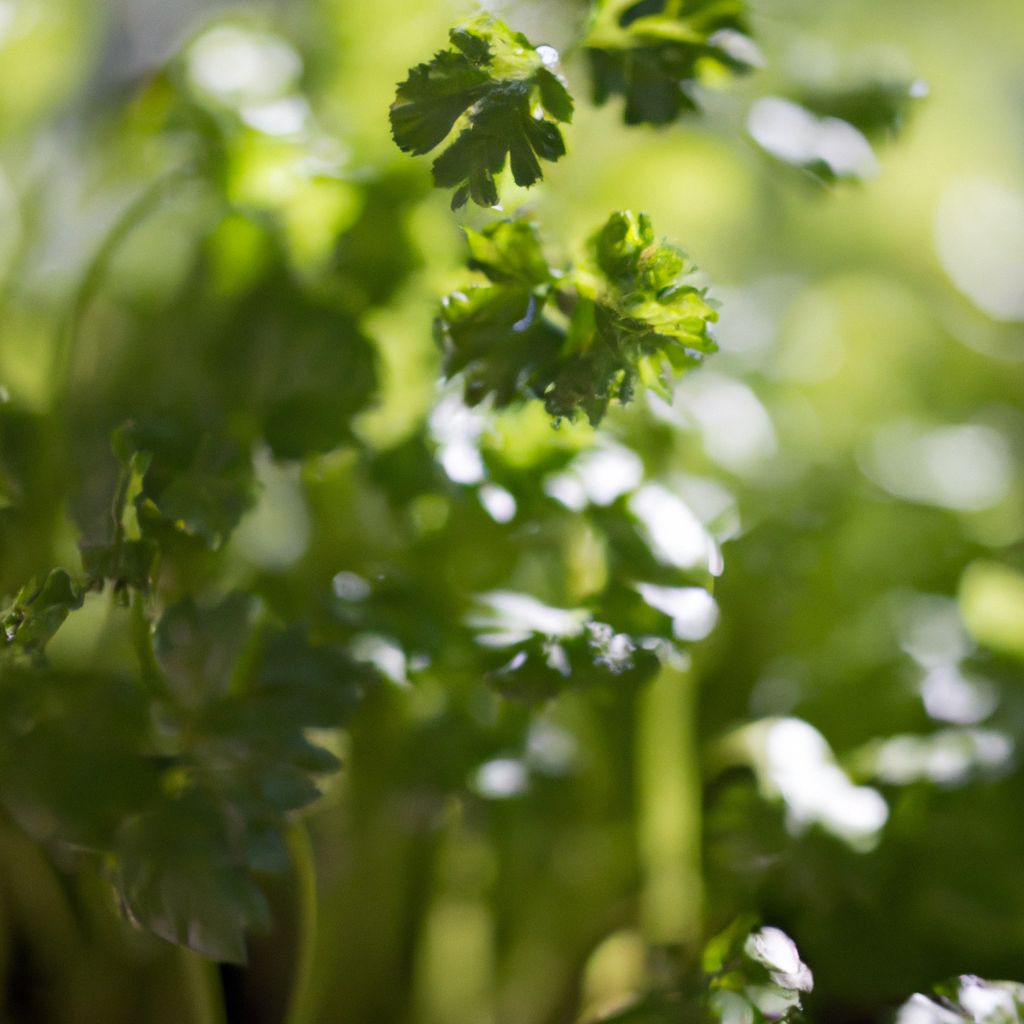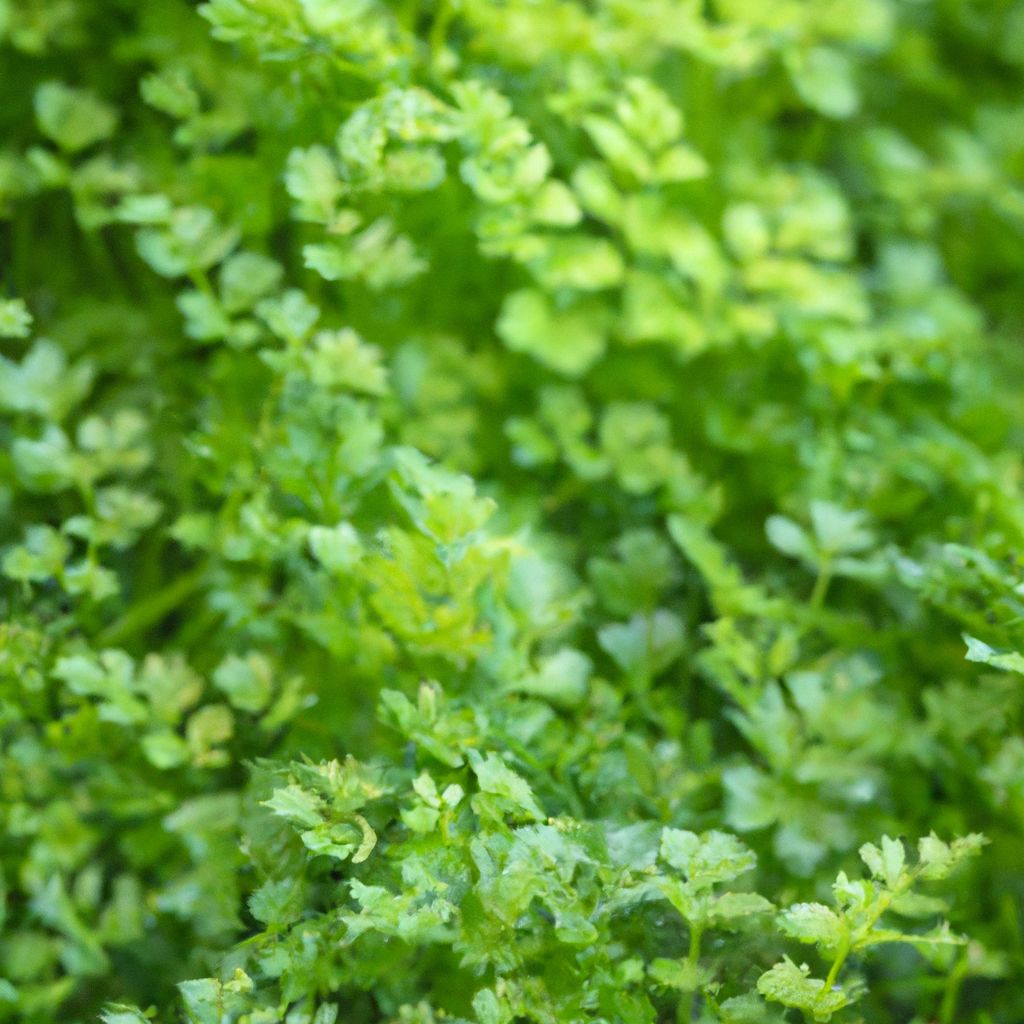
Chervil is a delicate herb with a subtle anise-like flavor that adds a refreshing touch to dishes. This hardy and versatile plant can be easily grown at home, providing a readily available culinary treat right at your fingertips. Chervil is a worthwhile addition to any herb garden. Here are some of the top reasons to grow this herb yourself:
- A Fresh and Flavorful Herb: The delicate yet distinct taste of chervil enhances the flavor of soups, salads, and more. Its citrusy, licorice notes pair wonderfully with fish and poultry. Homegrown chervil provides a burst of brightness and freshness to elevate your cooking.
- Easy to Cultivate: Even novice gardeners can succeed at growing chervil. It thrives in containers or garden beds with minimal upkeep. Chervil isn’t fussy about soil and grows well in both sun and shade. With proper care, you’ll be rewarded with healthy chervil plants.
- Cost-Effective: Purchasing fresh chervil can be pricey, especially if you cook with it often. Growing your own provides a steady supply that saves money in the long run. Plus, you can cultivate it organically without chemicals.
Getting started with chervil is simple if you follow some basic guidelines.

Picking the Right Spot
When selecting where to plant chervil, choose a partially shady spot with fertile, well-drained soil. Chervil prefers cooler temperatures between 45-70°F. Position it near your kitchen herb garden for easy harvesting.
Here are some tips for choosing the optimal location:
- Go for morning sun + afternoon shade. Dappled sunlight is ideal.
- Pick a spot sheltered from intense midday sun.
- Ensure excellent drainage to prevent fungal issues.
- Keep away from aggressive plants that may overcrowd chervil.
- For convenience, plant near your kitchen or existing herb garden.
If space is limited, chervil can thrive in containers, window boxes or raised beds.
Preparing the Soil
To create optimal growing conditions, loosen the soil and mix in compost or manure. Adjust the pH to a slightly acidic level between 6.0-7.0. Rake the bed smooth before planting.
Follow these steps to prepare chervil-friendly soil:
- Loosen soil to a depth of 6-8 inches using a tiller or fork.
- Incorporate 1 part compost per 3 parts soil to enrich and improve drainage.
- Test and amend soil pH to maintain the ideal range of 6.0-7.0.
- Break up any clumps and level the surface using a garden rake.
- Thoroughly water the bed after preparation to moisten soil.
If your native soil is dense or slow-draining, try growing chervil in a raised bed instead. Filling it with a custom soil mix will provide the light, nutrient-rich foundation chervil prefers.

Sowing the Seeds
Chervil can be directly sown into the prepared soil. Gently water after planting and keep moist. Seeds should sprout within 1-2 weeks. Thin seedlings to 8-12 inches apart.
Follow this step-by-step process for sowing chervil from seed:
- Direct sow seeds into loose, well-prepared soil.
- Space seeds about 6 inches apart in rows or loosely scattered.
- Cover with 1⁄4 inch of fine soil and gently water.
- Expect sprouting in 10-14 days in optimal conditions.
- Once seedlings reach 2-3 inches, thin to 8-12 inches between plants.
- Continue moistening soil regularly to aid germination and growth.
Chervil can be sown in early spring as soon as frost danger has passed. It can also be planted in late summer or early fall in mild climates.
Caring for Your Chervil Plant
Keep your chervil thriving with proper care.
Proper Watering
Chervil needs consistently moist soil. Aim to water 1-2 times per week, whenever the top inch dries out. Water thoroughly without oversaturating.
Tips for ideal chervil watering:
- Check soil moisture daily, water when top 1” is dry.
- Early morning watering allows absorption all day.
- Soak entire root zone but avoid waterlogged soil.
- Use gentle delivery methods like watering can or drip irrigation.
- If drought occurs, increase frequency to maintain moisture.
- Container plants may need more frequent watering.
Consistent, adequate moisture is vital for healthy chervil growth and flavor. Drought stress can cause bitterness, bolting, and low yields.
Sun Exposure
Chervil thrives with 4-6 hours of direct sun daily. Provide morning sun and afternoon shade. Rotate container plants for even coverage.
Optimizing sunlight for chervil:
- Site in a part sun/part shade location.
- Shelter from intense midday sun to prevent bolting.
- If indoor, place near south facing window.
- Rotate pots regularly for even lighting on all sides.
- Adjust position if plants show signs of too much light.
- Supplement with grow lights if indoor natural light is inadequate.
The right sun-shade balance minimizes bolting while allowing robust growth. Insufficient light will result in diminished flavor and yields.
Smart Fertilizing
Use an organic balanced fertilizer when plants are 4-6 inches tall. Follow package instructions for proper dosage. Tips for fertilizing chervil:
- Apply organic balanced fertilizer (equal NPK ratio) when seedlings first emerge. -Scatter evenly according to product instructions to avoid overfeeding.
- Reapply every 3-4 weeks during the growing season if needed.
- For containers, consider a slow-release organic fertilizer.
- Test soil annually and amend as required to maintain nutrients.
Adequate fertility is key to plant vitality and flavor production. But excess fertilizer can cause rapid, weak growth prone to disease.
Weed Control
Stop weeds from stealing nutrients and sunlight. Apply mulch, hand-pull weeds, or use targeted herbicides if needed. Reduce competition from weeds:
- Place 2-3 inches of organic mulch around plants to suppress weeds. Replenish as needed.
- Check for weeds weekly, remove by hand pulling before they establish.
- For severe infestations, use a selective herbicide targeted at broadleaf weeds.
- Keep garden area free of debris that may harbor weed seeds.
- If growing in containers, promptly remove any emerging weeds.
Vigilant weed control prevents chervil growth from being hampered. But take care to avoid herbicide contact with the chervil leaves.
Harvesting and Using Chervil
Learn how and when to harvest chervil to maximize flavor.
Timing the Harvest
Begin harvesting leaves when they reach mature size, typically 6-8 weeks after planting. Pick leaves just before use for optimal freshness and flavor.

Follow these tips for identifying chervil’s peak harvest time:
- Start harvesting once plants are 6-8 inches tall.
- Monitor growth and pick once leaves reach desired size.
- Harvest in the morning after dew dries for best flavor.
- Check for fragrant, bright green leaves as a sign of readiness.
- Cut leaves just prior to using for maximum freshness.
- Remove any discolored or wilted leaves promptly.
Harvesting earlier than 6 weeks may result in lower yields and stunted re-growth. But waiting too long risks bitterness from flowering.
Proper Harvesting Techniques
On a dry, sunny morning, cut leaves 1 inch above the soil with clean shears. Take inner leaves sparingly. Rinse and pat dry harvested leaves. Follow these steps for optimal chervil harvesting:
- Use bypass pruners, scissors, or kitchen shears for clean cuts.
- Cut each leaf stalk about 1 inch above soil level.
- Start from outer leaves, working inwards gradually.
- Handle leaves gently to avoid bruising.
- Rinse under cool water, pat dry with a towel.
Proper techniques preserve chervil’s delicate texture and flavor. Stems can be included for fresh use, removed for drying or freezing.
Exciting Culinary Uses
Chervil is a key ingredient in French cuisine. Use it in omelets, fines herbes, salads, soups and more. Its delicate flavor shines when added at the end of cooking. Get inspired with these tasty ways to use fresh chervil:
- Omelets and Scrambled Eggs
- Fines Herbes Blend
- Salad Dressing and Garnish
- Pan Sauces, Stews, Soups
- Herb Butters
- Lightly Steeped as Tea
- Infused Vinegars, Oils, and Dips
Chervil’s mild anise flavor complements seafood, poultry, vegetables, and eggs. Use it sparingly as too much heat can diminish its delicate notes.
Troubleshooting Common Issues
When growing chervil, you may encounter some problems. Learn how to identify and resolve common challenges.
Pests and Diseases
Chervil’s tender leaves are prone to certain pests and diseases. Stay vigilant and take action promptly if any appear. Common chervil pests and diseases include:
- Aphids – Control by hosing down plants and using insecticidal soap.
- Leaf Miners – Remove and destroy affected leaves.
- Powdery Mildew – Improve air circulation and avoid wet foliage.
- Root Rot – Allow soil to dry between waterings and improve drainage.
Prevention is key. Maintain good garden sanitation and promptly remove/destroy any infested plant parts. Healthy, vigorous plants better withstand pest and disease damage.
Preventing Premature Flowering (Bolting)
Left unchecked, chervil will prematurely bolt and flower in warm weather. Follow these tips to help prevent bolting:
- Provide consistent moisture and mulch to maintain cool roots.
- Ensure partial shade, especially during summer’s heat.
- Pick leaves regularly to keep plant vegetative.
- Sow a bolt-resistant variety like Brussels Winter.
- If bolting begins, immediately remove flower stalks.
By optimizing growing conditions and harvesting frequently, you can maximize leaf yield before chervil goes to flower.
Growing Chervil Indoors
Chervil can be grown indoors year-round with proper care. Follow these indoor growing guidelines:
- Select a compact chervil variety suited for pots.
- Use a container with drainage holes, quality potting mix.
- Place in a sunny window or under grow lights.
- Keep soil consistently moist but not soaked.
- Harvest outer leaves regularly to encourage regrowth.
Indoor chervil may need more attentive watering and lighting supplementation. But you’ll be rewarded with fresh leaves for your culinary use all season long.

Frequently Asked Questions About Growing Chervil
Get answers to some commonly asked questions about growing this delicious and versatile herb.
What is chervil?
Chervil is a delicate annual herb that offers a mild, sweet flavor with light notes of anise and citrus. It is used as a seasoning and garnish in French cuisine. Chervil belongs to the Apiaceae family along with carrots, parsley and celery.
Where does chervil originate from?
Chervil is native to regions of southern Europe and western Asia. The herb has been cultivated since ancient Greek and Roman times, when it was used medicinally and as a culinary herb. It was introduced to France in the 16th century.
What are some key tips for growing chervil?
- Grow from seed sown directly in the garden. Transplants poorly.
- Prefers loose, fertile soil with good drainage.
- Requires consistent moisture.
- Does best in partly shady spots.
- Harvest leaves regularly by cutting stems near soil level.
- Best grown in cool weather, will bolt in summer heat.
How do you use chervil in cooking?
Chervil has a delicate flavor that is best used fresh. Add it at the end of cooking. Popular uses include:
- Salad garnish
- Omelets, scrambled eggs
- Soups, stews, sauces
- Fines herbes blend
- Fresh herb butter
- Tea
- Marinades and salad dressings
What is the flavor and aroma of chervil like?

Chervil has a mild, sweet flavor with aromatic notes of anise, parsley and citrus. The taste is delicate so chervil is best used fresh. Dried chervil loses much of its subtle flavor.
Does chervil have any health benefits?
Chervil contains antioxidants like vitamin C, carotene, and quercetin. It also provides dietary fiber, magnesium, potassium, vitamin A, and traces of B-complex vitamins. Traditionally used for gastrointestinal issues and as a diuretic. But more research is needed to confirm specific health effects.
With its beautiful foliage and pleasing flavor, chervil is a must-have for any herb gardener. A little upfront care will reward you with abundant fresh leaves to take your culinary dishes to the next level.