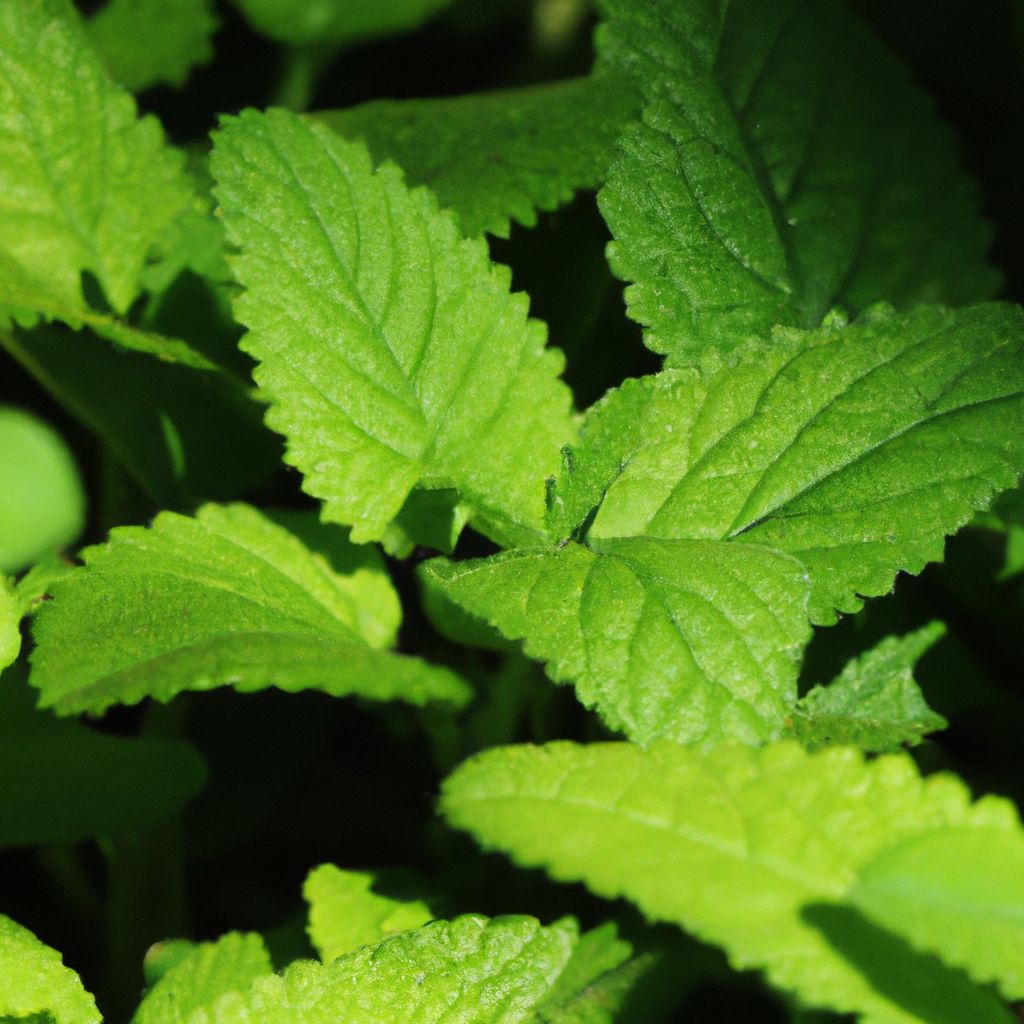
Chia is a versatile plant revered by ancient civilizations for its many nutritional and medicinal benefits. Growing your own chia allows you to enjoy fresh seeds while knowing exactly how your plants were raised. With the right conditions and care, successfully cultivating chia can be an accessible and rewarding endeavor. This comprehensive guide covers everything you need to know to grow productive chia plants suited to your unique environment.
The Extraordinary Nutrition in Chia Seeds
Beyond their reputation as an endurance food for Aztec warriors, chia delivers broad nutritional benefits:
Protein – With around 20% protein content by weight, chia offers substantial plant-based protein for muscle recovery and sustained energy.
Fiber – At 40% fiber, chia promotes gut health and balanced digestion while reducing cholesterol.
Omega-3s – Chia has high levels omega-3 alpha-linolenic acid for brain function and heart health.
Antioxidants – Chia contains antioxidants like quercetin, chlorogenic acid, and kaempferol to combat cell damage.
Minerals – These seeds provide substantial levels of iron, magnesium, calcium, potassium, zinc and other vital minerals.
Versatility – Chia works well in smoothies, oatmeal, salads, yogurt, baked goods, and more.
Inclusion in a balanced diet, alongside proper growing conditions explored in this guide, lets you fully benefit from chia’s incredible nutritional qualities.
Selecting the Best Location to Grow Chia
Choosing an optimal outdoor site is key to healthy chia growth. Consider these factors when picking the best spot in your yard for chia:
Sunlight
Chia thrives with 8-12 hours of direct sun exposure per day. Select a sunny area with no shade trees or buildings blocking light. If no fully sunny spots exist, a location with just afternoon shade can work.
Soil Quality
Chia grows well in mediums like sandy loam that drain freely. Avoid planting in heavy clay or dense soils. Test pH and amend if needed to fall between 6-7.
Air Circulation
Good airflow reduces pest and disease issues. Choose a site with ample space around for airflow rather than enclosed by trees or structures.
Water Accessibility
Convenient access to a hose or irrigation system allows consistent watering. Hand watering from nearby rain barrels also provides plant hydration control.
If no optimal outdoor site exists, consider constructing a raised bed filled with enriched soil suited for chia. An outdoor fabric tunnel could also customize conditions.
Understanding Chia’s Growing Requirements
In addition to location, understanding and accommodating the unique growing preferences of chia is key:
Climate
- Minimum Temp: 65°F
- Peak Temp: 75-85°F
- Days to Maturity: 90-120 days
- Light: Full sun
- Humidity: 40-50%
- Hardiness Zones: 8-11
Chia thrives in hot conditions similar to basils. Some newer varieties can tolerate short periods in 50°F temps. But sustained cool exposure negatively impacts growth.
Soil
- Soil Texture: Sandy, loamy, well-drained
- pH: 6-7
- Fertility: Low to moderate
- Nutrients: Nitrogen for foliage, phosphorus for roots
Chia prefers slightly acidic soil with access to some key nutrients. But highly fertile soils can cause excessive foliage instead of seed production.
Watering Needs:
- Germination: Consistent moisture
- Growth: 1” per week
- Flowering: Water daily, do not oversaturate
- Seed Fill: Reduce watering
- Drydown: Allow soil to dry before harvesting
Careful moisture management through every phase optimizes yields. Inconsistent watering during flowering and seed fill causes substantial crop losses.
Starting Chia Seeds
Chia seeds require some pre-planting preparation for best germination rates:
Soaking
Soak seeds in room temperature, non-chlorinated water for 8-12 hours before planting. Soaking triggers the seed’s hormonal germination sequence and shortens sprout time after planting.
Planting Containers
Sow pre-soaked seeds 1⁄4 inch deep in cells or flats filled with clean seed starting mix. Trays allow easy transplanting later on. Compostable pots also work well. Do not use peat containers, as they wick away moisture.
Cover trays with plastic dome lids to retain moisture during sprouting. Vent lids gradually over 14-21 days to acclimate seedlings before exposing them to full air circulation.
Germination Conditions
Newly planted chia seeds germinate best around 70°F out of direct sunlight. Consider placing trays atop propagation mats or near other seedlings for subtle bottom warmth.
Pot up sprouts after their first true leaves emerge into larger cells. Fertilize seedlings weekly with half strength organic plant food once established.
Hardening Off Chia Seedlings
Whether you start seeds indoors or in a greenhouse, seedlings need gradual hardening off before exposure to full outdoor conditions:
Copy code
- Move containers outside to a sheltered shady spot for a few hours at a time over 7-10 days
- Increase the time spent outdoors gradually, also exposing plants to some direct sun
- Fully acclimate plants to nighttime temperatures down to 50°F before transplanting
- Reduce water and fertilizer 5-7 days prior to minimize transplant shock
Hardening off toughens cell walls against wind and sun while ensuring tender leaves can still perform photosynthesis.
Transplanting Chia Seedlings
Once seedlings stand about 6 inches tall and the danger of frost has passed, it’s time to transplant into garden beds.
Garden Preparation
Prepare growing beds by loosening soil to a depth of 12 inches and mixing in 2-3 inches of aged compost. Rake beds smooth while eliminating stones and debris that could impede growth.
Construct long rows spaced 2-3 feet apart or raised beds at least 6 inches high to allow access. Optimal planting density is 12-18 inches between plants depending on variety.
Planting Technique
- Water seedlings well one day before transplanting
- Dig holes the width of the root ball and slightly deeper
- Gently remove from cells by lifting the stem base, not tugging leaves
- Arrange roots loosely in holes, keeping soil evenly around stems
- Firm soil gently and water slowly at the base of each plant
Getting plants established without disturbing roots ensures uninterrupted growth.
Supports for Chia Plants
Installing supports helps stabilize upright growth while also keeping ripening heads up off the ground:
- Single stakes pushed 6-8 inches into soil by larger plants
- Hoops connecting stakes over rows, with netting above
- Trellis panels on raised beds
- Edge rows with boards, fencing, or landscaping border
Avoid overhead watering onto ripening seed heads to reduce mold risks.
Caring for Growing Chia Plants
Give your growing chia plants attentive care through the season:
Watering Needs
Chia has higher water requirements during flowering and seed production than vegetative growth. Monitor soil moisture regularly by inserting your finger 1-2 inches deep into soil.
- Seedlings: Water when top inch dries
- Vegetative Stage: Allow slight soil drydown between watering
- Bud Formation: Maintain consistent moisture in top 4 inches
- Flowering: Water daily, avoid saturating
- Seed Fill: Gradually reduce watering as heads dry
Inconsistent watering midseason risks flower drop or seed abortion. Careful moisture management optimizes seed production.
Ideal Watering Practices
- Early morning watering allows leaf drying to suppress diseases
- Target drip irrigation on soil, avoid wetting foliage
- In windy areas, erect windbreaks to slow moisture evaporation
- Place rain barrels near gardens for convenient hand watering access
During hot and dry spells, established plants may need watering every 1-2 days. New transplants require more frequent irrigation while getting established.
Providing Nutrients
Chia grows well in low to moderately fertile soils. Conduct soil testing to understand your garden’s baseline nutrient levels and pH.
- Nitrogen: Boosts vegetative leaf and stem growth
- Phosphorus: Essential for healthy root establishment
- Potassium: Supports water regulation, disease resistance
Apply organic granular fertilizer formulated for vegetables at midseason according to package rates. Alternatively, side dress growing plants with aged manure or compost.
Liquid fish fertilizers, seaweed extract, and compost tea also provide benefits:
- Fish fertilizer: Supplies trace nutrients
- Compost tea: Fosters beneficial soil microbes
- Worm castings: Adds micronutrients
Common Nutrient Deficiency Signs
Monitor plants for signals of insufficient fertility like:
- Yellowing leaves: Nitrogen deficiency
- Weak stems: Phosphorus needed
- Poor flowering: Low potassium
- Leaf spotting: Zinc or manganese shortage
Address shortages based on symptoms using fast-acting natural amendments.
Controlling Pests and Diseases
Chia faces minimal pressure from most pests and diseases. But prevention is still important:
- Weeds: Compete for moisture and nutrients
- Aphids: Distort growth and transmit viruses
- Thrips: Feed on leaves and buds
- Damping off: Fungal disease of seedlings
- Root rot: Water mold fungus
Cultural controls form the first line of defense:
- Site selection to promote airflow
- Avoiding excess nitrogen levels
- Managing weeds
- Drip irrigation to limit foliage moisture
Scout regularly for pests like aphids and remove or prune affected parts immediately. Apply organic fungicides at first onset of disease. Support beneficials with nearby flowers.
Recognizing Maturity and Harvesting Chia
Chia seeds reach full maturity around 90-120 days from transplant depending on variety.
Approach harvest time with patience, allowing as many heads as possible to completely finish ripening before cutting. Seeds will not uniformly mature, so stage the process.
Ripeness Indicators
- Yellowing leaves dropping from bottom up
- Dry brown flower bracts folding back
- Seed heads shifting from green to tan or black
- Stems drying and thickening
- Seeds easily stripping off heads
Harvesting Sequence
Over 7-10 days, systematically cut ripe seed heads leaving extra stem attached using hand pruners:
- First Harvest: Largest seed heads with mostly black/brown seeds
- Second Harvest: Smaller heads later
- Third Harvest: Any late fillers
Leave smaller center heads to finish ripening before a final harvest.
Post Harvesting Handling
After cutting, move stalks to a warm indoor space out of direct sun to finish drying:
- Drape seed heads over mesh for airflow, collecting seeds
- Allow 10-14 days for heads to fully dry and release seeds
- Check collecting containers daily
- Remove dry seeds to storage; compost crisp heads
Dry seeds to around 8% moisture content for storage.
Processing and Storing Your Chia Seed Harvest
Once seed heads fully dry after cutting, further processing prepares your harvest for storage:
Threshing and Winnowing
- Gently rub totally dry heads between hands over a bucket or tarp to separate seeds
- Alternatively, walk on heads on a tarp outdoors
- Winnow seeds in breeze to remove chaff and debris
- Inspect seeds and remove any remaining material
These finishing steps clean seeds for packaging.
Storage Considerations
Store dried chia seeds in airtight containers in a dark, dry area:
- glass jars
- mylar bags
- covered buckets
Label with harvest date and variety. Refrigeration can extend viability.
Watch stored seeds closely for:
- Clumping from moisture
- Mold growth
- Insect webbing or larvae
Discard any containers showing signs of mold or pests to preserve the rest of your harvest.
Tasty Ways to Enjoy Your Chia Harvest
With its neutral flavor and smooth, gel-forming texture when soaked, homegrown chia seeds lend themselves to diverse recipes:
Smoothies – Blend soaked chia into fruit or vegetable smoothies.
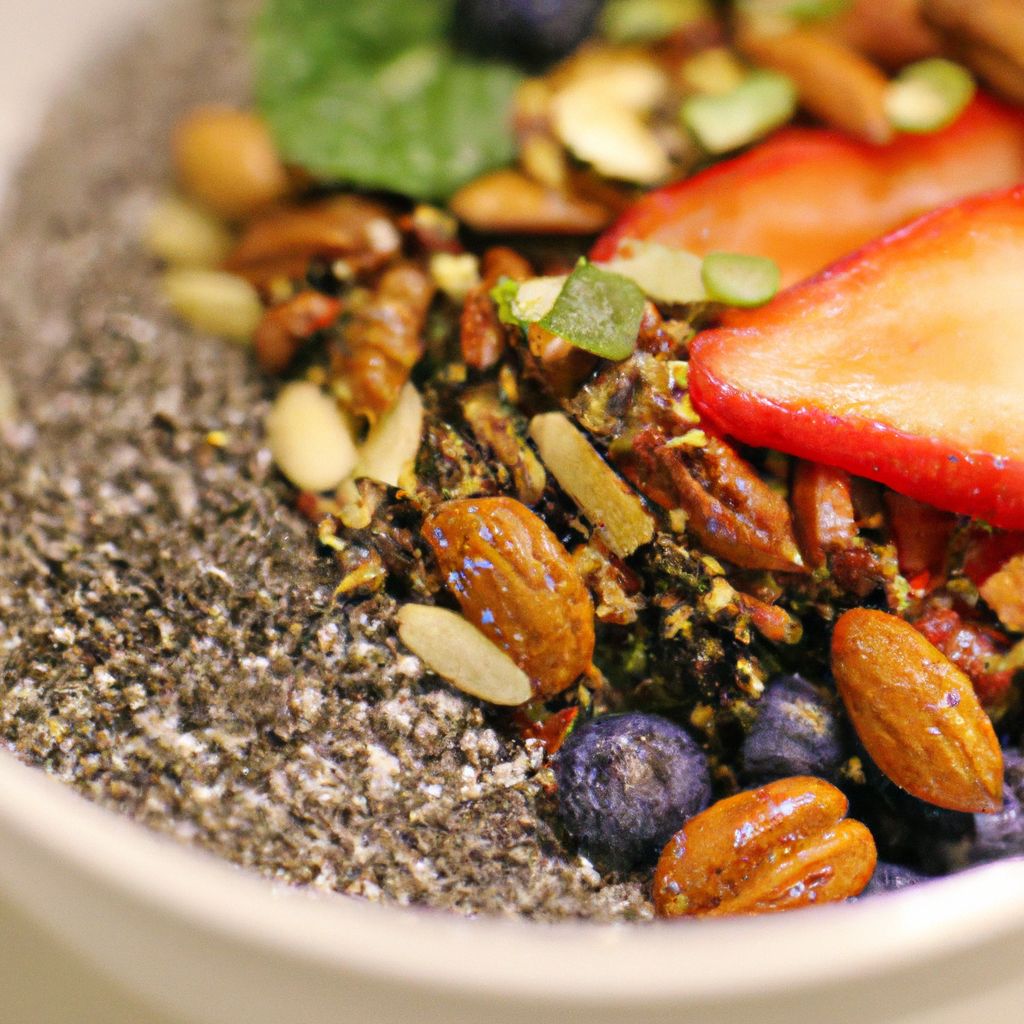
Overnight Oats – Mix chia into overnight oats with nuts, fruit, and yogurt.
Puddings – Whisk chia seeds into coconut milk or almond milk to create lush pudding.
Energy Bars – Bind chia seeds into portable protein and nut bars.
Baked Goods – Use soaked chia eggs to replace eggs in cakes, muffins, and breads.
Salad Topper – Sprinkle dry chia onto salads in place of croutons for added nutrition.
Yogurt – Mix plain yogurt with cut fruit, honey, and chia seeds for a quick breakfast.
However you choose to enjoy your homegrown chia, these ancient seeds offer both culinary versatility and incredible dietary benefits.
Continuing Your Chia Growing Journey
Each season of growing chia offers lessons to improve your skills. Maintain records of:
- Varieties grown
- Germination rates
- Amendments applied
- Weather conditions
- Harvest dates and yields
Review notes before starting the next seeding cycles. Consider new varieties better suited to your climate or season length. Experiment with planting times and spatial arrangements seeking to boost seed production.
With attention to these best practices for site selection, seed starting, crop care, harvest, and storage explored above, a modest chia patch can yield bountiful jars of nutritious seeds for years on end. Troubleshoot challenges as they arise by applying fundamental organic growing principles. Most importantly, enjoy the meditative routine of nurturing your chia garden from tiny sprouts to mature seed-filled plants.
Frequently Asked Questions About Growing Chia
If you are considering raising your own chia plants for the first time, chances are you have some questions. Here we answer some of the most common inquiries:
What are the different chia seed varieties?
Popular chia varieties include Chian White, Chia Salba, and Black Chia. White is the most widely grown. There are both annual and perennial varieties.
Where is chia originally from?
Chia is native to central and southern Mexico and Guatemala, where it was first cultivated by the Aztecs circa 3500 BC.
How much space do chia plants need?
Allow 12-18 inches between chia plants and 2-3 feet between rows. Each plant can grow 2-4 feet tall and wide at maturity depending on variety.
Can chia be grown indoors?
Chia can be started indoors 6-8 weeks before your last expected frost date. Provide lots of light and grow the starts to around 6 inches before hardening off and transplanting outside into the garden after any chance of frost.
How long does it take to harvest chia seeds?
Chia seeds take 90-120 days to mature from seeding. Harvest times depend on planting date and variety. Plan plantings accordingly for your region.
What yield can I expect from chia plants?
Each chia plant produces multiple branching seed heads with hundreds of tiny seeds. Expect around 1 pound of dry chia seeds per mature plant depending on variety and growing conditions.
How do I cook or eat chia seeds?
Chia has very little flavor. The small seeds are often soaked in water to create a gel before adding to foods. Popular uses are smoothies, oatmeal, nut milk puddings, energy bites, yogurt bowls and more.
Can chia be grown in containers?
Yes, planting one chia seedling per 12-inch diameter pot with drainage holes allows container growth. Use quality potting soil, provide sun and irrigation, and fertilize regularly.
What climate is best to grow chia?
Chia prefers consistently warm 70-85°F temperatures, lots of sun, low humidity, and limited wind. It thrives in hot arid environments like the American southwest.
Is chia easy to grow?
Chia is quite easy to grow compared to many common garden vegetables and herbs. By understanding and accommodating its preference for hot sunny environments with well-drained fertile soil and consistent irrigation during flowering, a modest chia patch can readily thrive.


