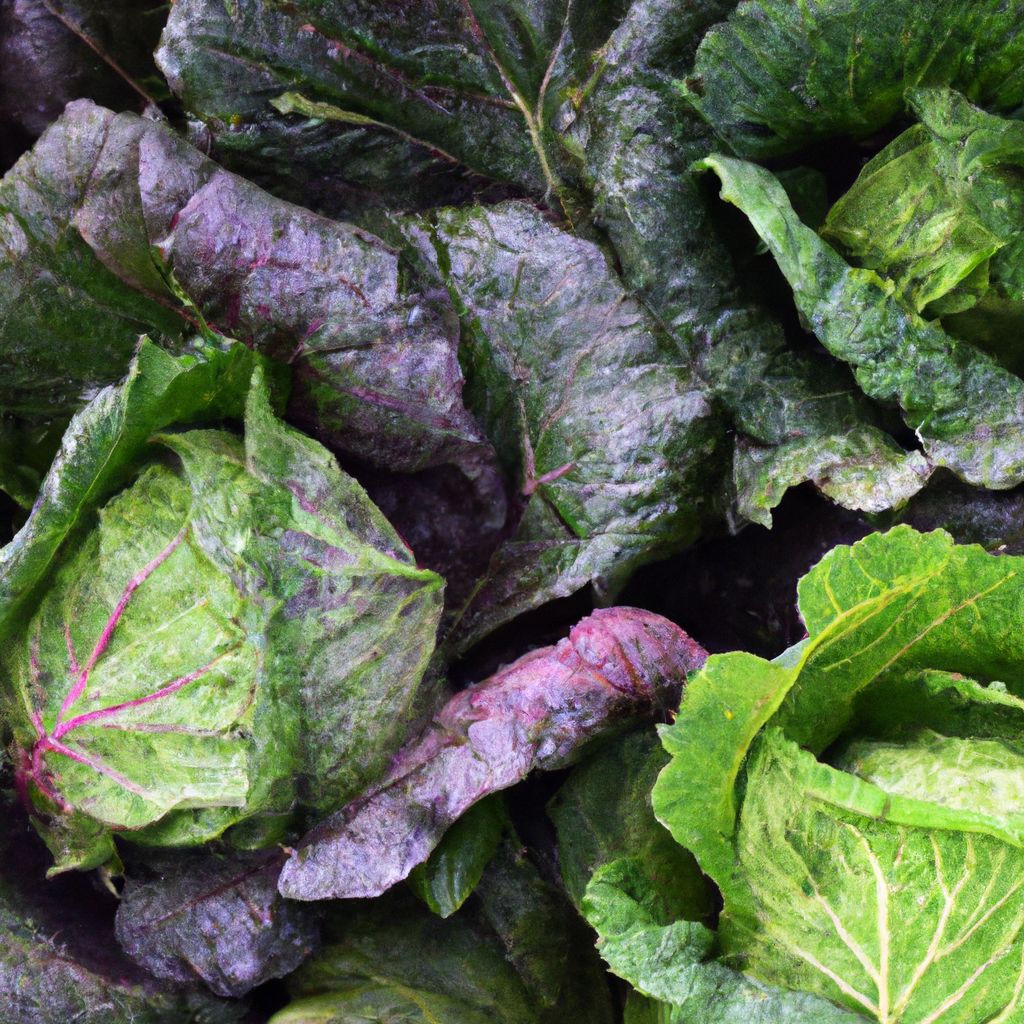
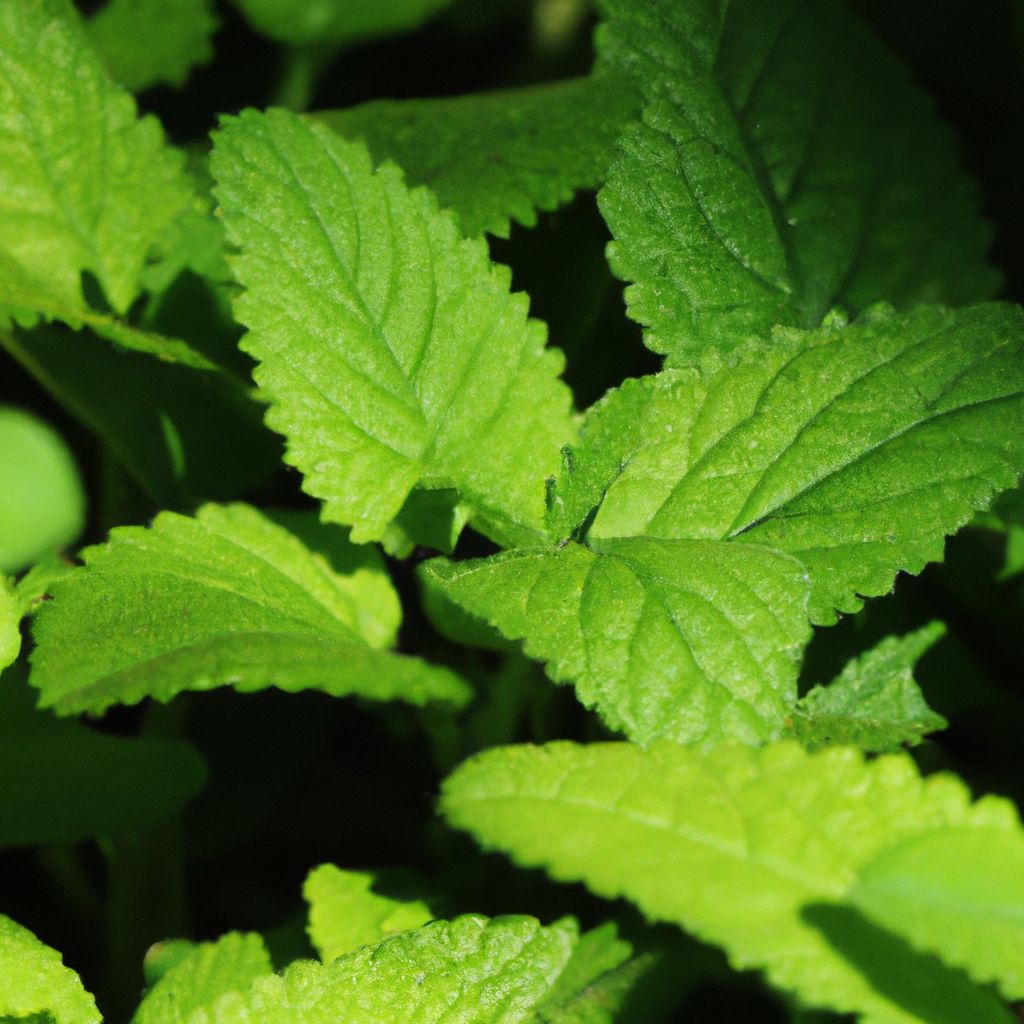
Collard greens are nutritious, leafy vegetables that have been enjoyed for centuries. Collard greens cultivation from your home allows you to harvest fresh greens right in your own backyard. With some planning and care, you can cultivate a thriving patch that will supply your kitchen all season long.
Benefits of Homegrown Collards
Expanding your backyard bounty to include collard greens offers numerous benefits beyond just fresh produce. Consider these advantages of cultivating your own:
Nutrition – When grown in mineral-rich soil and picked at peak ripeness, collards contain high levels of vitamins A, C and K along with antioxidants for immunity and anti-inflammatory effects. The ability to eat greens immediately after harvest maximizes these heat-sensitive nutrients.
Sustainability – Homegrown collards eliminate fossil fuels needed to transport store bought greens. Growing and composting also fosters a circular food system to regenerate your small patch of earth. Protect beneficial insects in your garden for pollination and pest control.
Savings – A 10-20 foot row or gardening bed dedicated to collards can easily supply a household year-round, saving substantial grocery funds. Reseeding itself, a collard patch is a gift that keeps on giving with very little costs beyond soil amendments.
Connection – As well as health perks from fresh air and exercise outside tending your patch, growing collard greens fosters a mindful connection with your food and land. Getting your hands dirty cultivating collards increases appreciation of farmers that nourish communities near and far.
Selecting the Best Variety for Your Garden
Collards come in a range of varieties to suit different climates and gardening needs:
Heirloom Varieties
Georgia Southern – This heirloom variety has been cultivated for generations across the Southern United States. It is known for producing dark green, smooth leaves on upright plants. Georgia Southern reaches maturity to harvest in about 70 days. As an heirloom adapted to hot summers, it is quite heat and drought tolerant once established.
Champion – Another American heirloom collard green that has been grown since the 1950s. The crinkled blue-green leaves have a sweeter flavor than some varieties. Champion matures quickly in 60-65 days with an upright growth habit. It also demonstrates good cold hardiness, allowing harvests late into fall.
Vates – This old heirloom likely originated in the state of Georgia. It is quick to reach maturity at 60-75 days. Vates has unique, savoyed leaves that add interesting texture. The plants are semi-upright. Vates tolerates both heat and frost well.
Modern Hybrids
Top Bunch – This is an All-American Selections winner bred for increased yield and enhanced disease resistance. It forms a loose rosette of blue-green, savoyed leaves. Top Bunch reaches maturity in 60 days for an extended harvest window.
Flash – One of the fastest collards on the market, Flash matures for picking in just 45-55 days. It produces smooth, dark green leaves on a semi-upright plant. Flash was bred to be bolt resistant for reliable harvests.
Morris Heading – This unique variety forms a tight head like cabbage once it reaches maturity. The vibrant blue-green leaves are tender and sweet. It takes about 75 days for Morris Heading to form its heads for harvesting.
When selecting collard green varieties, consider your local growing conditions and desired harvest times. Crinkly, savoyed leaf types generally have the best cold hardiness for extended fall and winter harvests.
Preparing the Soil
Collards grow best in fertile, well-drained soil with a pH between 6.0-6.8. Before planting, focus on soil preparation to create the ideal foundation for healthy plants.
Soil Amendments
- Test soil pH and adjust as needed with lime (to raise) or sulfur (to lower)
- Incorporate 2-4 inches of aged compost or well-rotted manure
- Mix in 1-2 cups per square foot of balanced organic fertilizer like fish emulsion
- Alternately, use a complete organic planting mix for garden beds
Bed Construction
- Raised garden beds optimize drainage and ease of care
- Or plant beds at ground level, mixing amendments into the top 6 inches of native soil
- Space collard plants 12-24 inches apart in beds
By starting with enriched, loose soil about a foot deep, your collards will thrive. The ample root zone supports faster leaf growth above ground. Well-prepared beds drain readily after rain or watering, preventing fungal issues.
No-Till Option: Amend soil as described above while leaving existing ground cover intact between planted collard transplants. This reduces weed pressure and retains moisture.
Planting Your Greens
You can grow collards from seeds or transplants:
Seeds
- Sow 1⁄2 inch deep and 18-24 inches apart in prepared beds
- Keep soil consistently moist for 10-15 days until emergence
- Thin overcrowded seedlings to proper spacing
Transplants
- Set out 4-6 week old plants 12-18 inches apart
- Water at soil level after planting until established
Post-Planting Care
- Weed regularly to prevent competition
- Apply 2-3 inches of organic mulch once plants are established
- Overhead water in morning, about 1 inch per week
Adequate spacing allows air circulation, which is key for preventing fungal diseases on maturing collard plants.
Caring For Your Plants
Diligent care throughout the season results in robust, healthy collard plants:
Watering
- Collards need consistent moisture, about 1 inch of water per week
- Water at the base of plants in early morning to allow leaves time to dry
- Increase watering during heat waves or drought
- Reduce watering closer to harvest to intensify flavors
Fertilizing
- Side dress beds with balanced organic fertilizer every 4-6 weeks
- Or use fish emulsion or compost tea for liquid fertilizer
- More frequent, light feedings prevent bolting as plants mature
Weed Control
- Vigilantly pull weeds to prevent nutrient competition, especially when plants are young
- 3-4 inches of organic mulch such as leaves or straw effectively smothers weeds
Pest Management
- Caterpillars and aphids can quickly damage leaves
- Control with Bacillus thuringiensis, insecticidal soap or neem oil sprays
- Row covers exclude butterfly/moths to prevent caterpillars
- Beneficial insects like ladybugs or lacewings provide natural control
Stay observant as your collards grow. Addressing issues promptly better ensures healthy maturation.
Dealing With Pests and Diseases
Be vigilant in monitoring for pests and diseases to protect your harvest:
Common Pests
Caterpillars – Several types chew holes in leaves including cabbage loopers and imported cabbageworms.
Aphids – These small insects cluster on the undersides of leaves, sucking plant fluids.
Flea beetles – Tiny black beetles that feed on seedlings and can transmit leaf spot diseases.
Slugs & snails – Leaves developing holes with slime trails indicate these mollusks are feeding.
Preventing Diseases
Improve air circulation and avoid excess moisture to suppress foliar fungi and rot diseases.
Crop rotation – Avoid planting collards in the same spot as previous years to break disease cycles.
Sanitation – Remove and discard any infected plants immediately along with all leaf debris at season end.
Resistant varieties – Some modern collards have genetic resistance to certain prevalent strains of disease. Look for disease resistance in variety descriptions.
By taking a proactive approach, your plants will stay healthy and productive all season long. Be vigilant about pest monitoring and willing to take control measures before infestations take hold.
Harvesting Your Bounty
Now comes the fun part – picking that homegrown collard goodness!
When to Harvest
- Begin harvesting outer leaves once they reach 8-10 inches long
- Pick leaves as needed, allowing inner leaves to continue maturing
- Time to full size ranges from 55 days for ‘Flash’ to 75 days for ‘Morris Heading’
- Harvest season lasts as long as plants are protected from severe cold
How to Harvest
- Use clean scissors or pruning shears
- Cut leaves carefully near the base of plants
- Handle leaves gently to avoid bruising
- Harvest in morning after dew dries for best flavor and texture
Storage
- Store unwashed leaves in plastic bags in the fridge for up to 5 days
- Or blanch leaves for 2 minutes then freeze for storage up to a year
- Wash just before eating as moisture hastens spoilage
- Enjoy fresh, freeze dried, fermented into sauerkraut or kimchi
Now stir up a pot of delicious collard greens with your fresh-picked bounty! Southern-style collards simmered low and slow with smoky pork make a comforting, nutritious meal.
Tasty Recipes Using Collards
Beyond traditional boiled greens, collards shine in diverse dishes:
Collard Wraps – Use large, intact leaves in place of tortillas for veggie fajita rice bowls, Greek gyro fillings or curried chicken salad rolls.
Sauteed Collards & Mushrooms – Thinly slice greens and saute in olive oil and garlic, then add sliced mushrooms and stir until tender. Season with thyme, parsley, S&P.
Massaged Kale & Collard Salad – Stack alternating collard and kale leaves, roll up and thinly slice into ribbons. Toss with lemon juice, olive oil and salt. Massage leaves with your hands until tender and bright green.
Roasted Garlic & Collard Pizza – Top pre-baked pizza crust with roasted garlic cloves, dollops of ricotta cheese, chopped collards and red onion. Finish with lemon zest and pepper flakes if desired.
Southern-Style Pot Likker Stew – Simmer smoked ham hocks, onions and chunky collards in broth flavored with hot sauce and vinegar. Serve greens and meat over cornbread. Pot likker broth soaks into the bread.
With so many uses beyond just a side dish, collards are a dynamic addition to any edible garden.
Plant Cultural Seeds in Your Garden and Grow Collard Greens
Just a few short months after tucking those tiny seeds or fragile transplants into welcoming soil, your collard greens will unfurl huge, bounteous leaves. As fruits of patient care and optimism every time you tended your growing patch, that first harvest fosters a swelling sense of pride and connection.
Whether delighting in earthy collard greens steamed up alongside hearty beans and cornbread on a blustery night, or delivering a towering collard kale salad chilled under a blistering summer sun, embrace using your homegrown greens. Share the love by gifting excess harvests to thankful neighbors.
Save seeds from particularly impressive collard specimens in your garden if you want to develop strains well adapted to your local conditions. As beloved heirlooms like Georgia Southern and Vates clearly demonstrate, the collards we grow today could nourish generations to come with proper stewardship.
By nurturing collard greens sustainably in your own backyard, savoring their nutritious bounty, and passing along hard-won horticultural insights to fellow growers, you join an enduring, venerable chain of farmers seeking to feed families the healthiest foods possible. Keep planting collard greens so that they can keep on planting beneficial seeds in our communities and culture for years ahead.
Frequently Asked Questions
How long does it take to grow collards?
Depending on variety selected, collards take anywhere from 45 to 80 days reach mature size for harvesting. Most average around 60-75 days.
What is the optimal pH range for collards?
Collards prefer slightly acidic soil, ideally with a pH between 6.0-6.8. Much lower or higher pH negatively impacts nutrient availability.
How much space should I allow between collard plants?
For proper growth, collards need 12-24 inches between plants depending on variety to prevent overcrowding and encourage air circulation.
What are signs my collards are ready to harvest?
Look for dark green, fully sized leaves around 8-10 inches long. Outer mature leaves can be selectively picked while inner leaves continue maturing. Leaves start to taste bitter once plants begin flowering.
What organic methods can I use to control pests on collards?
Regularly inspect for caterpillars, aphids, beetles. Remove pests by hand or use Bt spray, insecticidal soap, neem oil or introduce beneficial insects. Floating row covers also provide insect exclusion.
Should I fertilize collards with compost or chemicals?
Organic fertilizers like compost, fish emulsion, worm castings or compost tea are recommended for optimal flavor and nutrition. Over-fertilizing with chemical fertilizers can make leaves bitter tasting.
Can I grow collards in containers?
Yes, collards adapt quite well to containers given adequate space. Use a 15+ gallon pot and quality potting soil with added organic matter. Water regularly as containers dry out faster. Fertilize every 2-3 weeks.
What causes bolting in collard plants?
Collards start forming flower stalks and bolting when encountering heat stress, drought conditions or lack of nutrients. Ensuring adequate, consistent soil moisture and fertilization helps reduce bolting. Some varieties are bred to be bolt resistant.
Why are my collard leaves withering or yellow?
Leaves turning pale or browning indicates a nutrient deficiency, often low nitrogen. Yellowed leaves with brown veins may mean a calcium deficiency. Ensure consistent fertilization to support healthy foliage.
How can I use collard leaves besides just cooking greens?
In addition to being delicious cooked, collard leaves can be enjoyed raw in salads and wraps. Leaves also work great for stew, soup or sauteed like kale. For an extra nutrient boost, use collard leaves for juicing along with fruits/veggies.
What type of flavor and texture do collards have?
Collards have an earthy, mildly nutty and sweet flavor when grown in cool conditions. Texture ranges from tender and smooth to slightly chewy. Flavor becomes more bitter and tough in hot weather or once flowering. Proper harvesting timing preserves tenderness.
Can I grow collards all year long?
In frost free climates, collards can be grown year round. Time plantings for spring, summer and fall harvests. Elsewhere, collards thrive as a cool weather crop- plant early spring through mid summer for fall and winter harvests until hard freezes. Protect fall crops with cold frames or tunnels to extend the season.
With the right variety choice, soil preparation and care, your collard patch will keep your kitchen stocked with nutritious greens. These tasty, cold hardy plants are a smart addition to any vegetable garden.


