


You can cultivate South American grains like quinoa, amaranth, and chia right in your own backyard. When grown using organic, sustainable practices, these gluten-free grains can provide a bountiful harvest of fresh, nutrient-dense ingredients to enjoy in recipes or as healthy snacks. Read on to discover the joys that these ancient grains can bring to you.
Why Cultivate South American Grains at Home?
Here are the top reasons to try your hand at growing superfood grains from South America:
Access to Fresh, Nutritious Grains
Quinoa, amaranth, chia and other ancient grains are nutritional powerhouses, packed with protein, fiber, antioxidants, and vitamins and minerals. Growing them yourself allows you to enjoy maximum freshness and nutritional quality. The grains can be harvested at their peak ripeness, then immediately dried, prepared and eaten.
- Quinoa is a complete protein containing all 9 essential amino acids making it an excellent plant-based protein source. The fresh homegrown quinoa you harvest contains higher amounts of protein compared to quinoa that has been sitting on store shelves.
- Amaranth is high in lysine, an amino acid important for growth and development. It also contains twice the calcium found in other grains. You’ll get the most nutritional bang from amaranth when it’s freshly cultivated and harvested.
- Chia seeds are loaded with fiber, omega-3 fatty acids, protein, antioxidants, and minerals like calcium, iron, and magnesium. Growing chia yourself maximizes its nutritional value.
Cost Savings and Reduced Environmental Impact
Purchasing specialty grains like quinoa can get pricey at the store. Cultivating your own harvest can reduce grocery costs. You also minimize transportation emissions, plastic packaging waste, and other impacts compared to store-bought grains shipped long distances. Homegrown grains are better for your wallet and the environment.
- The costs of specialty grains like quinoa have risen in recent years as demand increases. Growing your own can help offset these higher prices.
- Food transportation accounts for 11% of all emissions from the food sector. Byproducing grains locally, you avoid the environmental toll of long-distance shipping.
- Up to 91% of plastic packaging is not recycled. Growing your own grains eliminates unnecessary plastic bags, tubes and pouches.
Enhanced Food Security and Self-Sufficiency
By cultivating a supply of grains at home, you gain food security and self-sufficiency for your household. Regardless of disruptions to large-scale food systems, you’ll have a source of fresh grains to feed your family. You can choose heritage and heirloom varieties perfect for your needs.
- Economic recessions, pandemics, climate events, and conflict can all threaten widespread food availability. A homegrown grain supply provides insurance against such disruptions.
- Heirloom and heritage grains often have superior flavor and adaptation to local conditions compared to mass-produced varieties. You can grow grains perfectly suited to your taste, land, and environment.
- Pass down treasured grain varieties through the generations. Save seeds each harvest to perpetuate the unique traits of heirloom grains over many planting cycles.
Opportunity for Sustainable Agriculture
Growing ancient grains allows you to practice organic, earth-friendly agriculture. Use natural pest control, efficient irrigation, and regenerative techniques like composting and cover crops. Share knowledge and engage your community to support wider adoption of sustainable agriculture practices.
- Building soil organic matter through practices like cover cropping improves water holding capacity while sequestering carbon. Healthy soil also yields more nutrient-dense grains.
- Using organic fertilizers made from manures, composts, and minerals avoids synthetic chemicals that can harm soil biology, pollute waterways and reduce biodiversity.
- Employing companion planting and beneficial insect habitat near grain crops reduces the need for pesticides while supporting populations of pollinators and natural pest predators.
How to Cultivate South American Grains at Home
Follow these key steps for growing a thriving crop of quinoa, amaranth, chia or other heirloom grains:
Choosing the Right Location
Select a site with full sun, nutrient-rich soil, and good drainage. Research the ideal climate range and space needed for the grains you want to grow.
- Most grains need a minimum of 6-8 hours of direct sunlight daily for robust growth and seed production. Morning sun is especially important.
- Test soil pH and nutrient levels. Target a pH of 6.0-7.0. Amend soil with compost to improve fertility and drainage if needed.
- Ensure adequate space for the mature size of the plants, allowing at least 12-18 inches between most grain crops. More for larger varieties like quinoa.
- Talk to local extension offices to identify grain varieties that thrive in your USDA zone. Certain heirlooms are better adapted to your microclimate.
Preparing the Soil
Test soil pH and nutrient levels. Till in organic compost to improve fertility, drainage and moisture retention before planting.
- Take samples from several areas and multiple soil depths to understand your soil makeup and conditions.
- Target a soil pH of 6.0-7.0 for most grains. Spread lime if too acidic or sulfur if too alkaline.
- Spread 1-2 inches of mature compost over site and incorporate into top 6 inches of soil. Compost boosts nutrients and beneficial microbes.
- Just before planting, rake soil smooth and create raised beds for improved drainage. Install drip irrigation if possible.
Selecting the Right Grains
Choose heirloom varieties suited to your region’s growing conditions and climate. Consider space limitations, yield potential, and personal preferences too.
- Talk to other local growers, extension services, vendors, and seed savers to identify regional heirloom varieties.
- Compare days to maturity, height, and yield for different varieties to select types suited to your space and goals.
- Certain ancient grains like amaranth and quinoa come in beautiful colors beyond basic cream or beige. Grow a rainbow!
- Save seed from top performers each harvest to adapt varieties over time to your specific land, climate and growing practices.
Understanding Growing Conditions
Learn optimal temperatures, sunlight, soil pH, watering needs and more for your chosen grains. For example, amaranth thrives in hot, dry conditions. Quinoa prefers more moderate temperatures and humidity. Tailor conditions to suit each grain variety.
- Most heirs require at least 6-8 hours of direct sun daily and 70-95°F temperatures through the growing season.
- Review USDA zone compatibility. For example, kañiwa and amaranth thrive in zones 8-11 while quinoa can grow in zones 4-11.
- Provide evenly moist, well-drained soil. Allow it to partly dry between waterings but don’t let plants wilt severely.
- Apply a balanced organic fertilizer at planting and midseason. Top dress with compost and use compost tea to provide nutrients during growth.
Step-by-Step Cultivation Guide
Follow these key steps for planting, caring for, and harvesting your grains:
Preparing Seeds
- Sort seeds to remove debris, damaged or unripe seeds. Select large, robust seeds for planting.
- Soak seeds overnight to initiate germination. Drain, rinse and dry seeds before planting.
- Sow pre-sprouted seeds in trays using a sterile seed starter mix. Provide warmth and humidity until sprouted.
Planting
- Harden off seedlings, then transplant into garden beds spaced 12-18 inches apart after danger of frost passes.
- Or directly sow pre-sprouted seeds 1-2 inches deep and 12-18 inches apart in prepared beds once soil warms above 70°F.
- Follow specific spacing guidelines for the grain variety you are growing to allow adequate room for growth.
Watering and Nutrients
- Provide 1-2 inches of water per week from rainfall or irrigation. Avoid overwatering.
- Side dress plants with an organic balanced fertilizer when plants are 6 inches tall and again at flowering.
- Water deeply and allow soil to partly dry between waterings. Increase frequency during flowering and grain fill stages.
Pest/Disease Control
- Scout regularly for signs of diseases like leaf spots or insect damage and treat organically at first sight.
- Remove any diseased plant material promptly to avoid spreading issues. Disinfect tools between plants.
- Attract beneficial insects like ladybugs and lacewings by providing diverse flowering plants near grains.
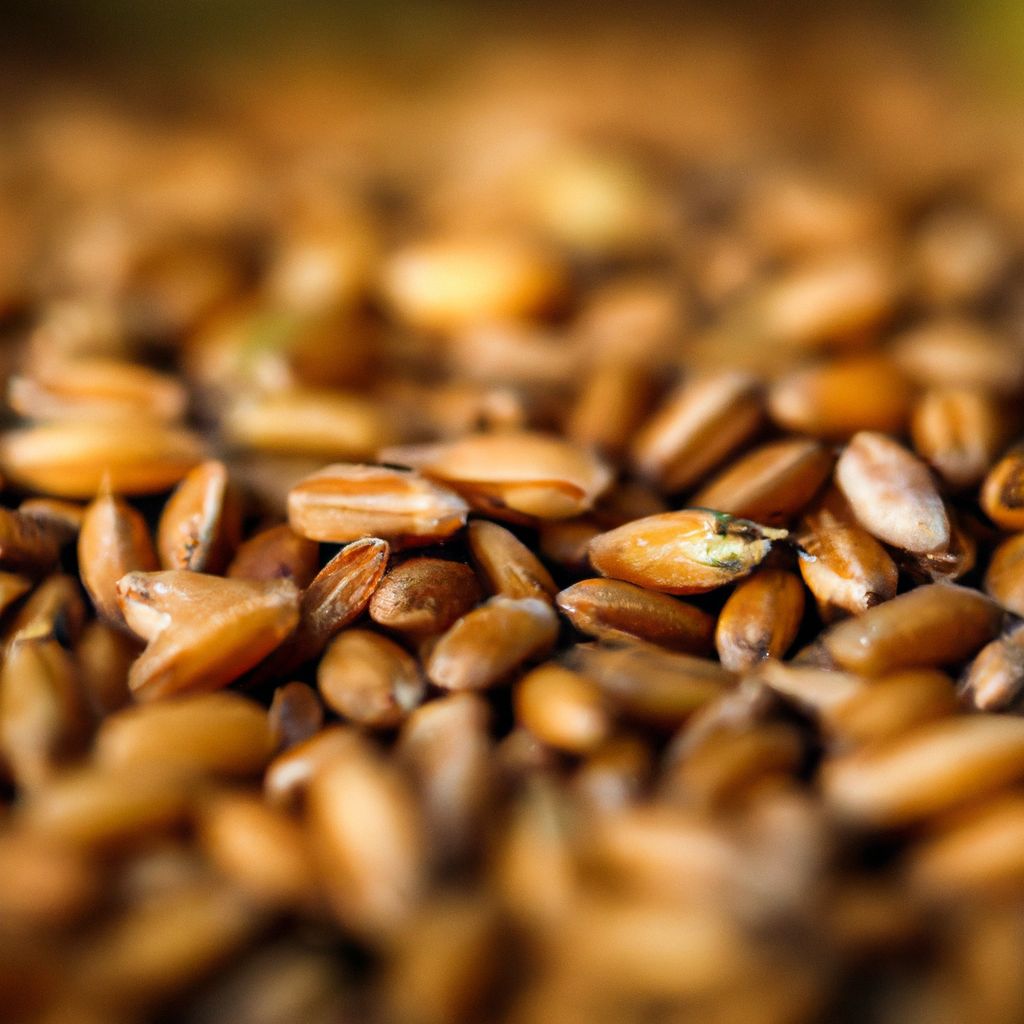
Harvesting
- Allow seed heads to fully ripen and dry out on plants before harvesting. Test grain hardness periodically.
- When hard, cut entire seed heads and place in bags or bins. Remove any green shoots missed during cutting.
- Hang or spread grain stalks under cover with good airflow until thoroughly dry, about 2 weeks.
Storing
- Thresh grains from stalks by beating bags or flailing stalks. Winnow to remove chaff.
- Clean grains and store in sealed glass jars or food-grade plastic buckets in a cool, dark place.
- For long term storage, place grains in Mylar bags with oxygen absorbers prior to sealing buckets, jars or cans.
Tips for Success Growing South American Grains
- Select heirloom varieties suited to your specific climate and growing conditions.
- Prepare growing beds with finished compost to optimize soil health, nutrients, and drainage.
- Start seeds early indoors to maximize growing season length in your area.
- Use row covers at planting to boost warmth, especially in cooler climates. Remove once flowering begins.
- Install trellising for larger grain crops like quinoa to support heavy seed heads.
- Avoid over-fertilizing, especially with nitrogen. This promotes excessive foliage over seed production.
- Monitor soil moisture frequently and irrigate evenly throughout growth for robust plants.
- Control weeds when plants are young and vulnerable. Mulch heavily to smother weeds.
- Be proactive about scouting for pests and disease. Identify and address issues early before they spread.
- Time dry down and harvest carefully. Pick when grains are mature but before rains arrive.
- Follow best practices for drying, threshing, and storage to preserve grain quality and freshness.
FAQs About Growing Ancient Grains at Home
What are some examples of South American grains?
Popular heirloom varieties include quinoa, amaranth, chia, kañiwa, kiwicha, and Andean wild rice. Each has unique growing requirements.
What is the best climate for growing these grains?
Most thrive in consistently warm weather with moderate humidity and temperatures between 70-90°F. Review each grain’s ideal climate zone.
How much space do I need to cultivate South American grains?
Space needs vary by variety, but most require garden beds or plots of at least 10 square feet per plant. Ensure proper spacing for airflow and growth.
What are common pests and diseases?
Watch for aphids, mites, caterpillars, beetles, fungal diseases, and viral infections. Maintain healthy soil and plants to prevent most issues.
When is the best time to harvest?
Allow seed heads to fully mature and dry out naturally on plants before cutting stalks to thresh grains. Time harvesting just before rains arrive.
Can I cultivate South American grains in containers?
Some small grains like amaranth and millet can grow well in large containers, at least 5 gallons. Provide quality potting mix and sufficient water.
How much can I yield from a 10×10 plot?
You can reasonably expect anywhere from 1 to 4 pounds of grain per 10 square foot plot depending on the variety. Productivity increases over years as soil health improves.
What’s the best way to prepare cooked grains?
Rinse and drain soaked grains very well. Combine 1 cup grain to 2 cups liquid in a saucepan. Simmer with lid tilted until liquid is absorbed, about 15-20 minutes. Fluff with fork.
How do I grind grains into flour at home?
You can use a heavy duty blender, food processor, or invest in a quality hand-crank or electric flour mill to grind small batches of grains into fresh flour.
What’s the shelf life of raw grains?
Stored properly in airtight containers in a cool, dry place, most grains will keep for 9-12 months. For longer term storage of over a year, consider refrigeration or freezing of grains.
The Rewards of Growing Ancient Grains at Home
Cultivating your own quinoa, amaranth, chia and other heirloom grains connects you to history while providing exceptional nourishment and flavors. Follow organic growing practices to enjoy the benefits of fresh, additive-free grains straight from your garden. With the right techniques, you’ll be harvesting and enjoying the fruits of your labor in no time. Discover the joys of homegrown ancient grains this season!


