


Dill (Anethum graveolens) is a beloved herb that has graced gardens and kitchens for centuries with its distinctive aroma and flavor. This feathery-leaved annual offers a delightful addition to any culinary endeavor, from pickles to seafood dishes. But beyond its culinary prowess, dill offers a wealth of benefits that make it a must-have in any herb garden. Read on to learn everything that you need to know about dill plant care and how to enjoy this delicious herb from your home garden.
The Allure of Dill
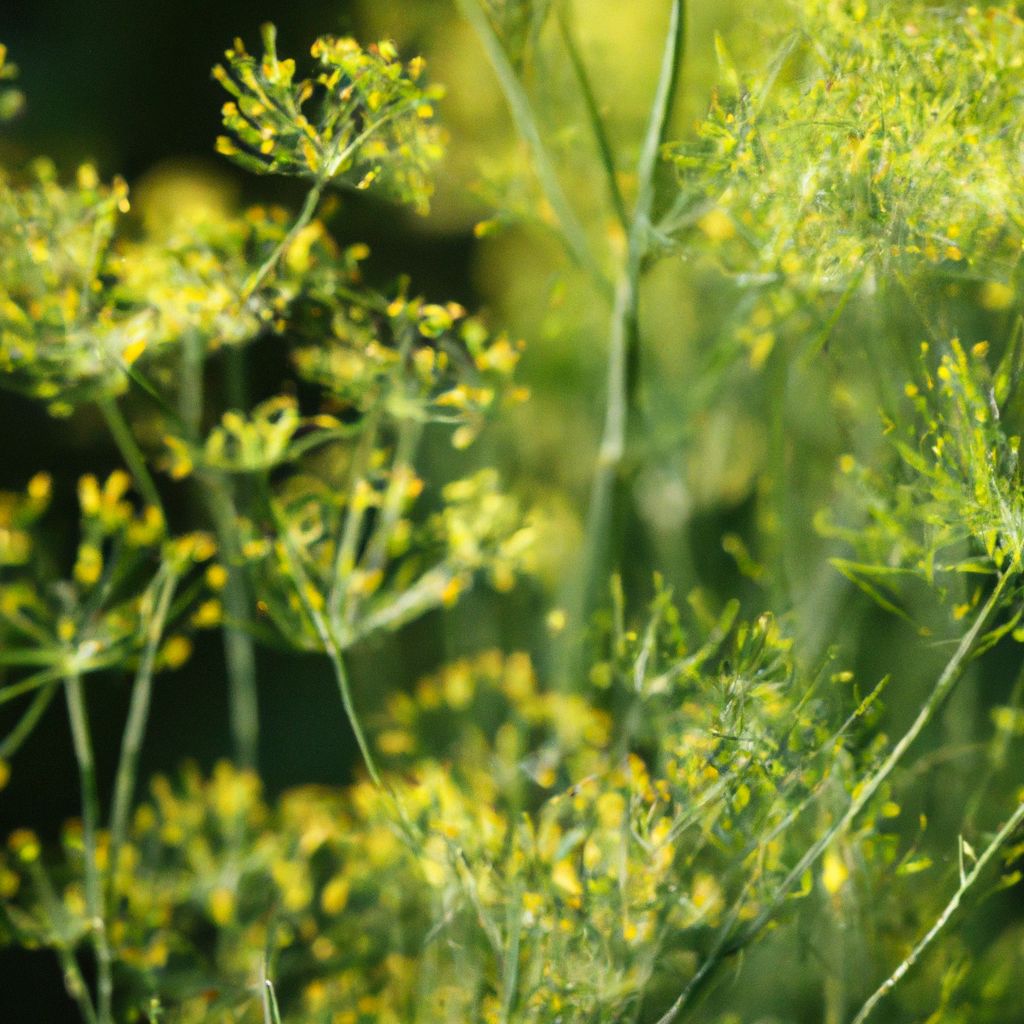
With its slender stems and delicate umbels of yellow flowers, dill adds a touch of whimsy to any garden setting. Its foliage is not only visually appealing but also emits a captivating fragrance that can fill the air with its pleasant, slightly anise-like scent.
But dill’s charm extends far beyond its aesthetic appeal. This versatile herb is rich in essential nutrients, including vitamins A and C, as well as minerals like iron and manganese. Additionally, dill boasts antioxidant properties that may help protect against free radical damage and promote overall health.

Choosing the Perfect Location
To cultivate a thriving dill patch, it’s essential to select the right location. Dill thrives in full sun, requiring at least six to eight hours of direct sunlight each day. This herb prefers well-draining soil that is slightly acidic, with a pH range between 5.5 and 6.5.
Sandy or loamy soils are ideal for dill cultivation as they allow for proper drainage and prevent waterlogging, which can lead to root rot. If your soil is heavy and dense, consider amending it with compost or other organic matter to improve drainage and aeration.
Light Requirements
Dill is a sun-loving herb that requires ample sunlight to flourish. It should receive a minimum of six to eight hours of direct sunlight each day, preferably in the morning and early afternoon hours.
If you’re growing dill in a partially shaded area, it may become leggy and produce fewer leaves and seeds. Additionally, inadequate light can lead to a weaker aroma and flavor.
Soil Preferences
Dill prefers well-draining soil that is slightly acidic, with a pH range between 5.5 and 6.5. This soil condition allows the plant’s roots to establish themselves properly and access the necessary nutrients for optimal growth.
Here is a table illustrating the ideal soil types for dill cultivation:
| Soil Type | Suitable for Dill |
|---|---|
| Sandy | Yes |
| Loamy | Yes |
| Clay | No |
If you have clay soil, which tends to hold excessive moisture, consider amending it with compost or other organic matter to improve drainage and aeration.

Planting Dill Seeds
Once you’ve chosen the perfect location for your dill plants, it’s time to sow the seeds. Dill can be planted directly in the garden or started indoors for an earlier harvest.
When to Plant
The ideal time to plant dill seeds depends on your climate and the desired harvest period. In general, dill can be planted in early spring or fall when the soil temperature reaches around 60°F (15.6°C).
If you live in a region with cooler temperatures, consider starting your dill seeds indoors four to six weeks before the last expected frost date. This head start will ensure your plants are well-established when transplanted into the garden after the danger of frost has passed.
Seed Depth and Spacing
When sowing dill seeds directly in the garden, plant them approximately 1/4 inch deep and space them 6 to 8 inches apart. This spacing allows ample room for the plants to develop their delicate foliage and establish a strong root system.
If you’re starting your seeds indoors, sow them in seed trays or containers filled with a well-draining seed-starting mix. Once the seedlings have reached 3 to 4 inches in height and have developed their first set of true leaves, they can be transplanted into the garden, maintaining the recommended spacing.
Remember to water the seeds gently after planting and keep the soil consistently moist throughout the germination process, which typically takes 7 to 14 days.

Watering and Maintaining Moisture
Proper watering is crucial for the success of your dill plants. While dill prefers consistently moist soil, it’s essential to avoid overwatering, as this can lead to root rot and other fungal diseases.
Watering Frequency
As a general guideline, water your dill plants once every 1 to 2 weeks, or whenever the top inch of soil feels dry to the touch. Provide approximately 1 inch of water each time, allowing it to penetrate deeply into the soil and reach the root zone.
During periods of high heat or drought, you may need to increase the frequency of watering to prevent the soil from drying out completely.
Mulching Techniques
To help retain moisture and suppress weed growth, consider applying a layer of organic mulch around your dill plants. Suitable mulching materials include:
- Straw
- Shredded leaves
- Wood chips
- Grass clippings
Apply a 2 to 3-inch layer of mulch around the base of the plants, being careful not to cover the stems or leaves. The mulch will help reduce evaporation and maintain a consistent soil moisture level, minimizing the need for frequent watering.
Fertilizing Dill Plants
While dill is not a heavy feeder, providing appropriate fertilization can promote healthy growth and abundant foliage. There are several options for fertilizing your dill plants:
Organic Fertilizers
Organic fertilizers, such as compost or well-rotted manure, are excellent choices for nourishing dill plants. These natural sources provide a slow-release of essential nutrients and improve soil structure, fostering a healthy growing environment.
To apply organic fertilizers, work a 2 to 3-inch layer into the soil before planting. You can also side-dress the plants with compost or manure during the growing season, being careful not to bury the stems.
Balanced Fertilizers
If you prefer to use a commercial fertilizer, opt for a balanced, all-purpose fertilizer with equal ratios of nitrogen, phosphorus, and potassium (NPK). Look for formulations labeled as 10-10-10 or 14-14-14.
Apply the fertilizer according to the manufacturer’s instructions, typically at the time of planting and every four to six weeks throughout the growing season.
When to Fertilize
The best time to fertilize dill plants is during the early growth stage, approximately two to four weeks after planting or transplanting. This initial boost of nutrients will encourage robust foliage development and promote overall plant vigor.
Continue to fertilize every four to six weeks throughout the growing season, following the specific instructions for your chosen fertilizer product.

Controlling Weeds and Pests
Like any garden plant, dill can be susceptible to weed competition and pest infestations. Implementing proactive measures to control these threats is crucial for a bountiful harvest.
Common Weeds Affecting Dill
Some of the most common weeds that can impact dill plants include:
- Dandelions
- Crabgrass
- Purslane
- Quackgrass
- Lamb’s quarters
- Bindweed
These weeds can compete with dill for nutrients, water, and sunlight, potentially stunting its growth or even causing the plants to wilt and die.
To control weeds, implement the following strategies:
- Manual removal: Regularly inspect your dill plants and carefully pull out any visible weeds by hand or with a small garden tool.
- Mulching: Applying a layer of organic mulch, such as straw or wood chips, can help suppress weed growth and retain soil moisture.
- Crop rotation: Rotating the location of your dill plants each year can disrupt weed cycles and prevent the establishment of persistent weeds.
Safe Pest Control Methods
Dill can be susceptible to various pests, including aphids, caterpillars, and spider mites. While these pests can be frustrating, there are several safe and effective methods for controlling them without resorting to harsh chemical pesticides.
Encourage Beneficial Insects
One of the most effective strategies for pest control is to encourage the presence of beneficial insects, such as ladybugs, lacewings, and parasitic wasps. These natural predators feed on common garden pests, helping to maintain a balanced ecosystem in your garden.
To attract beneficial insects, consider planting companion plants like marigolds, dill, or yarrow, which can serve as food sources and shelter for these helpful creatures.
Use Organic Insecticides
If pest infestations become severe, you can turn to organic insecticides as a last resort. Some safe options include:
- Neem oil: Derived from the neem tree, this natural oil disrupts the life cycle of many insects and can help control infestations.
- Insecticidal soaps: These soaps are made from plant-based oils and can effectively control soft-bodied pests like aphids and spider mites.
- Bacillus thuringiensis (Bt): This naturally occurring bacteria is specific to certain types of caterpillars and moths, making it an effective control method without harming beneficial insects.
When using any organic insecticide, be sure to follow the manufacturer’s instructions carefully and apply the product at the recommended times and rates.
Maintain Plant Health
Healthy, vigorous plants are better equipped to withstand pest infestations and recover from any potential damage. Ensure your dill plants receive adequate sunlight, water, and nutrients by following the guidelines outlined in this guide. Well-cared-for plants are less susceptible to stress and are better able to defend themselves against pests.

Harvesting Dill
One of the most rewarding aspects of growing dill is the ability to harvest its aromatic foliage and seeds for culinary use. Knowing when and how to properly harvest dill will ensure you can enjoy its flavor at its peak.
Identifying When Dill is Ready for Harvest
Dill leaves are typically ready for harvesting once the plant reaches a height of 12 to 18 inches, and the foliage has developed its distinct, robust aroma. This typically occurs about 60 to 70 days after planting.
If you’re interested in harvesting dill seeds, wait until the flower umbels have turned brown and dried on the plant. This indicates that the seeds have fully matured and are ready for collection.
Proper Harvesting Techniques
When harvesting dill leaves, choose a dry, sunny day and use sharp, clean scissors or pruners to snip the stems about 2 to 3 inches above the ground. Be sure to leave at least one-third of the plant intact to encourage continued growth and future harvests.
To harvest dill seeds, cut the entire flower head or umbel from the plant once it has turned brown and dried. Place the harvested umbels in a paper bag or container and allow them to fully dry for a few days. Once completely dry, shake or gently rub the umbels to release the seeds, separating them from the chaff.
Preserving and Storing Dill
Fresh dill leaves and seeds have a relatively short shelf life, so it’s essential to take steps to preserve their flavor and aroma for longer-term use.
Drying Dill Leaves
One of the most popular methods for preserving dill leaves is air-drying. To air-dry dill, follow these steps:
- Gather the freshly harvested dill sprigs and remove any discolored or damaged leaves.
- Tie the sprigs together using kitchen string or rubber bands.
- Hang the bundles upside down in a warm, well-ventilated area out of direct sunlight.
- Allow the dill to dry completely, which can take several days to a week, depending on the humidity level.
- Once dry, remove the leaves from the stems and store them in an airtight container in a cool, dark place.
Alternatively, you can use a food dehydrator or oven set to the lowest temperature to dry dill leaves more quickly.
Freezing Dill Leaves
If you prefer to preserve the fresh flavor of dill leaves, freezing is an excellent option. To freeze dill leaves, follow these steps:
- Rinse the fresh dill leaves and pat them dry with a paper towel.
- Remove the leaves from the stems and chop them coarsely.
- Spread the chopped dill leaves in a single layer on a baking sheet lined with parchment paper.
- Place the baking sheet in the freezer until the leaves are frozen solid, about 1 to 2 hours.
- Transfer the frozen dill leaves to an airtight container or freezer-safe bag, squeezing out as much air as possible.
- Store the frozen dill leaves in the freezer for up to 6 months.
Storing Dill Seeds
Dill seeds can be stored for extended periods, allowing you to enjoy their flavor year-round. To properly store dill seeds:
- Ensure the seeds are completely dry before storing.
- Place the seeds in an airtight container or zip-top bag.
- Store the container in a cool, dark, and dry location, such as a pantry or cupboard.
- Properly stored dill seeds can maintain their flavor and viability for up to 3 years.

Culinary Uses for Dill
Dill’s unique flavor and aroma make it a versatile ingredient in a wide range of culinary applications. Here are just a few ways to incorporate this flavorful herb into your cooking:
- Pickling: Fresh or dried dill leaves and seeds are essential ingredients in many pickle recipes, adding a distinctive taste to pickled cucumbers, beets, and other vegetables.
- Seafood dishes: The subtle anise-like flavor of dill pairs beautifully with fish and shellfish, making it a popular addition to recipes like gravlax, seafood salads, and dill-infused butter for grilling or baking.
- Egg dishes: Fresh dill leaves can add a bright, herbaceous note to omelets, quiches, and scrambled eggs.
- Soups and stews: Dill can lend its unique flavor to soups, stews, and chowders, particularly those featuring potatoes, cabbage, or beets.
- Salads and dressings: Toss fresh dill leaves into green salads or incorporate them into vinaigrettes and dressings for a burst of flavor.
- Baked goods: Dill’s subtle sweetness can enhance the flavor of breads, rolls, and even some desserts, like dill-infused shortbread cookies.
- Dips and spreads: Fresh or dried dill can be a flavorful addition to dips like tzatziki or herb-infused cream cheese spreads.
With its versatile flavor profile and ability to enhance a wide range of dishes, dill is a must-have herb for any culinary enthusiast.
Embracing the Dill Adventure
Growing dill in your home garden is a rewarding experience that not only provides you with a fresh supply of this aromatic herb but also introduces a touch of whimsy and beauty to your outdoor space. By following the steps outlined in this comprehensive guide, you’ll be well-equipped to cultivate a thriving dill patch and enjoy its many benefits.
From selecting the perfect location and properly planting the seeds to maintaining optimal moisture levels and controlling pests, each stage of the dill-growing process is an opportunity to deepen your connection with nature and cultivate a greater appreciation for the magic of gardening.
So, embrace the dill adventure, and let this fragrant herb fill your garden and kitchen with its captivating aroma and flavor. Whether you’re an experienced green thumb or a budding gardener, the rewarding journey of growing dill is sure to be a delightful and enriching experience.


