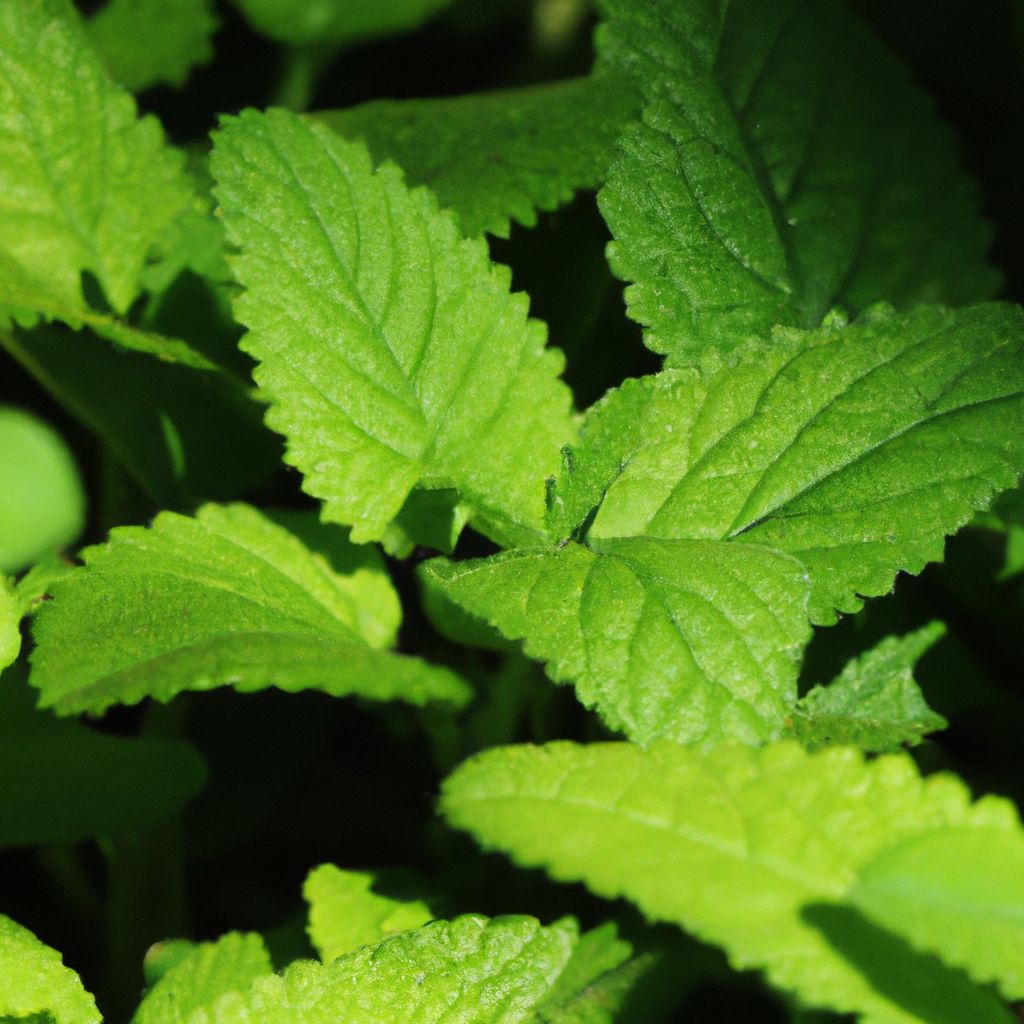
Jerusalem artichokes, also known as sunchokes or sunroots, are a versatile and easy-to-grow crop that can be cultivated in home gardens. This comprehensive guide covers everything you need to know about Jerusalem artichoke cultivation so that you can successfully grow these nutritious tubers, from choosing the right location and preparing the soil to harvesting and storage best practices.
Why Grow Jerusalem Artichokes?
Jerusalem artichokes offer numerous benefits that make them a valuable addition to any vegetable patch or permaculture project:
Health and Nutrition Benefits
- Excellent source of fiber, iron, potassium and vitamin C
- One medium tuber provides 10% of daily fiber needs
- High mineral content with phosphorous, magnesium and copper
- Low starch levels help regulate blood sugar
- The prebiotic fiber inulin feeds intestinal microbiome
- Supports digestive health and immune system function
Resilient, High-Yielding Plants
- Extremely hardy, pest and disease resistant varieties
- Tolerate poor soil, drought, extreme temperatures
- Tall plants up to 10 feet develop extensive root systems
- Each plant can yield 2-4 pounds of tubers
- Much higher yields per square foot than potato crops
Culinary Versatility
- Sweet, nutty flavor lends well to many cooking methods
- Use like potatoes in soups, baked goods and fried dishes
- Slice thin and eat fresh in salads
- Substitute in recipes for water chestnuts
- Works beautifully in stir fries adding great texture
- Flour made from tubers is gluten-free
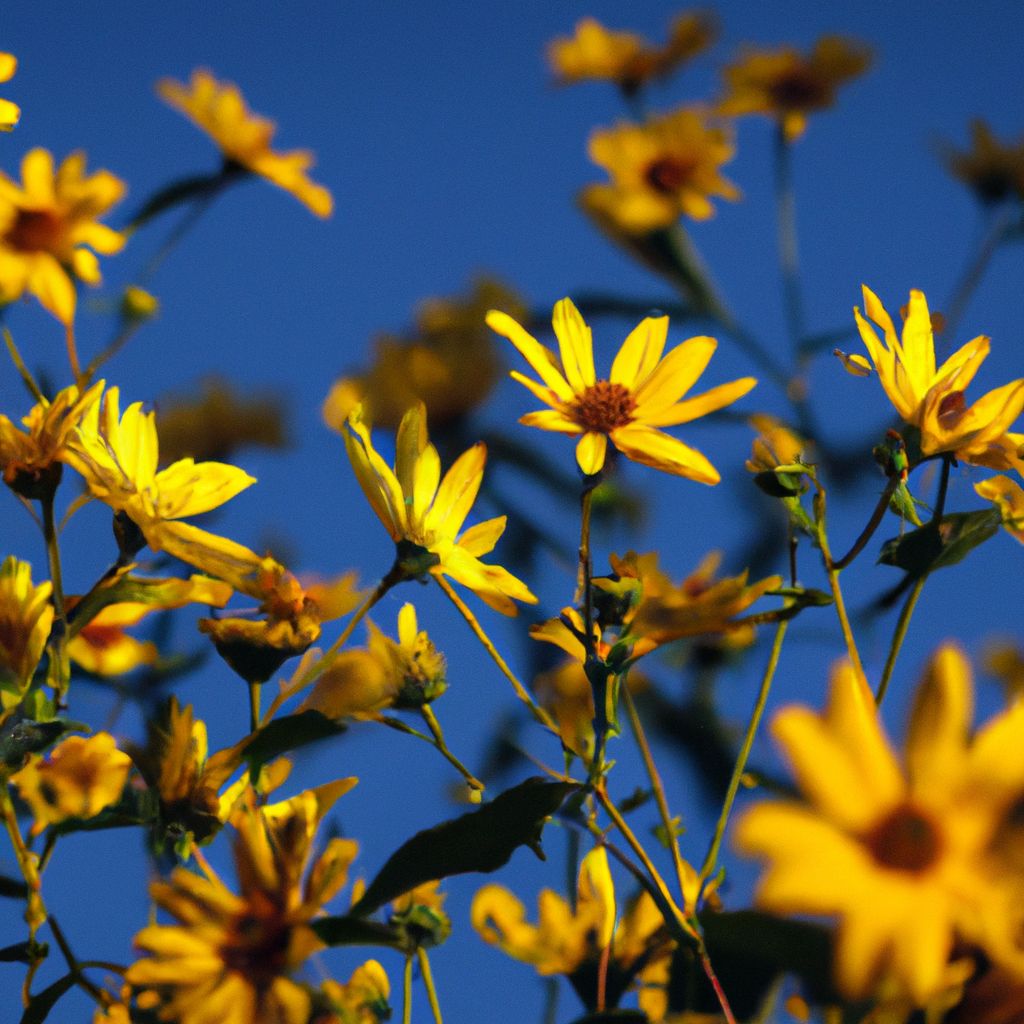
In addition to edible tubers, the late season yellow flowers add ornamental value. The resilience and yields of Jerusalem artichokes make them ideal for permaculture gardens. Because they tend to freely self-seed, dedicate part of the landscape to Jerusalem artichokes to prevent them from spreading everywhere.

Choosing the Best Location
Selecting an appropriate growing site is key for success with Jerusalem artichokes:
Sun Requirements
Jerusalem artichokes require full sun – at least 8 hours of intense direct sun daily results in the highest yields. Areas receiving 6 hours of sun are marginally suitable but plants will be smaller and less productive. Heavily shaded locations should be avoided.
Soil Requirements
These plants thrive best in loose, well-draining loam or sandy loam soil enriched with 3-4% organic matter. However, Jerusalem artichokes are adaptable to a fairly wide range of soil conditions:
- Tolerate acidic to slightly alkaline pH between 5.5-7.5
- Can grow successfully even in rocky ground or heavy clay
- Poor soil quality simply reduces yields
Space Requirements
The vigorous growth habit commands adequate room:
- Minimum 2 feet spacing between plants
- Optimal spacing 3 feet apart in rows 5 feet apart
- 10 plants requires about 200 square feet
- Limit to a dedicated bed or border to contain spread
Water Accessibility
Having good water access is more important with sandy versus clay soil. Plan new plantings near easily accessed spigots or water lines. Established stands are quite drought hardy due to deep root systems.
Preparing Planting Beds
Advance planning when readying planting beds makes for healthier plants:
Site Preparation Timeline
For new Jerusalem artichoke beds, start soil preparation the season prior to planting. This allows sufficient time to deeply enrich and condition the soil.
Remove Unwanted Vegetation
Completely eliminate weeds including roots. Perennial grasses and bindweed are especially difficult to remove once established. Solarization, sheet mulching and smothering with landscape fabric are effective organic methods.
Loosen Subsoil & Mix In Organic Matter
Double dig or till beds to a depth of 10-12 inches, loosening compacted subsoil. Mix in 2-3 inches of aged compost or rotted manure. Ensure organic matter contacts the lower soil levels where tuber development initiates.
Level Soil & Check Drainage
Rake beds smooth, removing rocks or debris. Test drainage by watering beds well and verifying no standing water remains the next day. Sprinkle sand or small gravel if drainage needs improvement in clay beds.
Check and Adjust pH
Test soil pH and mix in amendments like lime, sulfur or wood ash based on test recommendations. Getting pH in the ideal 6.0-7.0 range supports maximal nutrient availability for plants.
Time Soil Preparation in Fall
For cold winter climates, prepare beds in early fall once night temperatures cool. This allows the organic matter to break down over winter. Prepared beds can be planted first thing spring or covered with plastic sheeting to solarize, killing remaining weed seeds and pathogens.

Obtaining and Storing Planting Stock
Sourcing high quality tubers for propagation is well worth the effort:
Purchase Certified Seed Stock
Order from reputable suppliers who specifically grow Jerusalem artichoke seed tubers for propagation. These vigorous seed-grade tubers produce more robust plants than supermarket knobby tubers sold for eating.
Selecting Appropriate Varieties
Choose early to mid-season varieties suited to your particular growing region and climate conditions. Late maturing varieties may not fully develop tubers before frost in short season zones.
Ask for input from local master gardeners regarding best performing varieties in your area. Some recommended heirloom varieties include:
- Fuseau – mid-late, great for northern zones
- Mullers Mammoth Red – very early
- Stampede – early producer with pink skin
- White French – cold hardy, stores well into winter
Assess Tuber Quality
Inspect tubers upon delivery before accepting shipment. Avoid any with soft spots, cracks, mold or signs of rotting. Select smooth, firm tubers around 2 inches diameter. Much smaller tubers may fail to propagate well.
Interim Tuber Storage
If unable to plant right away, store tubers 2-3 months in perforated plastic bags at 40°F and high humidity. A refrigerator crisper drawer provides suitable interim storage conditions. Ventilate bags occasionally to prevent condensation buildup.
Determine Planting Quantities
For a smaller in-ground garden plot, start with 15-25 tubers which will yield 10-15 pounds of fall tubers. Larger plantings of 50-100 tubers produce heavy yields – plan for 50+ pounds at maturity.
Container gardens work well for Jerusalem artichokes too. Allow at least 20 gallon pots and 4-5 tubers per container.
When and How to Plant Outdoors
Jerusalem artichoke planting times vary by climate:
Spring Planting
In short season climates, set tubers out 4-6 weeks before the average last spring frost once soil has reached 50°F. This early planting allows plants to become established before peak summer heat.
- Northern zone 6/7 areas: mid April – early May
- Southern zone 8 areas: late March – mid April
- Cover plantings if light frost occurs
Fall Planting
In mild to warm winter climates, planting can occur in early fall 6-8 weeks before first expected frost. Choose early maturing varieties for success with this method.
- Zone 8/9 gardens: late September – mid October
- Zone 7 gardens: early-mid September
- Zone 5/6 gardens: early-mid August
Planting Technique
Dig trenches 4-6 inches deep, spaced 12-18 inches apart. Place tubers horizontally 3-4 inches deep, 6-8 inches apart in rows. Stagger tubers in adjoining rows. Cover lightly with soil then water thoroughly to help settle soil around tubers.

Supporting Growth Needs
Attentive care during the growing season is important for strong plants:
Water Needs
Supply 1 inch of water weekly in sandy soils, slightly less in clay beds. Rely on rainfall if possible or hand water. Avoid waterlogged conditions around tubers which causes rotting. Plants are quite drought tolerant overall except during spring establishment.
Sun Needs
If tubers are planted in partially shaded beds, rotate container plantings to optimize light exposure. Consider temporarily erecting support frames draped in horticulture fabric to provide supplemental sunlight in densely shaded gardens.
Nutrient Needs
To fuel vigorous growth, Jerusalem artichokes benefit from regular feeding:
Organic Fertilizer Application Schedule
- Early spring emergence – high nitrogen mix
- Monthly during active growth – balanced organic blend
- Mid August – discontinue fertilizing so plants harden off for dormancy
Mix amendments into soil around plants taking care to avoid direct tuber contact which can cause burning. Compost tea delivers an excellent nutrient boost too.
Support for Tall Growth
Once plants exceed 5 feet, set 7 foot stakes next to stems. Tie plants loosely to stakes to prevent toppling from wind or heavy tubers which can snap stems.
Determining Peak Harvest Time
Mature Jerusalem artichoke plants show these indicators signaling peak harvest season:
Maturity Indicators
- Total height 10-12 feet
- Yellowed, dried foliage with defoliation by early winter
- Brown dried flower head centers
- Above ground plant parts collapse following hard frost
- Tubers reach maximum size by late fall
Sequential Harvest Stages
There are two distinct tuber development stages to base harvest timing on:
Early Harvest – Late Summer
- smaller 1-3 inch diameter tender new tubers
- best for fresh eating with thin skin
- harvesting a portion of tubers allows remaining tubers to size up
Main Harvest – Early Winter
- largest 5-6 inch tubers
- harvest when 2/3 of stem foliage is dried up
- primary storage and processing tubers
Ongoing Productivity
Instead of harvesting all tubers, leave some to overwinter in the ground. In spring they reshoot quickly, providing early harvests. A new subsequent crop of large tubers develops by late fall under the new foliage for winter storing.

How to Harvest Tubers
Follow these guidelines for safely gathering tubers at maturity:
Harvesting Tools
Have ready clean gloves, pitchforks, shovels, soft brushes, storage containers/baskets.
Manual Removal Method
Carefully hand dig around stems with pitchfork or shovel starting 6+ inches away to avoid spearing tubers. Extract soil in layers, gently removing tubers as encountered. Take care not to slice tubers open with shovel blades.
Mechanical Harvester Options
For large plantings, consider:
- manual turn plow to lift soil and expose tubers
- mechanical potato diggers which lift tubers to soil surface
- tractor fitted vegetable harvester for efficient wholesale harvesting
Post Harvest Handling
Leave tubers loosely piled for several hours up to 2 days until skins cure and firms up. Carefully transfer to storage containers without submerging in water as wet tubers readily rot.
Storage Fundamentals
Proper post harvest storage conditions are vital to prevent premature spoiling and maintain flavor:
Suitable Cool Storage Locations
- Unheated basement or cellar
- Back corner of refrigerated garage or shed
- Enclosed open air porch, balcony or mudroom
- Refrigerator crisper drawer for small quantities
Necessary Storage Conditions
The desired storage environment parameters are:
- Cool temperatures around 38-40°F
- High 80-95% relative humidity
- Complete darkness – cover clear containers
- Good airflow circulation
Appropriate Storage Containers
Store cured tubers in:
- Bushel baskets, mesh sacks or nylon bags
- Open trays or pans not more than 3 layers deep
- Cardboard boxes or vented crates
Routine Tuber Inspections
Check stored tubers every 2-3 weeks for signs of shriveling or spoilage. Promptly remove and use any questionable tubers, isolating them from the sound tubers. Stored properly, most varieties remain fresh 4+ months.
Preventing Excess Sprouting
Minimize premature sprouting of stored tubers. Ideal conditions are cool enough to largely prevent sprouting which negatively impacts texture and flavor. For warmer storage areas, pack tubers in peat moss or crumpled newspapers which physically obstructs sprouting.
Preventing Pest & Disease Problems
While Jerusalem artichokes are largely trouble free, be watchful for potential disease and insect issues:
Preventative Care Practices
- Grow tubers in a new location every 2-3 years using crop rotation
- Use raised beds filled with imported disease free topsoil
- Incorporate generous amounts of compost before planting
- Water at soil level avoiding wet foliage
- Promote good garden sanitation and cleanly dispose of spent plants and root debris
Common Diseases to Monitor
Fungal diseases such as early/late blight, botrytis rot, sclerotinia and verticillium wilt are main fungal threats. Signs are dark water soaked lesions, white fungal growth on stems and tubers. Promote open drying conditions and avoid working around wet plants.
Bacterial diseases like leaf spot and tuber soft rot infect tuber eyes and stems. Small dark lesions which expand and ooze reddish fluid signal bacterial infections. Sterilize tools after cutting out diseased tissue and dispose of it sealed in bags.
Viral diseases like mosaic virus cause distorted curling leaves with yellow mottling or streaking. Rogue infected plants immediately upon first symptoms before viruses spread via sucking aphids. Control weed population which harbors insect vectors.
For any disease outbreaks, identify the causal organism through lab testing so appropriate organic treatments can be implemented if a diagnoses is reached early enough.
Monitoring for Insect Problems
Slugs, snails, wireworms, beetle grubs and other chewing/sucking insects may damage young shoots or tunnel into tubers. Hand removal, trap cropping, applying diatomaceous earth or introducing beneficial predatory species helps provide control.
Catch issues early before they become unmanageable! Keep detailed garden notes regarding pest and disease challenges relative to particular varieties. Over time you can discern if certain varieties possess better disease resistance for your growing conditions.

Reap the Benefits of Nutritious Jerusalem Artichoke
Hopefully this comprehensive guide has provided all the key details required to start enjoying homegrown Jerusalem artichokes. From choosing the perfect location to troubleshooting storage methods, you now have the knowledge foundation to dive into Jerusalem artichoke cultivation with confidence. These resilient, multipurpose tuber plants have much to offer any vegetable plot or permaculture landscape. Get your tubers in the ground and let the adventure begin – soon you’ll be hooked on harvesting their delightful nutritious bounty!


