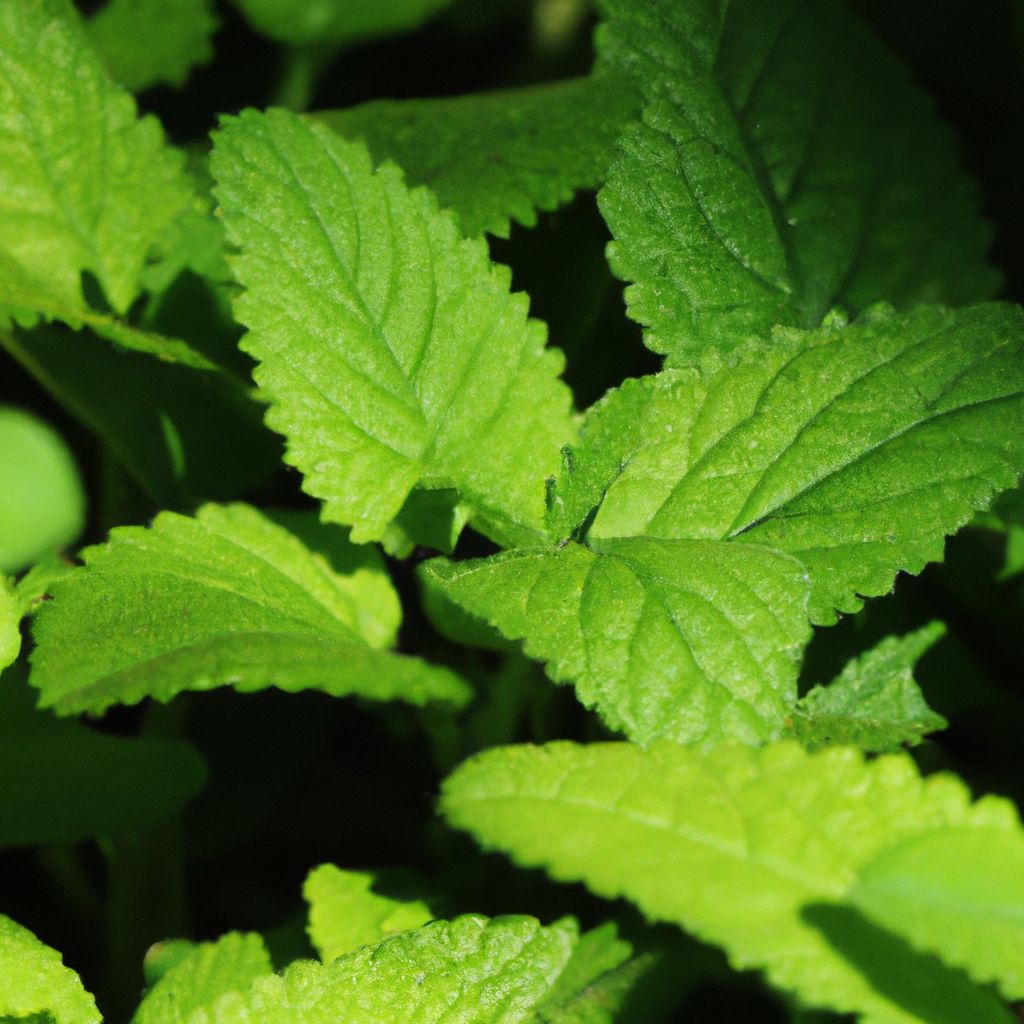
Yams are nutritious tuber vegetables that have been cultivated for centuries as a valuable food source. By following key steps for preparing, planting, caring for, and harvesting yams, even novice gardeners can master yams cultivation.
Understanding Yams
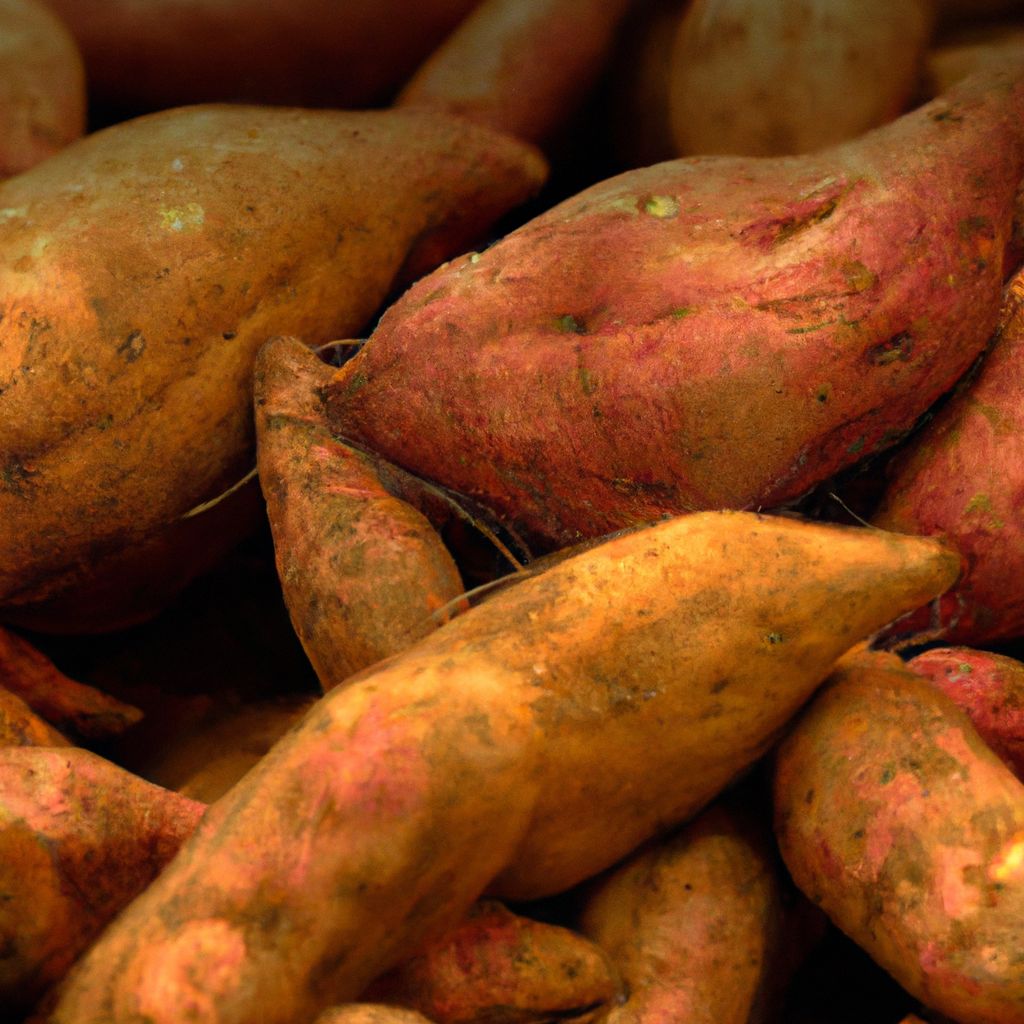
Yams belong to the Dioscorea genus and are often confused with sweet potatoes. However, yams have rough, brown skin and white or orange starchy flesh. They are packed with carbohydrates, potassium, fiber, and vitamin C. Yams serve as a staple crop in tropical regions.
What Are Yams?
Yams are starchy edible tubers grown in warmer tropical regions all over the world. They belong to the flowering plant genus Dioscorea in the family Dioscoreaceae. There are over 600 varieties of yams, with different sizes, shapes, tastes, textures, and colors.
Some key characteristics of yams include:
- Rough, thick, brown skin covers the tuber
- White, yellow, or purple flesh color
- Size ranges from small to over 100 lbs
- Taste is starchy and sweet
The most commonly consumed yam varieties are white yam, yellow yam, Chinese yam, Nepal yam, water yam, and air potato.
Yams are an excellent source of complex carbohydrates, potassium, vitamin C, vitamin B6, and fiber. Their starchy content provides a rich energy source.
Due to their nutritional value and culinary versatility, yams are considered a staple crop and food in tropical regions of Africa, Asia, Latin America, and the Pacific. They play an integral role in food security for over 60 million people worldwide.

Why Cultivate Yams?
There are many excellent reasons to cultivate yams:
Food Security
- Provide reliable, staple food source
- Nutrient-dense and energy-rich
- Can store well for future use
Economic Opportunity
- Valuable cash crop for domestic and international trade
- Require relatively low inputs for cultivation
- Help support local community development
Regenerative Agriculture
- Improve soil structure and fertility
- Control erosion due to extensive root systems
- Require fewer synthetic inputs
Cultural Significance
- Important part of rituals, traditions, festivals
- Help maintain community identity and heritage
- Pass down indigenous knowledge across generations
Overall, yam cultivation promises balanced nutrition, income generation, sustainable land management, and preserving time-honored customs.
Optimal Conditions for Growing Yams
Yams thrive best in tropical or subtropical environments under the following conditions:
Climate
- Warm weather (70°F to 90°F)
- High humidity
- Rainfall of 60-80 inches annually
- Frost-free season lasting 6 months or longer
Soil
- Well-drained, loose, deep soil to accommodate tuber growth
- Loamy or sandy clay soil
- pH between 5.5 to 6.5
- High organic matter content
Sunlight
- Full sun – minimum 6 hours direct sunlight daily
Provided these favorable conditions, yams will flourish. However, they remain adaptable to less ideal environments too. With careful attention, yams can grow in pots, greenhouses or temperate regions.

Preparing For Cultivation
Proper planning is key to successful yam cultivation. Choosing a site with fertile, well-draining soil and consistent moisture is optimal. Conducting a soil test helps determine amendments needed to create ideal growing medium.
It’s also vital to select healthy yam tubers or setts for propagation. Look for smooth, blemish-free tubers that feel firm and show no signs of rot. Larger setts with clearly defined eyes tend to grow more vigorously.
Selecting an Planting Site
Identifying the best location to grow your yam plants will set up their success from the start. Consider the following:
Sun Exposure – Pick a sunny position receiving at least 6 hours of direct light daily.
Soil Drains Well – Yam tubers will rot in soggy soil. Test drainage by digging a hole and filling with water. It should drain completely within an hour.
Protected from Wind – Sturdy trellises or windbreaks help shield yams from harsh wind exposure leading to broken stems or stunted growth.
Accessible Area – Find a site closeby to allow for frequent care and harvesting ease. Carrying tools, water, and harvested yams requires proximity.
Ample Room – Sprawling vines can extend 15 feet or more from the planted tuber. Allow enough area for vines to roam.
Soil Nutrients – Rich, tilled garden soil amended with aged manure or compost provides nourishment. Conduct soil test to determine needs.
After assessing sunlight, drainage, wind protection, accessibility, size and nutrients in potential planting sites, you can select the most promising location for vibrant, productive yam cultivation.
Preparing Planting Beds
Preparing proper planting beds lays the foundation for your yam tubers to thrive. Here are key tips:
1. Loosen Soil – Dig down 12-18 inches removing rocks, weeds, roots or debris. Break up any compacted soil with garden fork.
2. Mix in Nutrients – Blend aged manure, compost or all-purpose organic fertilizer into top 6 inches of loosened soil to enrich.
3. Shape Beds – Form raised beds about 3 feet wide and 8-10 inches high for improved drainage. Leave 2 feet between beds.
4. Add Support Structures – Install sturdy posts or trellises at the ends of beds for vines to climb upwards.
5. Water Thoroughly – Before planting tubers, deeply water prepared beds so soil settles around tubers later on.
Proper bed preparation sets up your yam tubers for sufficient drainage, nutrition and physical support – exactly what they need to thrive!
Acquiring Quality Yam Setts for Planting
Yam setts are cut sections of yam tubers used for propagation. Acquiring quality, disease-free yam setts gives your crop the best start. When selecting setts, check for:
- Smooth, intact outer skin free of blemishes
- No visible signs mold, decay or physical injury
- Several well-defined eyes (sprouting points)
- Firm, dense texture when gently squeezed
- Vibrant interior flesh color whether white, yellow or purple
Larger setts approximately 2-3 inches wide generally grow more vigorously. But smaller, quality setts remain highly effective too.
Seeking out reliable sources for high-grade yam setts is worth the effort. Consult reputable local nurseries, agriculture agencies and organic farmers familiar with yam varieties that thrive in your growing zone.
With prime yam setts secured, you’ve taken the first vital step towards later reaping a bountiful yam harvest.
Planting Techniques
Yams require 6-8 frost-free months to reach maturity. They thrive when daytime temperatures range from 75°F-85°F. Plant tubers in early spring once the soil has warmed.
When to Plant Yams
Determining optimal planting time for yams depends chiefly on weather and the first expected fall frost date in your area.
Most yam varieties require a minimum growing season of 5-6 months before harvest. Since yams hail from tropical zones, they thrive in consistent warm weather around 80°F. Cooler temperatures below 65°F slow growth dramatically.
Spring Planting
- Best when winters are mild to allow a long growing season
- Start seeds indoors 2 months before last spring frost date
- Transplant outdoors after danger of frost when soil warms to 65°F
- Protect transplants from temperature dips
Summer Planting
- Ideal for hot climates with a lengthy warm season
- Start seeds mid-summer for late fall harvest
- Site must be frost-free for 5 months minimum
Make sure soil has warmed adequately before planting. Yam tubers will rot in colder soil. Dig down 4 inches – soil should feel pleasantly warm. Track weather trends and plant accordingly for best results.
How to Plant Yam Tubers
Follow these guidelines for proper yam tuber planting techniques:
1. Cut Yam Into Setts
Cut larger yam tuber into smaller setts, leaving 2-3 eyes or sprouting points on each. Allow cuts to dry out overnight before planting.
2. Dig Trenches
Dig 6 inch deep trenches along prepared raised beds where yam vines will be trained to grow.
3. Add Compost
Place 2 inch layer of compost, manure or fertilizer blend in trench for added nutrients.
4. Space Setts
Place yam setts horizontally along trench with eyes facing up. Allow 1-3 feet between setts depending on variety.
5. Cover Setts
Cover all setts with 2-3 inches of soil. Gently firm down with hands.
6. Water Well
Water thoroughly after planting to settle soil and eliminate air pockets around newly planted setts.
Proper moisture levels are critical following planting to spur sprouting. Check soil daily, watering when top 1 inch becomes dry. Shelter tender sprouts if frost threatens.
Within a few weeks, hardy yam vines will emerge!

Caring For Yam Vines
As yam vines grow, providing proper care is vital:
1. Train Vines Upward
Gently guide emerging vines up trellises or supports to grow vertically and avoid overcrowding.
2. Maintain Soil Moisture
Water plants 1 inch weekly if rain is lacking. Avoid soggy soil.
3. Weed Diligently
Weeds leach nutrients and water from yam plants. Pull weeds quickly by hand or hoe them away from vines.
4. Add Nutrient Layer
Side-dress vines once flowering stage arrives by digging shallow trenches alongside vines and filling with compost or manure.
5. Prune Vines
Remove any damaged or excess foliage if vines become overgrown.
6. Control Pests
Scout for beetles or leafhoppers and trap/remove. Use only natural pest deterrents if infestation is severe.
Proper vine care while plants establish translates into a much more abundant yield come harvest time. Check vines frequently and respond promptly to any issues noted.
Caring For Plants
Consistent moisture is key, about 1-1.5 inches per week. Use drip irrigation for efficiency. Fertilize plants every 4-6 weeks with balanced organic fertilizer to fuel growth. Monitor for pests and fungal diseases. Promptly treat any issues identified.
Providing Adequate Water
Yams demand consistent soil moisture from tuber planting until harvest. Depending on rainfall levels, additional irrigation is often necessary in most regions.
Yams planted in sandy, loamy soils require more frequent watering than clay-based soils which retain more groundwater. Supplement rainfall with thorough soakings 1-2 times weekly to maintain optimal soil moisture around 1-1.5 inches deep.
As tubers enlarge nearer to harvest, their water needs increase further. Insufficient soil moisture during this final growth stage will reduce yields. Ramp up watering to maintain evenly moist soil.
Watering Guidelines
- Check soil moisture 1 inch deep 2-3 times weekly
- Water thoroughly when topsoil becomes partly dry
- Avoid waterlogged soil lacking drainage leading to rot
- Maintain consistent moisture until harvest time
Adjust all supplemental watering based upon growth stage, recent rainfall, and soil type. Consistency is key – allowing soils to completely dry out will negatively impact tuber enlargement.
Fertilizing For Healthy Yam Growth
Fertile, nutrient-rich soil is foundational for productive yam cultivation. Yams survive in marginal soils but thrive when given supplemental plant food.
Standard fertilizer mixes provide Nitrogen for leafy growth, Phosphorus to develop strong tuber roots, and Potassium to bolster plant resilience and disease resistance.
When soil nutrients run low during growing season, yam foliage appears dull, brown, misshapen or spotty signaling it’s time to fertilize.
Organic Fertilizer Options
- Compost & aged manure
- Fish emulsion
- Worm castings
- Rotted hay or grass clippings
- Cover crops plowed under
Application Method
- Mix amendments into soil pre-planting
- Side dress vines by digging narrow trenches alongside rows and fill with compost/manure as vines grow
- Scatter dry organic fertilizer evenly around vines
- Liquid organic feed can be mixed with water for plants to absorb more rapidly
Feedback loops with soil testing and your yam plants provide useful indicators of current fertilizer needs – pay close attention and respond accordingly!

Preventing Pest & Disease Issues
When grown in suitable conditions, yams largely fend off pests and diseases independently. However, several potential issues can still arise requiring action:
Beetles
Beetles and grubs may attack developing tuber roots. Check soil for white grubs burrowing. Protect bases with crushing traps.
Nematodes
Microscopic roundworms damage tuber exteriors creating entry points for infection. Solarize soil to kill nematodes before planting.
Fungal Infections
Anthracnose, stem rot and blights cause leaf spots, wilting stems and tuber rotting. Improve soil and leaf moisture control. Apply neem oil.
Rodents
Mice, voles or guinea pigs nibble on foliage and easily split tender tuber skin. Bury hardware cloth around plants to impede access.
When scouting yam crops routinely, catching issues early allows reliable treatment before extensive damage occurs. Maintaining optimal growth conditions additionally bolsters the plants natural defenses against pests and diseases taking hold.
Harvesting and Storage
Determining optimal timing for harvesting yams culminates the long cultivation journey. Careful handling during digging and curing sets the stage for successfully preserving yams in peak condition for months beyond the growing season.
Identifying When Yams are Ready for Harvest
Various visible signs indicate mature yams are ready for harvesting:
- Vine Decline – Foliage starts yellowing and dying back signaling the end of vegetative growth as tuber expansion finishes
- Duration Reached – For most yam varieties, a minimum of 5-8 months from planting brings full maturity
- Tuber Size – Gently dig around base of 1-2 plants to peek at tuber width to gauge readiness based on variety
- Weather Changes – Cooler autumn temperatures or falling leaves indicates the window for harvest is here
Harvest timing is a balancing act – early harvesting reduces yields and flavor while late harvests risk exposure to cold weather or pests. Dig judiciously once sufficient tuber mass accumulates just ahead of seasonal changes.
Harvesting Carefully
Employ a gentle, careful process when harvesting mature yam tubers:
1. Prepare Tool
Select rounded tip garden fork for smooth soil penetration around tubers
2. Clear Area
Remove any fallen leaves or debris atop soil to expose the base of yam plants
3. Loosen Soil Start digging about 1 foot from the plant base – carefully loosen soil to not spear tubers
4. Lift Tubers Once you locate a tuber, slide garden fork underneath and lift it slowly from the earth
5. Gather Tubers
Use hands to gently unearth attached tubers – avoid damaging tuber skin through rough handling
6. Dry Briefly
Lay tubers atop screen or mesh bottom crate to dry for 30 minutes before curing indoors
Careful harvesting ensures tubers remain sound, intact and unblemished – ideal for optimal storage success.
Curing & Storing Yams
Curing just-harvested yams properly prepares them for long-term cool, dry storage:
1. Cure Indoors
Place freshly dug tubers in slatted crates indoors at 80°F for 7-10 days away from light. Warmth toughens skin while ventilation prevents mold.
2. Handle With Care Inspect curing tubers daily – carefully remove any spoiled specimens and disturb the others minimally.
3. Prepare Storage Area Select an insulated, dark 55°F room with ventilation and sound drainage to prevent moisture accumulation.
4. Pack For Storage
Nestle cured, intact tubers in breathable crates, cardboard or newspaper without letting them touch.
5. Check Tubers Inspect storage tubers monthly – remove any spoiled, mushy or dried specimens right away to avoid spread.
Proper post-harvest curing coupled with an ideal chilled yet humid storing environment keeps yams fresh for 4 months or longer after digging!

Troubleshooting Common Issues
While yams thrive given suitable conditions, various issues can still hamper growth. Identifying and addressing setbacks promptly helps safeguard your crop.
Diagnosing & Treating Diseases
Being able to accurately diagnose and effectively treat diseases ensures crop resilience:
Anthracnose – Fungal disease creating sunken black lesions on tuber exterior leading to rot. Improve drainage and airflow while spraying neem oil weekly as preventative.
Stem & Root Rot – Dark sunken wounds spread along underground tuber and stems causing decay. Solarize soil to kill fungi before replanting in new location.
Mosaic Virus – Leaves show distinct yellow and green mottling and curling with stunted vines. Rogue infected plants immediately and control aphid spread.
Bacterial Wilt – Leaves rapidly wilt and die back as vines collapse revealing infected tubers oozing reddish fluid when cut. Dig up and destroy infected yams – do not compost
Rot & Decay – Waterlogged soil coupled with tuber skin damage invites invasion of bacteria and fungi causing wet, smelly rot. Improve drainage while minimizing tuber wounds during harvest.
Prompt identification of prime offenders threatening crop health allows reliable treatment and containment. Remain vigilant in regularly checking for emerging issues.
Addressing Growth Issues
Stunted, discolored or underperforming yam plants indicate suboptimal growth conditions. Targeted correction restores vigor:
Nutrient Deficiency
- Identify specific nutrients lacking based upon foliage symptoms
- Work compost, manure or organic fertilizer into soil
- Foliar feed plants with liquid nutrient spray
Improper Soil pH
- Test soil pH levels
- Make pH adjustments with lime (to raise) or sulfur (to lower)
- Allow time for pH normalization before replanting
Overcrowding
- Assess plant spacing and thin as needed
- Guide stray vines away from each other
- Ensure 6+ hours of sunlight exposure
Insufficient Sun
- Relocate plants or prune obstacle foliage
- Use transparent protective covers to maximize light
Waterlogging
- Improve drainage via planting beds, sand or gravel
- Allow soil to dry between waterings
- Space plants to permit airflow
Catching and correcting issues promptly preserves yields and prevents cascade into further decline. Remain attentive!

Reap Natures Time Honoured Underground Beauty
For centuries yam cultivation has provided sustenance and economic opportunity in tropical communities worldwide. Today master gardeners across temperate regions have an opportunity to adopt the practice too.
Understanding unique yam attributes, traits and needs empowers beginners to progress rapidly towards successful cultivation – even in backyard gardens!
The comprehensive guidance contained here equips you with time-tested methods and problem-solving insights to master yams from seed to storage and all the growth stages in between.
Embark on your yam growing journey with confidence knowing common pitfalls and how to avoid them. Reap nature’s underground bounty as generations before you enjoyed while advancing regional food security.
The future remains ripe with possibility for leveraging yams unique potential to uplift health, communities and heritage in new contexts. Progress patiently, stick to fundamentals and savor the fruits of your labor.


