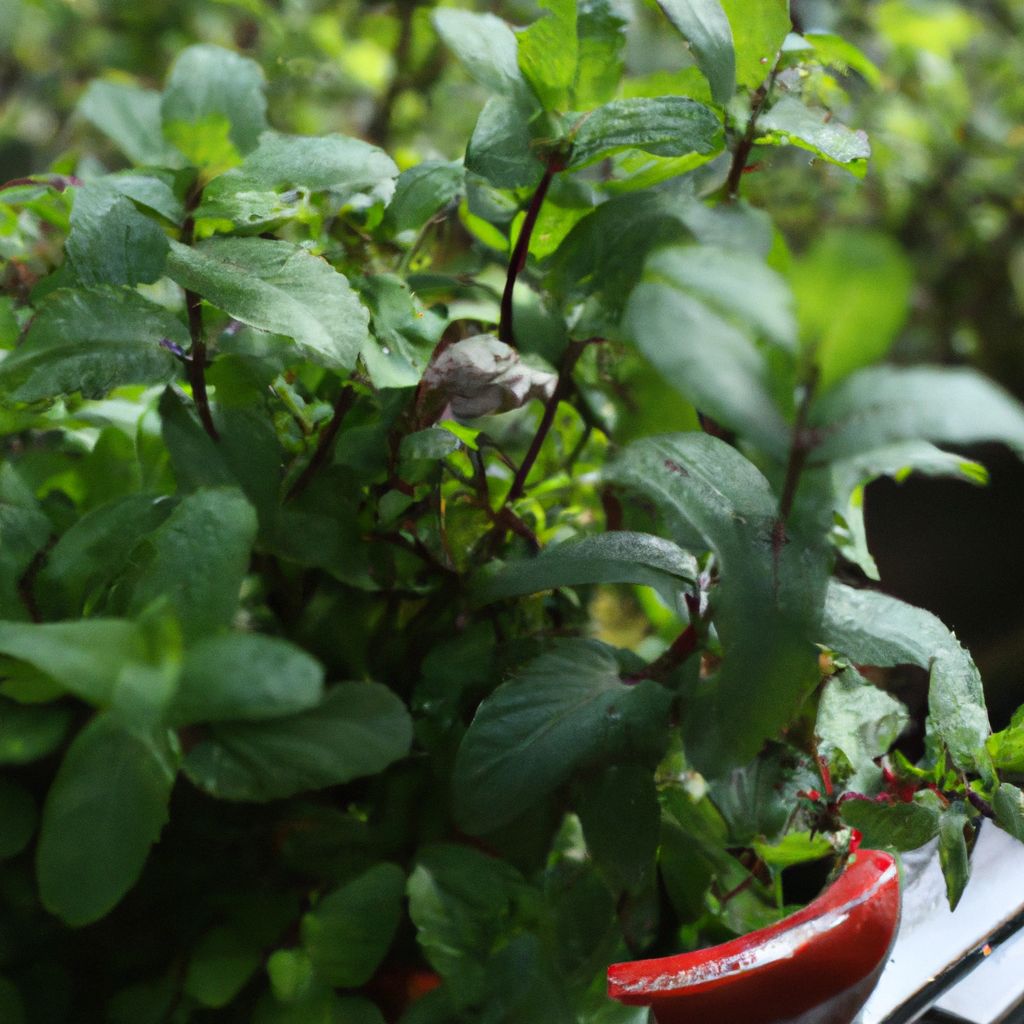
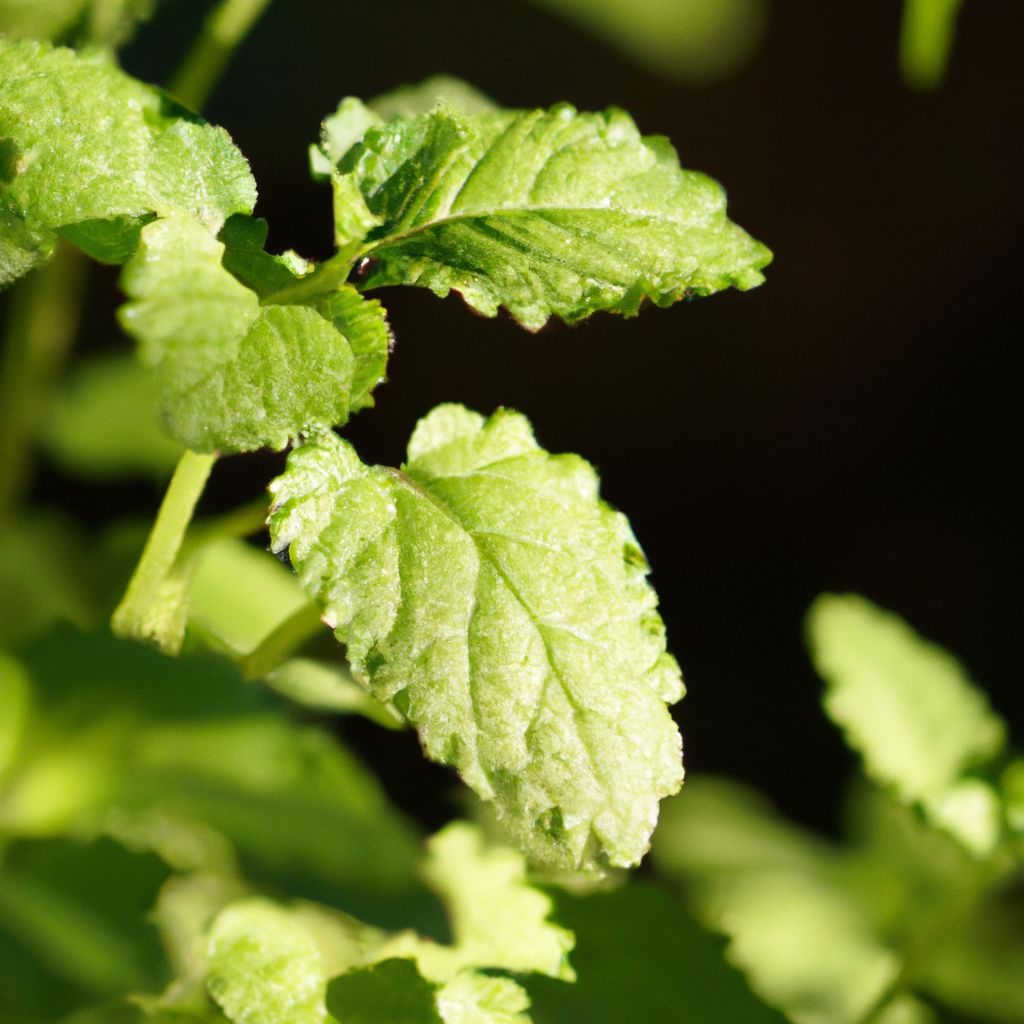
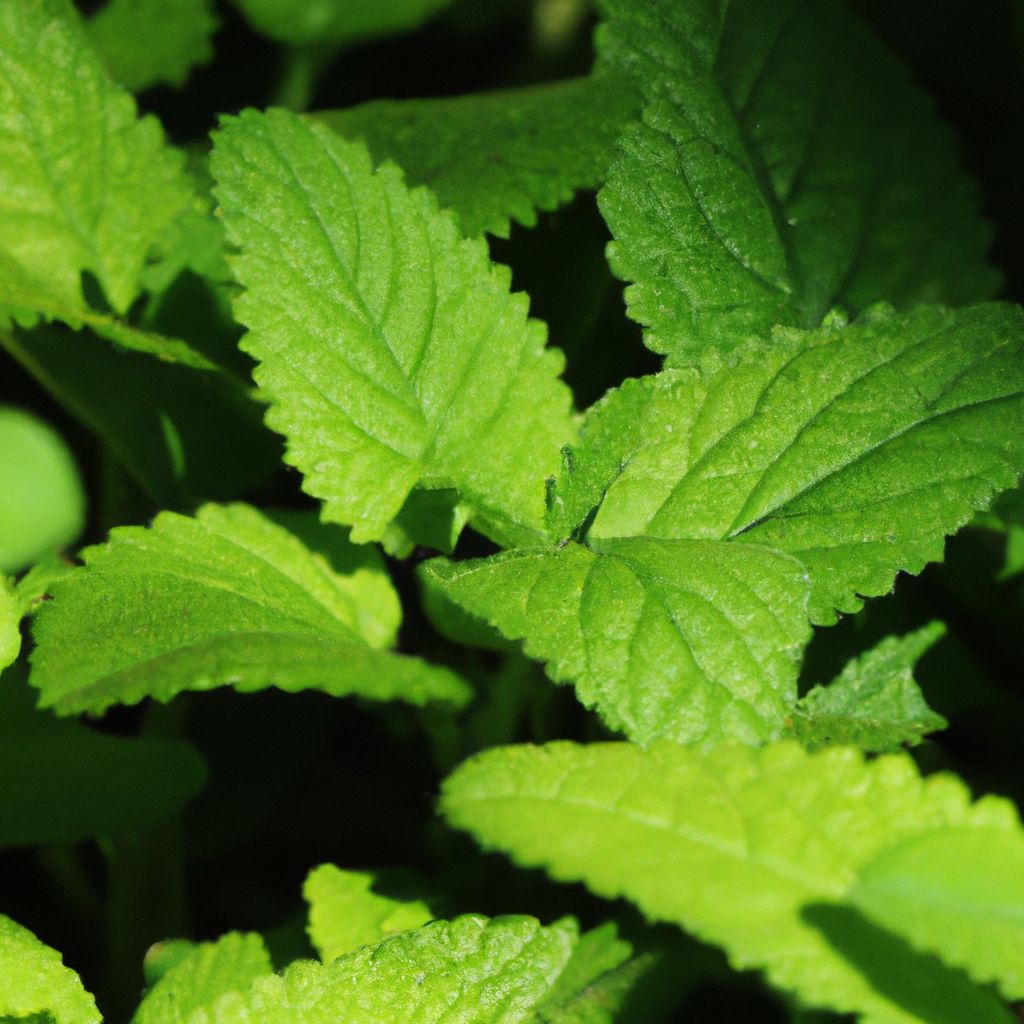
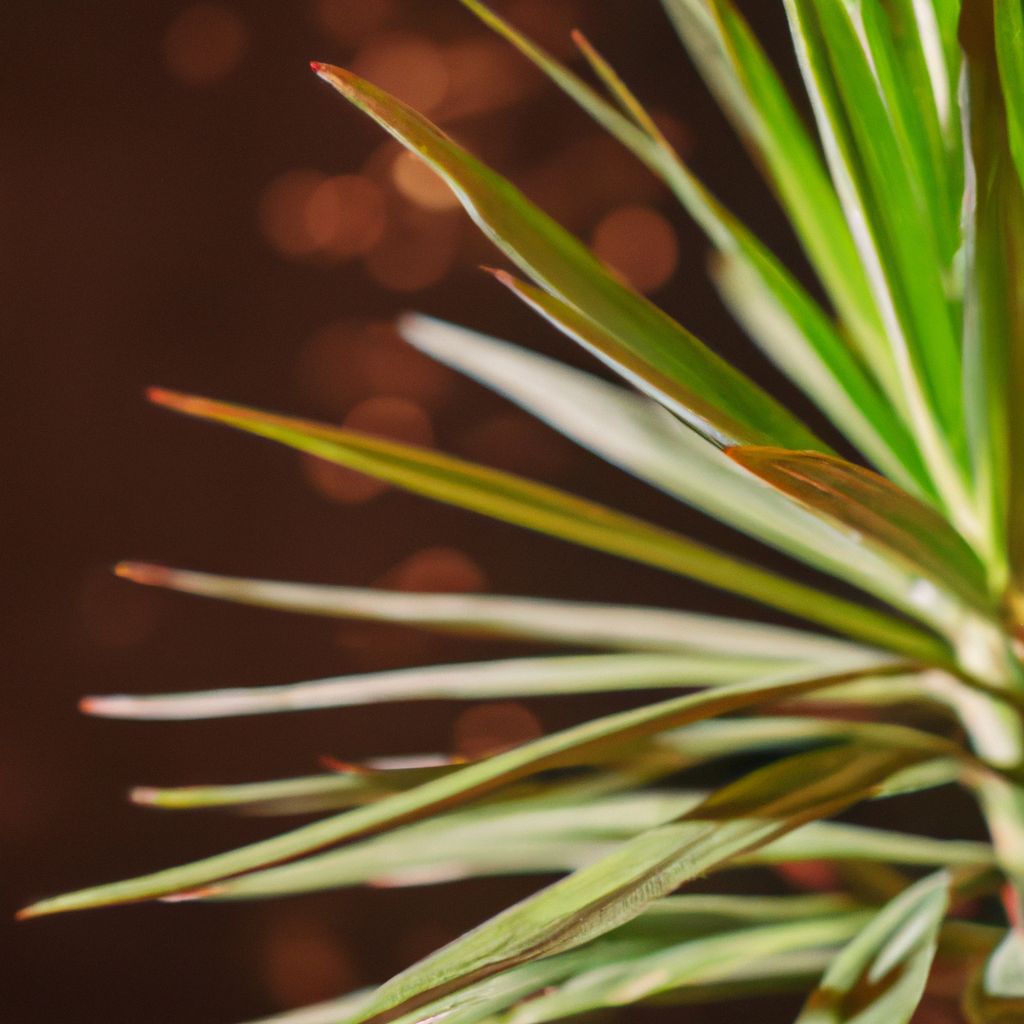
Growing mint in a container garden brings many advantages, from its space-saving properties to keeping its growth contained. Follow this comprehensive guide to choose the ideal pot, prepare the perfect soil mix, select the best mint varieties, and maintain strong productivity through proper harvesting and pruning techniques. Discover troubleshooting solutions for common container mint issues, plus tips for growing robust, flavorful mint in a compact setup.
Why Choose Container Gardening for Mint
Growing mint in pots and planters provides unique benefits that make it a practical herb for small spaces. As an aggressive spreader in garden beds, keeping mint contained prevents its wandering roots and runners from taking over entire plots. Pots also create easy accessibility to harvest mint leaves whenever required for culinary recipes, beverages, or DIY projects. For urban gardens, patios, balconies, and indoor areas with limited room, mint adapts excellently to container life for a bountiful harvest in a tight footprint.
Compact Solution for Virtually Any Space
One of the top advantages of cultivating mint in containers is the compact solution it provides for virtually any outdoor or indoor gardening space. For apartment dwellers without access to sprawling garden beds, mint thrives readily when grown in pots on patios, balconies, front doorsteps, or sunny window sills. Compared to lettting mint spread widely and invade planting beds, confining mint’s growth by container boundaries curtails its invasive tendencies. This allows for positioning pots in convenient and customized locations to suit personal accessibility and aesthetic preferences. Even indoor areas like kitchens can support container mint with sufficient light.
Easy Access for On-Demand Harvests
In addition to its space-saving traits, container gardening lends mint a high degree of access and harvestability compared to in-ground planting. Placing mint planters and pots strategically near outdoor living spaces, kitchen doors, and high traffic zones enables gardeners to brush past and harvest a few fresh leaves whenever they need it for sauces, lemonades, desserts, or home remedies. Compared to running out to the market or herb garden for mint, having an ever-productive pot stationed right on the patio or windowsill guarantees robust flavor and vibrant menthol aroma far superior to store-bought bunches.
Containing Invasive Roots
Perhaps most importantly, cultivating mint in containers above ground provides a crucial containment solution to easily curtail mint’s aggressive spreading tendencies below the soil surface. When planted directly into garden beds, mint lives up to its notoriously invasive reputation, sending wandering runners and roots to colonize large areas. This encroachment often throttles the growth of nearby plants as mint monopolizes soil nutrients and moisture for itself. However, elevating mint in pots properly contained from root escape enables the gardener to exploit mint’s merits without its unchecked conquest of territory. Be sure to select container materials that provide adequate drainage without allowing sneaky root fledglings to escape through cracks or holes in the vessel walls.

Choosing Optimal Pots for Healthy Mint
To set up container mint for successful establishment and reliable productivity year after year, selecting the right pot is an important first step. Take into account factors like depth requirements, drainage properties, airflow conditions, and size considerations to align with mint’s specific growing needs.
Accommodating Rooting Depth & Spreading Habits
- Depth Requirements:
For prolific growth and harvests, mint requires a relatively deep container, with a minimum depth of 12 inches considered ideal. This rooting depth provides enough room for mint’s underground runners and spreading lateral roots to access sufficient moisture and nutrients needed to supply vigorous top growth. Comparatively shallow pots often lead to severely restricted mint plants with poorer flavor and yields. - Size Considerations:
In addition to depth leeway, the overall container diameter carries importance for hosting mint’s rather invasive spreading habits. For a single mint specimen, select a pot with a diameter of at least 12 inches or greater to allows ample lateral space for top growth and rhizome expansion. This prevents sparse, leggy mint growth unable to properly support itself. For multi-plantings, allow at least 12 inches of space between individual mints.
Well-Draining Container Materials
- Porous Materials:
Although loving ample moisture, mint plants suffer severely in soggy, waterlogged soil mixes that suffocate roots leading to decay and disease vulnerability. To satisfy mint’s preferences for moist yet well-draining conditions, choose containers made of porous materials like terracotta clay, certain woods, or breathable landscape fabrics that promote evaporation. These vessel materials offer improved drainage and aeration compared to non-porous plastic, ceramic, or glazed decorative pots, for instance. However, with proper amendments almost any vessel can suffice. - Adequate Drainage: If using sub-optimal containers, ensure adequate drainage by incorporating several generous holes throughout the lower vessel walls to prevent trapped moisture. Elevate pots above saucers or trays to facilitate drainage and evaporate excess liquid if needed. Avoid plugging basal holes that can lead to flooding.
Room to Grow
Given mint’s notoriously vigorous winding and spreading growth habits, it performs best in more spacious containers that avoid severely restricting its lateral expansion. Small, cramped quarters lead to stunted, sparse plants unable to properly support themselves. Therefore, err on the side of more generous dimensions to satisfy mint’s growth potential and prevent thinning yields over seasons. For indoor mint, limit pot sizes to what space allows, transplanting up in size as needed.
Preparing Container & Soil for Healthy Mint
After selecting suitable containers for mint, preparing the pots and proper potting media provides plants the best foundations for establishing quickly and keeping them thriving over the long term. Tasks involve cleaning & sterilizing containers to banish diseases, followed by crafting an enriched soil mix tuned to mint’s preferences. Proper soil drainage and moisture retention also proves vital.
Starting Clean to Prevent Diseases & Pests
To eliminate harmful bacteria, fungi, or other pathogens that cause plant diseases from carrying over on reused containers, properly sanitize all pots before each planting. Used commercial potting mixes can also harbor dangerous organisms. Here’s a thorough cleaning regimen:
- Hot Water Soaking – Submerge used containers in hot water held at 180°F-190°F for at least 10 minutes. This temperature-time combination adequately kills lingering pest eggs and disease spores.
- Non-Toxic Bleaching – As an alternative, soak containers for 20 minutes in a 10% bleach solution comprised of 1 part bleach to 9 parts water. Rinse thoroughly afterwards.
- Hydrogen Peroxide – As a more natural route, fill used planters with a 3% hydrogen peroxide solution at room temperature for 10 minutes or more for adequate sterilization. No post-rinsing required.
Once containers are cleaned, allow them to fully dry before filling with fresh soil mixes to prevent potential moisture contamination issues. Washing with white vinegar also works.
Crafting an Ideal Potting Mix
The foundational potting mix makes all the difference in container mint health, flavor, and yields over years of growth. Tailor soil blends to meet mint’s preferences with these amendments:
- Nutrient-Rich Base Mix – Good potting soil serves as the base, or make your own loam from 1 part soil, 1 part compost, and 1 part sand or perlite.
- Extra Organic Matter – Increase water & nutrient retention by amending 30-50% compost, well-rotted manure, leaf mold or coco coir into the base soil.
- Added Drainage – To prevent waterlogging, incorporate roughly 20% or more horticultural grit, perlite or builder’s sand into soil for improved drainage.
- Slow-Release Nutrients – Sprinkle a balanced organic granular fertilizer at half strength into soil mix for gradual feeding at planting stage.
This optimized potting blend supports mint establishment while retaining enough moisture between waterings. Test drainage by watering soil mix held in a small pot or container. If excess water lingers on the surface more than a minute or drains very slowly through the blend, make further amendments with sand or perlite to improve porosity.
The ideal finished texture resembles a crumbly, loose, humus-rich composition almost resembling heavily mulched garden beds rather than mud or matted leaves for instance. Such an environment supplies mint’s needs beautifully while controlling unwanted moisture accumulation.
Facilitating Soil Drainage & Moisture Control
Although appreciating ample moisture, mint suffers severely if waterlogged constantly for prolonged periods – especially indoors. Root pathogens multiply rapidly in stagnant water, rotting root structures leading to their inability to uptake nutrients properly. To satisfy mint’s moist soil preferences safely:
- Ensure adequate drainage holes in container bottoms – Drill extra holes if needed and keep them from clogging. Elevate containers above ground level.
- Mix fast-draining materials like perlite into soil up to 30% composition – More for indoor mint.
- Avoid moisture traps – Line hanging basket liners with landscape fabric to enhance drainage.
- Check moisture levels frequently – Only water containers once top inch of soil becomes dry and mint shows very slight droopiness.
When these simple cultural controls combine, it allows for mint roots to access a balance of air pockets and moisture safely. Monitor above all for excessive sogginess both below and above the soil line.

Selecting Mint Plants to Match Uses
First popularized by Greek mythology, mint’s merits for culinary, medicinal, aesthetic and practical applications have been enjoyed across civilizations for millennia. Before planting up containers, tailor mint varieties to match projected uses – whether sipping chilled mint tea on the veranda, adding minty nuances to lamb dishes, crafting all-natural toothpastes and bug sprays, or simply basking in mint’s perennial garden appeal.
Common Mint Variety Uses & Flavors
With over 20 unique culinary mint varieties to select from, it helps to match desired usage to specialized variations tuned to different growing conditions and flavor profiles.
- Spearmint – Most popular variety perfect for teas, juleps, desserts and cold drinks. Cooler flavor.
- Peppermint – Offers a hotter, stronger menthol kick ideal for candy, ice cream and hot teas. Helps digestion.
- Apple Mint – Mild, fruity mint flavoring smoothies, salads, cocktails and syrups. Attracts pollinators well with pretty blush blooms.
- Orange Mint – Citrusy menthol flavor for drinks, fruit salads and garnishes. Stays compact enough for indoor pots.
- Chocolate Mint – Slight anise/cocoa hints used in desserts and drinks for flavor depth. Gorgeous dark foliage.
For all culinary applications, harvest mint leaves just before flower buds open fully to capture最大maximum oils and flavor. Compost spent flowering stems promptly after pollinators enjoy blooms. The options for mint are amazingly diverse – have fun finding new ways to use container mint varieties!
Landscape, Functional & Wildlife Value
Beyond harvesting mint for personal uses, many gardeners grow mint in containers placed within landscape beds, side yards and pathway borders for visual appeal coupled with practical advantages as a beneficial insectary plant for gardens. For example:
- Mint flowers attract lady beetles, lacewings, hoverflies and predatory wasps that help control garden pests.
- Dense mint foliage hides fading bulb foliage in spring plantings likes daffodils.
- Creative gardeners craft mint julep cups by planting mint in whiskey barrel halves or broken clay pots with drainage holes drilled.
- Culinary varieties like orange mint, pineapple mint and lime mint release amazing aromas brushed against or crushed underfoot along garden pathways or seating areas.
If allowing flowering, be sure to cut back mint stems to soil level after blooms fade to encourage compact growth habit – pinching helps too!
Planting Mint Properly in Containers
With suitable containers prepped and ideal mint varieties chosen to suit projected uses, proper planting methods help establish young plants quickly for healthiest growth and mitigates stresses:
Preventing Transplant Shock
The bare root systems of young nursery mint plants often suffer high levels of transplant trauma if not planted carefully, setting plants back weeks as they work to generate new feeding roots. To prevent common issues:
- Always plant mint either in early spring after final frost or into fall before first frost for favorable soil temperatures that hasten root regeneration and establishment.
- Water root zones thoroughly before removing from nursery pots then minimize root handling. Transplant quickly.
- If transplanting multiple plants, stagger plantings over 2-4 weeks for fewer losses rather than all at once.
- Firm soil gently around roots but avoid compacting tightly. Cover roots completely with ideal soil.
Meeting Cultural Needs
Tailor planting sites and methods to satisfy mint’s preferences:
- Sunlight Needs – Grow mint in full sun to partial shade locations, ideally receiving 5 hours of direct sun for fullest flavor, greatest productivity andcompact, bushy habit.
- Soil Needs – Pre-water planting sites to moisten native soil. Dig wide holes and amend soil heavily with rich organic compost for enhanced moisture retention & nutrients.
- Plant Spacing – For stand-alone mints, allow a 12 inch radius largely free of competitive plants. But containers enable creative companion planting if sufficient root space remains as plants mature.
- Plant Depth & Orientation – Set root balls slightly high, topping with loose, fine soil mix. Ensure the crown sits exactly at finished soil level. Deep planting suffocates mint.
- Mulch Needs – Maintain 2 inches of fine, organic mulch around crowns to retain soil moisture and heat while suppressing competing weeds.
Proper planting truly optimizes success rates for establishing container mint efficiently. Take time upfront to give plants what they need for less maintenance longterm.

Caring for Container Mint After Planting
Caring properly for newly transplanted mint leads to faster establishment and healthier, more productive plants over years of growth. Tailor a regimen that promotes vigorous root development, prevents disease, and supports rich leaf, runner and rhizome development for a compact, bushy habit.
Watering Needs & Techniques
Newly planted mint relishes consistent, deep moisture not only at soil level, but also slightly below to encourage deep rooting security. However saturated soil quickly sets plants back. To maximize growth:
- Water root zones deeply immediately after planting and every other day initially unless rains suffice. Test moisture 6 inches below soil.
- As plants establish over 6-8 weeks, shift to less frequent but deeper watering to condition more drought-hardy habits while avoiding shallow roots.
- Allow soil to almost but not fully dry down around 2 inches before re-saturating. Container soils dry faster than gardens requiring extra diligence.
- Always water directly at soil level rather than from overhead to limit risks of mildew diseases on leaves or crowns. Soaker hoses and drip irrigation work well to automate watering consistency.
Tailoring Organic Fertility Methods
While chemically-fed mint may taste off-putting or weak, copious nitrogen derived organically through manures, composts and nitrogen-fixing cover crops generates phenomenally rich, concentrated, healthy leaf oils with intensely complex flavor far less likely to induce allergies compared to conventional mint. For best results:
- Top-dress containers every 6 weeks with 1-2 inches of finished compost or well-rotted manure worked gently into soil surfaces to prevent disturbing shallow roots.
- Every month, brew and apply compost tea or organic all-purpose liquid fertilizer according to label rates.
- For a continuous hand-free nutrient supply, top containers with 2-3 inches of seed-free alfalfa, clover, vetch or mixed legume cover crops as “living mulch”. Their nitrogen-rich foliage clippings compost directly into soil.
Over time, balancing soil nutrition entirely through organic methods supports disease resistance, cold hardiness, drought tolerance and stellar quality unachievable through mere synthetic means alone. It pays dividends longterm.
Preventing Pests & Diseases
Left unchecked and stressed, container mint often falls victim to several sneaky disease organisms and sap-sucking insect pests. But preventing issues is quite straightforward:
- Ensure correct spacing and avoid overcrowding containers to minimize humidity, allow airflow and reduce pest hiding spots.
- Always purchase clean plants from reputable nurseries to prevent introducing contaminated specimens.
- Scout regularly under leaves for signs of spider mites, aphids or leaf miners. Remove minimal affected foliage promptly. Use organic sprays for heavier infestations after trying mild soap solutions first.
- For mildew or blight diseases, improve air circulation through proper spacing between plants coupled with less frequent overhead watering to minimize extended moisture contact on leaves.
With vigilant scouting, quick removals of diseased material early on and cultural improvements to air circulation, container mint readily fights off challengers seeking to undermine its essential oil richness.

Keeping Mint Productive Longterm
A common grievance with aging mint plants involves declining productivity, worsening flavor and weakening disease resistance a few years after planting. However two key maintenance practices carried out routinely transform mint into reliably healthy and incredibly productive container specimens for a decade or more.
Maximizing Essential Oils Through Frequent Harvesting
Gardeners seeking the highest quality, most intense and complex minty flavors always harvest leaves frequently – a practice that directly maximizes leaf oil content and potency in various mint species. But precisely when and how to harvest makes all the difference:
- Time It Right – For peak flavor oils, always harvest leaves in early to mid-morning right after dew evaporates but before afternoon heat escalates. Late evenings also work well.
- Target Maturity – Select only the largest and most fragrant leaves, pinching stems off where they join other branches rather than stripping entire stems. Never harvest more than 75% of current growth at once for sustained plant health.
- Consistency Is Key – Snip leaves once every 5-7 days or even more frequently depending on needs. New growth contains the highest oils. Compost overly mature or damaged leaves regularly.
- Treat with Care – After harvest, transfer leaves gently to avoid bruising and oxidation. Wash and dry very delicately if at all before using. Store properly for longest shelf life longevity. Air drying intensifies oils.
When harvested frequently and handled carefully to prevent degradation of signature volatile compounds, mint leaves offer incredibly pronounced and nuanced flavor for years to come.
Curtail Invasive Mint and Enjoy This Delicious Herb Year Round
Cultivating prolific yet manageable mint in containers not only curtails its invasive tendencies, but also enables growing incredibly flavoursome and usable specimens in virtually any location with proper light. Tailor culture strategies and vigilant care measures covered here to keep container mint healthy, bountiful and evergreen across seasons. Whether desiring a ready supply of mint for recipes, remedies around the homestead, visual appeal and practical uses for gardens, or simply basking in mint’s storied role across cultures over millennia, containers give mint versatility. Turn small spaces into organic mint havens!

Frequently Asked Questions
What size container works best for mint?
For optimal growth and productivity, select containers for mint that are at least 12-inches wide and deep. This provides ample room for root development and spreading.
Should container mint be brought indoors for winter?
In zones 5-9, mint generally survives winters fine in containers left outdoors. For colder zones, insulate pots or bring containers indoors until spring after harvesting a last batch of leaves.
How often should container mint be watered?
Newly planted mint needs more frequent watering for establishment. But for mature mint, only water containers when the top inch of soil dries out, about 1-2 times weekly typically. Always check soil moisture rather than watering on fixed schedules.
What causes mint leaves to turn brown in containers?
Overly dry, hot soil causes leaf scorching and browning. But soil fungus diseases and critically inadequate drainage leading to saturated soils can also cause masses of brown, dying foliage.
Should mint containers be fertilized regularly?
While heavy feeding is unnecessary for container mint, top-dressing pots with an inch or two of finished compost or worm castings every 2-3 months nourishes mint beautifully for sustained health and production.


