Growing okra at home brings many rewards. Enjoy access to fresh, organic pods packed with fiber, vitamins and minerals. Save money compared to store-bought okra. And choose from many varieties to discover new flavors and textures. This comprehensive guide covers everything required for successful okra farming.
Why Farm Okra?
Homegrown okra guarantees peak flavor and nutrients. And you control the cultivation methods, ensuring chemical-free pods. Additional benefits include:
- Cost Savings: Growing your own saves money long-term compared to buying okra. With a small investment in seeds and materials, you can produce pounds of okra that would cost much more purchased.
- Health Support: Okra provides valuable vitamins like C and K, minerals including magnesium and folate, plus antioxidants. It aids digestion with soluble fiber, promotes heart health by reducing cholesterol, and supports immunity through its nutrients.
- Customization: Select preferred varieties to experiment with different tastes, textures and growing habits. Discover your favorites!
By harvesting garden-fresh okra, you gain satisfaction while boosting health through its nutritional value.

Getting Started with Okra Farming
Success begins with careful planning and preparation. This section outlines key steps for starting okra.
Selecting the Best Variety
Many excellent okra varieties exist, but focus on types ideal for your growing conditions. Assessing traits like climate suitability, yield potential, and disease resistance ensures you pick winners.
Climate Match
Match the variety’s preferred warmth, water and sunlight needs to your garden’s microclimate. Northern gardeners should opt for faster-maturing, cold-tolerant types. Heat-loving, drought-resistant varieties suit Southern climates best.
Yield Potential
Seek out reputably high-yielding varieties for increased pod production per plant. Prolific options like Clemson Spineless perform well across all zones. Or ask local gardeners which give them bountiful harvests.
Disease Resistance
Certain varieties better withstand common afflictions like fusarium wilt, root-knot nematodes and verticillium wilt. Resistant selections stay vigorous and continue fruiting despite disease presence, while susceptible types decline.
With climate-appropriate, heavy producing, disease-resistant varieties, achieve okra greatness! Reputable seed sellers indicate these traits to simplify selection.

Preparing Planting Site
Ideal growing conditions give okra an early advantage. Pay attention to these elements when preparing beds:
Sun Exposure
Okra thrives on full sun. Select a warm, bright garden area with a minimum of 6 hours direct summer sunlight daily. More sun fuels growth and pod set.
Soil Quality
Okra prefers fertile, well-drained loam soil with added organic matter. Low clay content provides good aeration while higher clay amounts improve moisture retention. Test pH – okra grows best between 6.0-6.8.
Spacing
Allow ample space between plants for full sun exposure and air circulation. Space rows 3 feet apart with 18 inches between plants. Or plant in hills with 1 plant every 18 inches.
Drainage
Stagnant moisture invites diseases – ensure beds drain well by planting on slopes or raised rows. Incorporate sand or perlite into heavy soils to improve drainage.
Perfecting all these elements prevents future issues and nurtures robust okra growth!

Acquiring Seeds & Planting
With preparatory work complete, it’s time to sow those precious seeds! Follow these steps for triumphant germination:
Seed Selection
Purchase fresh seeds annually from reputable garden stores or catalogs. Seek out organically-grown, non-GMO seeds packaged for the current year. Store properly sealed in cool, dark place.
When to Plant
Sow okra after final frost when soil reaches at least 65°F, or use black plastic mulch to warm beds quicker. Soak seeds 24 hours before planting to speed germination.
How to Plant
Sow seeds 1 inch deep, 12-18 inches apart in rows, thinning later. Gently cover with fine soil. Soaking seeds makes them heavier to prevent washing from soil surface. Or start indoors 4 weeks before last frost.
Care After Planting
Ensure consistent moisture to aid germination without waterlogging delicate seeds. Gently water daily if rain lacks, moistening soil 1-2 inches deep. Cover beds with fabric row covers to conserve warmth and moisture.
Proper practices maximize okra seeding success!
Caring for Seedlings
Newly sprouted okra requires attentive care for its crucial early weeks:
Thinning
Carefully thin overcrowded seedlings after fourth true leaves emerge, leaving the stockiest individuals spaced 12-18 inches apart. Handle by tops to avoid root damage.
Weeding
Stay on top of weeds trying to steal nutrients and moisture from tender okra roots. Gently hand pull invaders. Applying mulch after thinning suppresses weeds.
Watering
Supply 1-2 inches of water weekly from germination till harvest, adjusting for rainfall. Allow soil to moderately dry between thorough soakings. Hot, dry periods increase demands.
Fertilizing
Apply balanced organic fertilizer or compost tea when seedlings reach 3 inches tall to fuel growth. Repeat every 2-3 weeks according to product instructions.
Vigilant care in early days ensures your crop stays strong! Identify issues early and course correct gently.

Maintaining Mature Plants
Established okra requires these maintenance practices:
Irrigation
Check soil moisture 2 inches deep routinely. Water plants when top inch dries, supplying 1-1.5 inches per week inclusive of rain. Avoid water stress that invites wilts.
Weeding & Pruning
Stay on top of emerging weeds through cultivation or mulches. Also prune aged, unproductive pods and dying foliage to focus energy on new growth.
Pest Monitoring
Inspect undersides of leaves, stems and developing pods daily for green stink bug nymphs, red spider mites, aphids and other pests. Catch early before damage occurs!
Nutrient Management
Perform soil tests midseason. Side dress plants with compost or organic nitrogen fertilizer if leaves yellow signalling deficiency. Foliar kelp spray also amends nitrogen shortage.
Pollination Aid
Lack of pollinators causes misshapen pods. Gently shake flower spikes daily midday to disperse pollen.hive flight times. Hand pollination also helps.
Staying attentive to okra’s needs ensures a bountiful harvest!
Supporting Growth Habit
Okra stems become top heavy once pods size up. Prevent toppling with:
Staking
Insert sturdy 7-foot stakes next to each plant’s base after establishment. Secure main stems to supports loosely with soft ties. Allow some stem movement.
Caging
Construct wire cages 2 feet diameter and at least 5 feet tall. Use concrete reinforcing mesh or hardware cloth to make cages surrounding 1-2 plants.
Trellising
Position trellises in rows upon seedling emergence. Weave plant tops through openings as they grow. Use commercial vegetable trellises or a homemade version with poles and twine.
Properly supporting okra prevents garden disruption and damage while keeping fruits clean and easy to spot!

Common Farming Challenges
Keeping okra healthy presents some obstacles, but solutions exist:
Pest and Disease Management
Vigilance and integrated organic tactics minimize okra pest and disease troubles:
Preventative Care
Boost plant vitality to withstand threats using healthy soil, crop rotation, proper irrigation, airflow, and biodiversity from interplanting flowers. Healthy plants resist better!
Identification
Learn to recognize early signs of infestation like black spotting or sticky residue before major damage. And know culprit pests’ appearance and patterns.
Organic Pesticides
Apply neem, pyrethrins or insecticidal soap sprays as soon as small populations appear according established directions. Always treat organically.
Row Covers
Install fabric row covers over seeded beds and seedlings to form a protective barrier against insect pests. Seal edges with soil.
Companion Plants
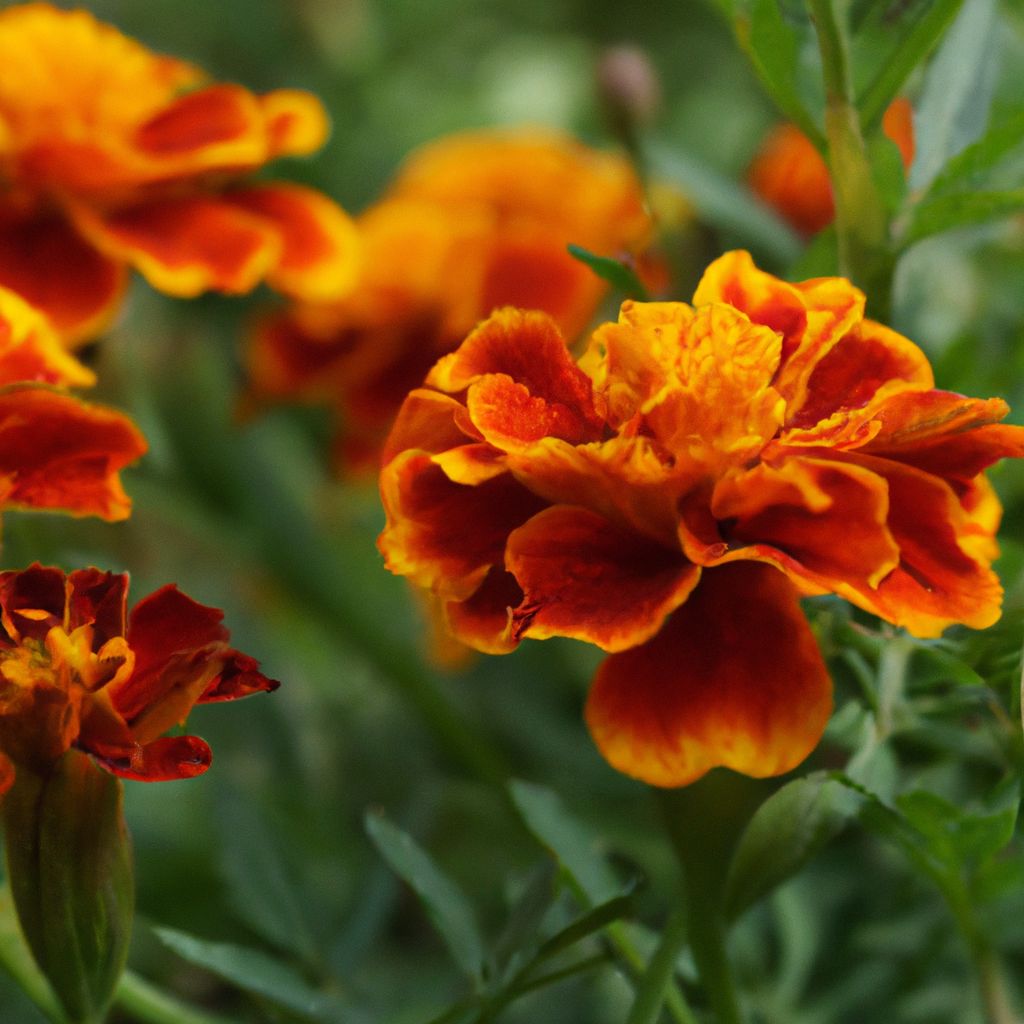
Interplanting aromatic herbs like basil or beneficial insect-attracting flowers minimizes pests. Certain plants mask okra’s scent or repel pests.
Nutrient Deficiency Troubleshooting
Nutritional deficiencies manifest visibly in plants. Recognizing symptoms guides correction:
Leaf Yellowing
Yellowed older leaves while veins remain green signals nitrogen deficiency. Foliar feed plants liquid fish emulsion or side dress granular organic nitrogen sources.
Stunted Plants
Slow growth and reduced yields indicate insufficient phosphorus. Work bone meal or rock phosphate into soil before planting.
Poor Pod Formation
Misshapen, poorly filled pods point to inadequate pollination and calcium shortage. Shake plants daily to distribute pollen when blooming. Gypsum or crushed eggshells supply calcium.
By identifying specific deficiencies, proper organic amendments get plants back on track!
Preventing Wilts and Mildews
Cultural approaches prevent moist environment-loving diseases:
Consistent Watering
Allow soil to nearly dry before soaking thoroughly. Inconsistent water causes stress and vulnerability.
Afternoon Shading
Provide respite from intense afternoon sun to keep plants cooler and minimize transpiration demands.
Promoting Airflow
Avoid dense foliage in humid climates. Space and prune plants for airflow through leaves, keeping them off wet soil.
Sanitation
Collect and dispose diseased pods and leaves in sealed bags. Sterilize tools between plants with diluted bleach.
Healthy soil, attentive watering, protective shading and good airflow keeps diseases away! Detect any fungus early and remove those plants swiftly.

Harvesting Bounty
With attentive okra care, soon you’ll harvest rewards!
Determining Ripeness
Use these indicators to recognize prime pod picking time:
Pod Length
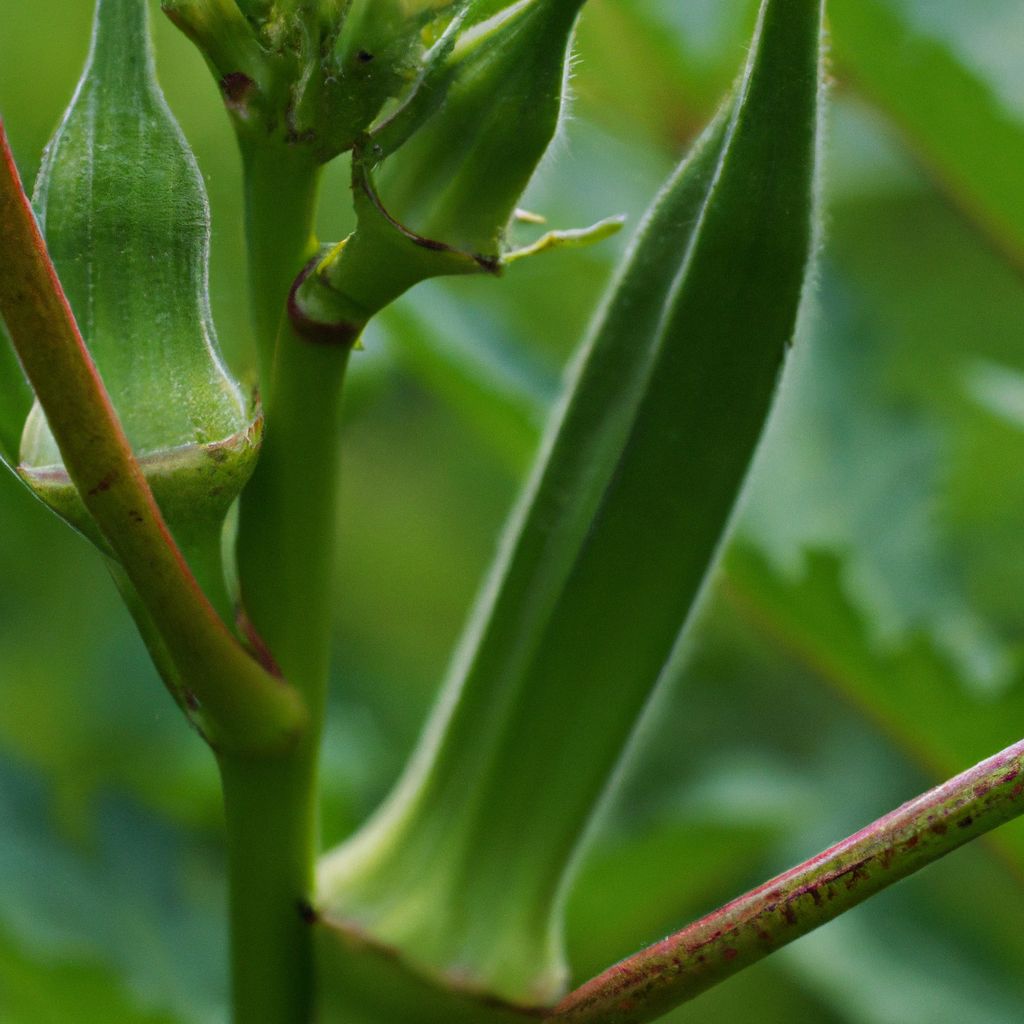
Harvest okra around 2-3 inch length for best texture and flavor. Maximum size reaches 3-4 inches before becoming woody.
Pod Color
Check pod color too – harvest vibrant green okra. Pods starting to fade or yellow at the base are overmature.
Pod Firmness & Tenderness
Ripe okra feels slightly firm but springs back when gently squeezed, not hard. Overripe pods lose tenderness and become tough.
Plot your picks early morning when pods reach peak taste and crispness! And keep harvesting every 2-3 days.
Proper Picking Technique
Gentle handling prevents damage during picking:
Tool Use
Snip pods carefully off the plant using sharp hand pruners or knife to avoid yanking pods off forcibly.
Pod Handling
Handle harvested pods with care, avoiding bruises. Move them quickly into a collecting basket lined with a damp towel.
Picking Window
For premium flavor and texture, pick pods during the coolest time – early morning works best.
Post Harvest Chilling
Get pods into refrigeration below 50°F rapidly after picking to stop further ripening and maintain crispness.
Careful, thoughtful harvesting keeps pods pretty and delicious!
Storing and Preserving Bounty
Proper storage retains nutrients and locks in garden-fresh taste:
Short Term Storage
Store unwashed pods loose in refrigerator veggie drawer up to 3-5 days max. Place pods in breathable plastic bags to reduce slime development.
Freezing
Blanch pods for 3 minutes then plunge into ice bath before open air flash freezing individual pods on trays. Later pack into airtight freezer bags to store 8-12 months.
Canning
Wash and trim pods before blanching for processed preservation. Use a pressure canner and prep jars sterilization for high quality, long term pantry storage.
Enjoy maximum flavor and nutritional value by eating okra within a few days of picking! Proper preservation lets you savor summer’s bounty all year.

Ways to Enjoy Okra
Beyond frying up sliced pods, try these tasty okra recipes:
Roasted Okra Fries
Oven roasting accentuates okra’s natural savory flavor.
- Toss washed whole pods in avocado oil with Cajun seasoning.
- Arrange in a single layer on a parchment lined baking sheet.
- Roast 25 minutes, flipping halfway at 400°F until browned and slightly crisped edges form.
Okra Cornbread Mini Muffins
These bite-sized muffins brim with summer’s best flavours.
- Whisk together cornmeal, flour and corn kernels with buttermilk and egg.
- Fold in diced okra and scallions swirled with melted butter.
- Scoop batter into oiled mini muffin tin wells. Bake 20 minutes at 375°F.
Middle Eastern Okra Stew
Warm spices pair perfectly with okra’s mild grassiness.
- Brown cubes of lamb shoulder with chopped onion, garlic, ginger and curry powder.
- Add diced tomatoes and chicken broth. Simmer till lamb is tender.
- Mix in bite size okra pieces and garam masala. Cook till thickened.
- Finish with lemon juice and parsley over couscous.
However you prepare your homegrown okra, savor those fresh-picked, garden flavors!
Start Your Okra Farming Journey
Follow this guide to confidently embark on your okra adventure:
- Select ideal varieties matching your unique conditions
- Prepare planting beds meticulously to enrich soil
- Care for seedlings attentively to strengthen young plants
- Support establishing vines properly to prevent toppling
- Maintain plants diligently through the whole growing season
- Identify and correct issues early using organic methods
- Harvest pods at perfect ripeness employing careful technique
- Store and preserve bounty properly to enjoy year-round
- Prepare nutritious, flavorful recipes with your homegrown fruits
With mindful care through the growing process, your okra will flourish. Soon you’ll relish fresh-from-the-garden goodness at its peak! Let your okra farming journey unfold deliciously.
Frequently Asked Questions
Which varieties grow best in containers?
Compact varieties like Annie Oakley and Cajun Delight thrive in containers since they reach just 2-3 feet maximum height. Provide at least a 15 inch diameter pot.
When is the best time for a second planting?
Sow a second succession of seeds 6-8 weeks after the first to ensure ongoing harvests. Soak and sow as before to mineralize seeds for the best germination rates.
Why do some pods get tough and woody?
Allowing pods to over mature on the plant causes tough, fibrous texture. Check plants daily and harvest all pods promptly when reaching optimal 3 inch size.
What causes leaves to turn yellow?
Nitrogen deficiency from soil depletion or drought causes yellowing in older leaves first while veins remain dark green. Supplement with organic nitrogen fertilizer.
How can I boost pod production?
Consistent soil moisture, frequent harvesting, and adequate but not excessive nitrogen maintains prolific pod production in healthy okra plants.
Wholesome Garden Fresh Okra At Your Fingertips
Growing your own okra at home is tremendously rewarding, allowing you to harvest garden-fresh, organic produce packed with nutrition. As you’ve discovered through this extensive guide, cultivating bountiful okra isn’t difficult – just needing a devotion to your plants and some thoughtful preparation.
Select okra varieties with traits adapting them to your exact climate conditions, soil needs, and desired yield. Prepare planting beds meticulously to create an ideal nurturing environment for your crop. Take time also to acquire vibrant non-GMO seeds packaged for this year and pre-soak for enhanced germination rates. Care for delicate seedlings diligently to establish a thriving patch. Support burgeoning vines properly to withstand heavy fruit without toppling over. Maintain plants attentively through entire growing season, correcting any nutrient shortages or pest issues promptly and organically. Then employ thoughtful picking and preservation techniques to enjoy the taste of summer even after winter arrives.
While there are challenges in raising any garden crop, arming yourself with know-how means any obstacles shake out smoothly along the way. Through it all, remember that growing wholesome, garden-fresh food sustains us in so many invaluable ways – for our health, communities and environment. So get ready for a nutritious, fulfilling and delicious adventure in okra farming this season!


