Abundant Advantages
Healthy Nutrition
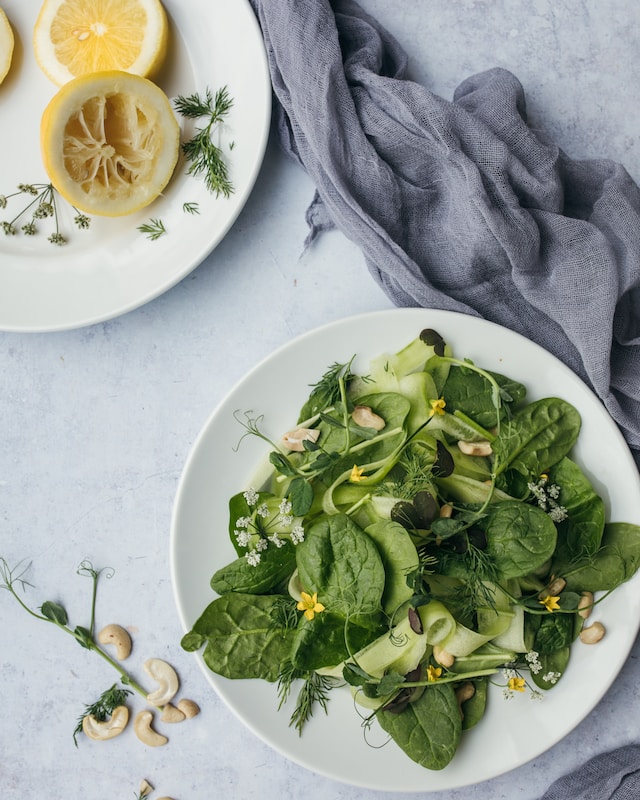
Leafy greens like orach, kale, spinach, arugula, lettuce and chard overflow with vitamins, minerals and protective plant compounds to support vitality. Orach specifically contains high concentrations of vitamins A, C and K – more than an entire day’s recommended intake in just one cup! It also delivers antioxidants like anthocyanins, iron for healthy blood, bone-building calcium, and vision-protecting carotenoids like beta carotene. Having fresh greens available means it takes just minutes to add these nutrients to your meals via simple harvesting and prepping – no transportation emission or plastic packaging waste. Daily enjoyment of leafy greens as sides, salad toppings or smoothie boosters compounds the nutritional benefits over weeks, months and years for improved wellness.
Financial Savings
Purchasing salad greens and leafy vegetables from the grocery store can get extremely expensive over a whole year. When grown at home in your own yard or containers, leafy greens eliminate many of these vegetable costs throughout the seasons. There are no recurring expenses for buying seeds or starter plants when you collect and save your own greens’ seeds for free future harvests either. Homegrown greens also minimize the associated emissions, plastic waste, 3food miles2 and spoilage losses seen with industrial farming and transporting tender produce to stores often long distances. Since you only pick what you need day to day with home cultivation, less waste occurs too. Over months and years of ongoing cultivation, the cumulative financial savings from avoiding purchased greens really adds up, making homegrown varieties a smart budget-friendly choice.
Environmental Stewardship
Thanks to quick maturation cycles of around 30-60 days, leafy green crops allow you to make extremely efficient use of garden space compared to fruiting vegetables and herbs. Successive plantings and harvests multiply yields in a small area over the frost-free season. Their shallow root structures readily adapt to vertical gardening methods too, whether trellised or grown in stacked pots. Leafy greens thrive under organic cultivation methods that nurture healthy soil life rather than relying on chemical pesticides, synthetic fertilizers and genetically engineered seeds associated with industrial agriculture. Some types even have air-purifying properties to combat pollution. Home composting gives greens’ waste and trimmings further eco-friendly purpose instead of ending up in landfills, producing that “black gold” to nourish future crops organically.

Site Selection Guidelines
Sunlight Needs
When selecting the ideal garden location for leafy greens, adequate sun exposure tops the list of considerations. Most vegetables thrive with at least 6 hours of direct sunlight daily for robust growth and maximum productivity. Leafy greens are no exception. However, hot mid-afternoon rays can cause bolting before greens reach optimal maturity. Some partial shade when temperatures peak allows leafy greens to steadily yet quickly mature while avoiding premature flowering. Latticework, shade cloths and proper crop rotations are easy ways to balance midday heat with overall sunlight requirements. Monitoring sunlight patterns in your yard over the seasons informs which areas offer suitable conditions. Container gardening also provides flexibility to maneuver pots into optimal light.
Soil Standards
Well-drained, loose, nutrient-rich soil with a near-neutral pH around 6.5 fosters healthy leafy greens growth. Testing your chosen plot’s soil composition before planting is key to identify any deficiencies that may hinder success. Key aspects to examine include macronutrient levels of nitrogen, phosphorus and potassium, pH, drainage capacity, density and workability. Based on test findings, you can then thoroughly mix amendments into the top 12 inches of soil to optimize fertility and texture. Compost, manure, peat moss, perlite and targeted mineral blends all make ideal adjustments. Tuning up soil health sets your leafy greens up to readily absorb water and nutrients that fuel lush growth.
Moisture Factors
Vigorous leaf and root growth depends on adequate moisture without extremes of too much or too little. Stagnant water encourages fungal issues and leaches nutrients from soil, while drought stresses tender greens. In traditional gardens, notice slopes, soil types, compaction and natural water movements to inform amendments that enhance drainage without over-drying. Options like French drains gravel trenches safely channel away excess moisture. Container gardening enables greater control over soil moisture retention. But drainage holes remain vital. Ensuring the site suits leafy greens’ thirst yet intolerance of wet feet goes a long way towards healthy plants and bountiful harvests.

Preparing to Plant
Bed Preparation
When establishing planting beds for leafy greens, eliminate grass, weeds and debris that may compete for space, nutrients and moisture. For in-ground gardens, use a fork or tiller to lightly turn over and loosen the top 6-12 inches of native soil, mixing in compost to enrich fertility and texture. For raised beds, fill with a quality potting soil mix instead. Beds ideally have widths around 3-4 feet for easy access without excessive stretching and stepping. Once smoothed into an even, well-drained surface, define bed perimeters with lumber, bricks, garden edging or other materials to neatly separate the space.
Soil Enhancements
Before sowing greens, test your plot’s soil composition and address any deficits found. Mail-away lab services and at-home test kits examine essential aspects like pH, nitrogen/phosphorus/potassium levels, drainage capacity and density. If test results show abnormal pH, poor nutrient content, excessive heaviness or other issues, fix these through integrated amendments. Thoroughly mix pH balancers, fertilizers, compost, coir, perlite and more into beds to a depth of 10-12 inches or potting soil. Improving fertility, texture and other variables prevents many common quality and growth issues down the line.
Fertility Plan
Based on your soil test guidance, work amendments into beds that specifically bring key macronutrients like nitrogen, phosphorus and potassium into ideal balanced ratios. Great organic fertilizer options include alfalfa meal, fish emulsion, kelp extracts, compost mixes and manure tea. For concentrated mineral blends, follow package instructions carefully regarding ideal quantity and application method to prevent leaf-scorching. Incorporating nutrients greens need before planting prevents many deficiency issues and bolsters harvests.

Planting Greens
Variety Selection
When selecting leafy green varieties for your garden, consider climate suitability, space constraints, appearance, flavors you enjoy and intended uses. Choosing types matched to your region’s seasonal conditions – summer heat tolerance, frost hardiness, date to maturity – prevents bolting and other issues. Dwarf or compact varieties efficiently use limited space. Vivid red and purple shades provide striking contrast. Different leaf shapes like frilly oregano or smooth butterhead also provide visual interest. Cater to preferred mild or tangy flavors through your picks. Finally, select greens suited for your plans – whether sandwiches, salads, braising or garnishes.
Propagation Methods
Both planting seeds and using nursery starts offer pros and cons when establishing leafy greens. Seeds provide wider home-variety availability, very low cost, and control over growing conditions in your garden soil from day one. However they do require proper sowing, moisture maintenance and thinning for good germination rates. Purchased starts offer immediate maturity so harvests begin weeks sooner. But selection is narrower and costs add up. Consider time investments, upfront costs, and sourcing availability when deciding between seeds or starts.
Growing Conditions
When preparing growing beds, allot adequate space between seed rows and seedlings based on variety size metrics noted on seed packets or plant tags. Without enough elbow room, leafy greens experience stress and may bolt prematurely. Generally arrange taller back with shorter front for efficient yet accessible growing. Intercropping greens amongst beneficial companion plants like beets, onions and herbs enhances growth for all. After planting seeds or placing starters, gently water them in while taking care not to erode beds or wash away seeds. Then mulch around them to conserve that moisture and deter weeds.

Ongoing Care
Moisture Maintenance
Consistent soil moisture keeps leafy greens thriving through germination, maturity and harvest periods. Too little water causes stunted plants and bitter flavors, while excessive moisture stresses roots. Check soil a few inches down before watering again, aiming for even dampness. Soaking ground level by hand or drip irrigation gives greens’ shallow roots better access than overhead watering. How much and how often greens need watering depends on factors like weather, plant size, soil type and mulching. Yet generally aim for 1-1.5 inches of water across the week. Container plants often demand more attentive watering than in-ground beds too.
Feeding Schedule
While compost and organic matter mixed into soil provides some sustenance, actively fertilizing about every 4 weeks during the growing season delivers vital nutrients to fuel plant growth and leaf quality. Organic fish emulsion, compost tea, bone meal and seaweed extracts offer gentle yet effective options. Incorporate liquid formulas into drip irrigation lines for convenience. Watch for signs of nutrient deficiencies like yellowing leaves or stunted plants as cues to apply more targeted fertilizer mixes to address that specific need. Generally combine a balanced organic blend with extra nitrogen for leafy greens.
Protective Measures
Be on the lookout for leaf damage, unwanted munching, impaired growth or spotting on plants as signs of pests, disease or nutrient issues. Catching problems early makes treatment easier before they escalate. Identify the specific culprit prior to action – yellowed leaves signal nitrogen deficiency rather than disease for instance. Once identified, employ the least toxic control methods first via maintenance, physical barriers, biological helpers, manual removal, insecticidal soaps and other gentle deterrents.

Harvesting and Preserving
Determining Ripeness
Timing leafy green harvests for ideal ripeness maximizes flavors and nutrition content. Too early and plants haven’t fully matured. Too late and greens risk bolting or turning bitter and tough. Monitor leaf sizes, signs of heading out or flowering stalks, vibrancy of color and taste samples to assess readiness around 30-45 days from sowing. Pluck individual outer leaves or whole heads from stem base as needed, leaving interior ones to fuel further growth.
Storage Methods
For peak post-harvest quality, immediately rinse just-picked greens then pat dry or spin before refrigerating. Chilling stops continued respiration for longer shelf life up to 7-14 days – far surpassing grocery bunches! Sorted in breathable plastic bags or containers, greens keep best at high humidity yet avoid condensation that breeds slime. Prioritize use to guide storage order. Discard any leaves withering faster than siblings.
Frequently Asked Questions
What causes leafy greens to bolt prematurely?
Stressors like extreme high or low temperatures, inadequate sunlight, low moisture levels, compacted roots or overcrowding commonly trigger leafy greens to divert energy into flowering and seed production before fully maturing. Address root causes like planting timing, density issues, nutrition deficiencies or lack of protective shade structures.
How can I use vertical space to grow more leafy greens?
The shallow root structures of leafy greens adapt well to vertical gardening methods that multiply yields per square foot. Attach trellising for greens to climb, build stacked planter boxes, or use hanging gardening bags and wall-mounted poles. Just ensure proper lighting and airflow to prevent mold and disease.
What are good companion plants for leafy greens?
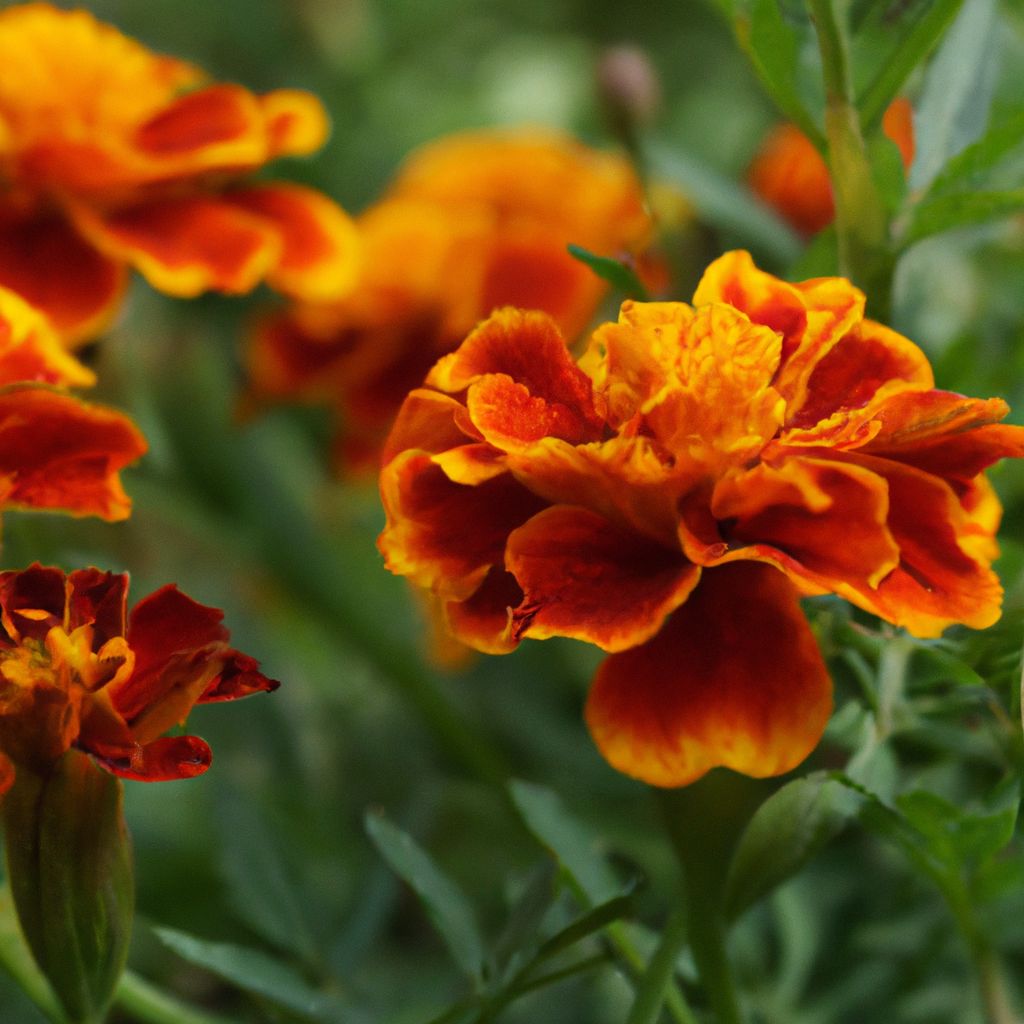
Intercropping leafy greens with beneficial “neighbors” enhances growth all around via nutrient exchanges, pest deterrence, shade provisions and improved soil structure. Perfect matches include beets, kohlrabi, onions, dill, parsely, bush beans, carrots, radishes, marigolds and nasturtiums.
Homegrown Greens with Healthy Rewards
Cultivating leafy greens like nutrient-packed orach delivers remarkable wellness, budget and environmental advantages compared to buying greens. A bit of planning and attentive care enables their vigorous growth, disease resistance and prolific harvests from compact spaces. From deciding which leafy green varieties suit your site conditions and tastes best to fine-tuning soil fertility and moisture levels that fuel plant success, homegrown greens require relatively minimal work for healthy rewards. Now that you know the abundant benefits of leafy greens and how to grow them successfully, why not grab some seeds and enrich your garden – and meals – with their vibrant bounty?


