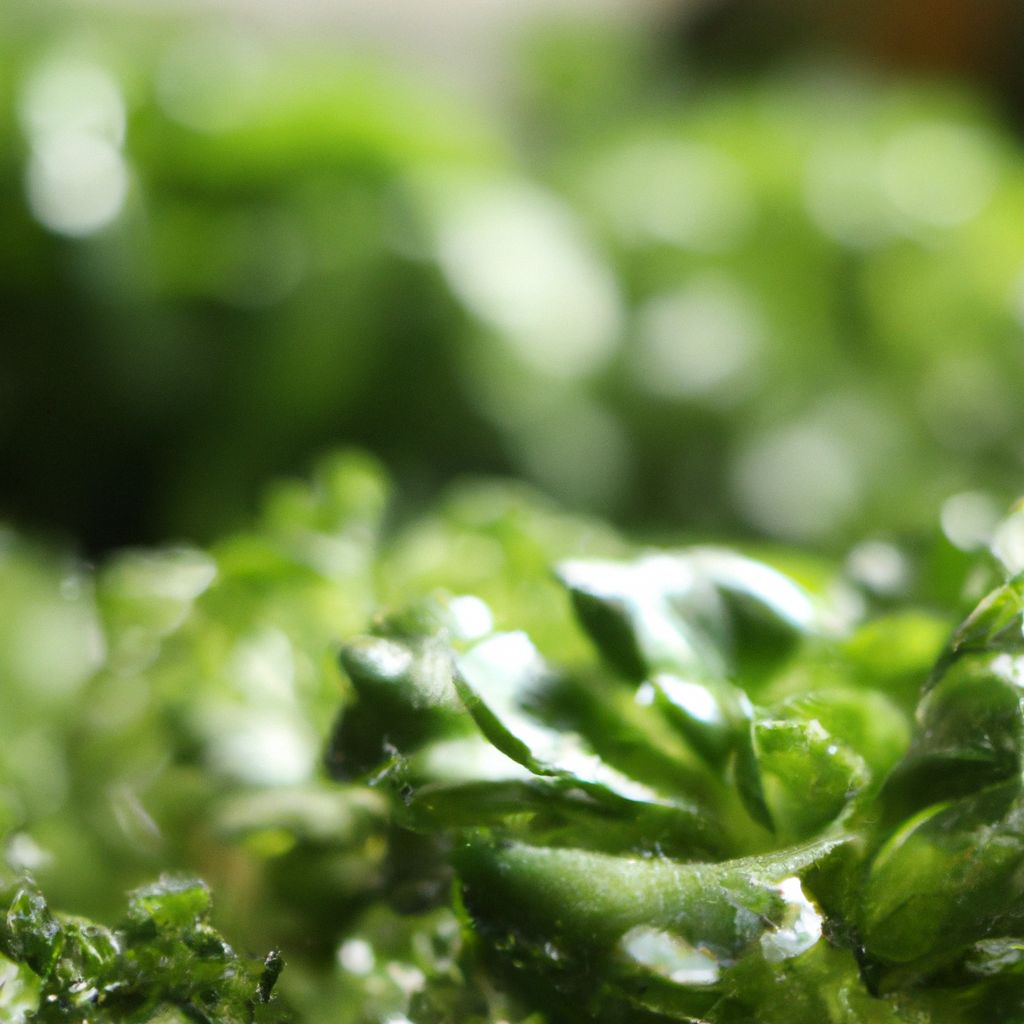
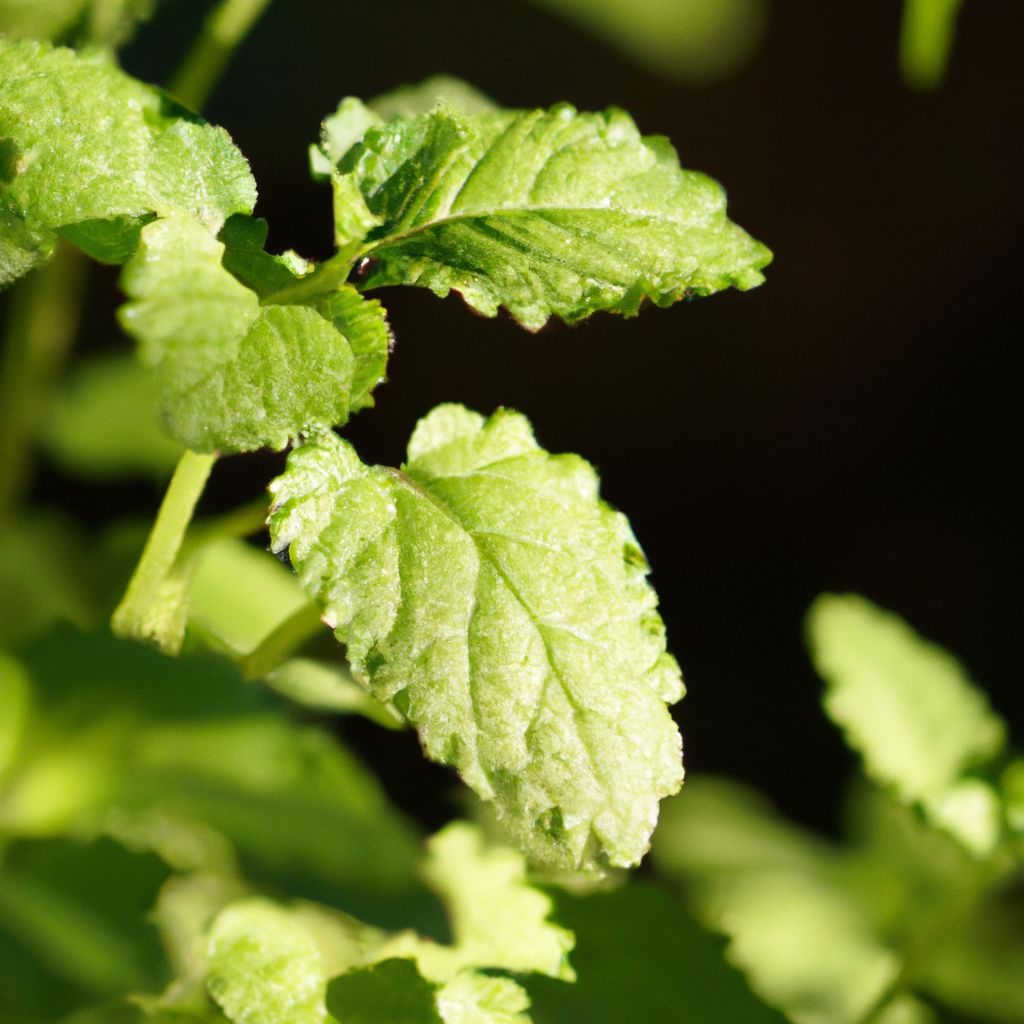
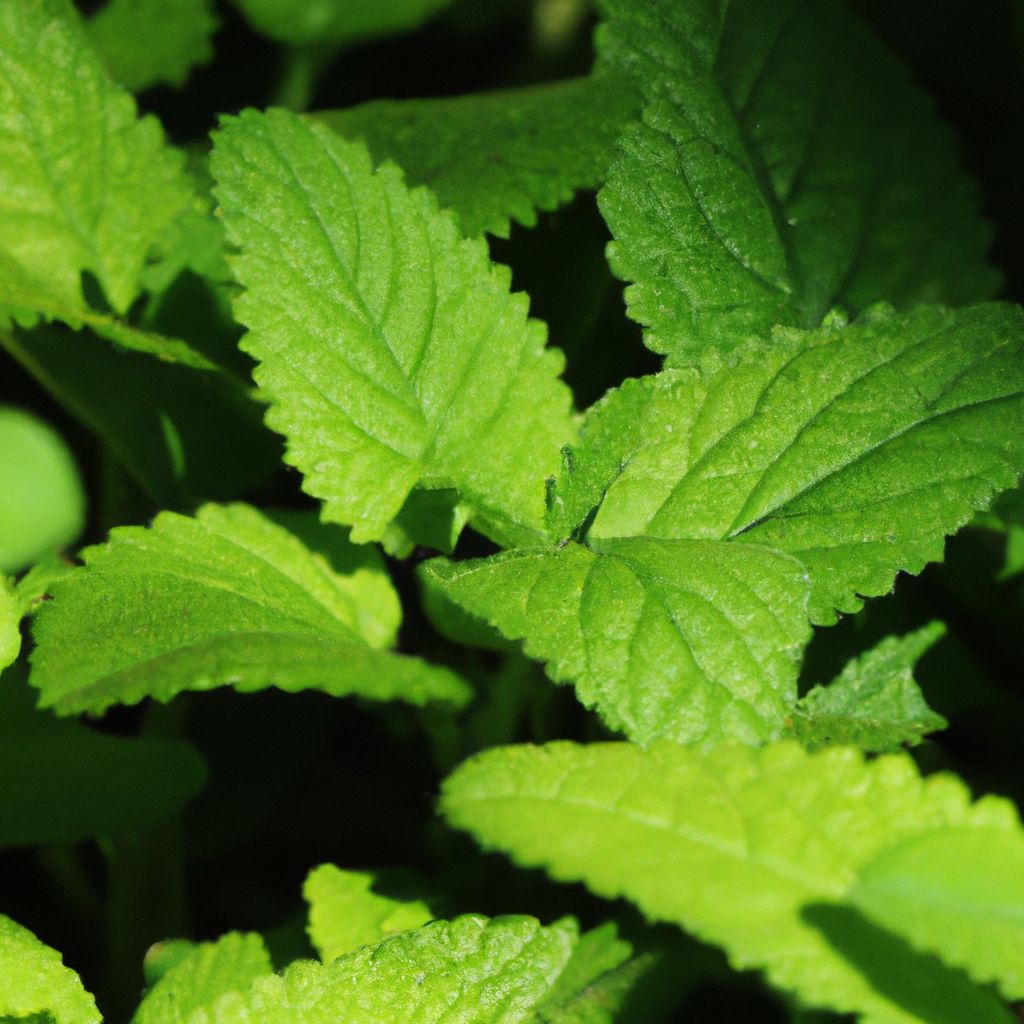
Watercress is a nutrient-packed leafy green that delivers a tangy, peppery burst of flavor. This fast-growing and easy-to-cultivate herb has been cherished for centuries for both its culinary and medicinal properties. Growing watercress at home enables you to have access to fresh greens brimming with vitamins and minerals right from your backyard or windowsill.
In this complete guide, you’ll discover the joys and benefits of becoming a watercress grower. We’ll explore how to get started, including choosing the right seeds and containers. You’ll also learn the ideal growing conditions watercress thrives in, along with a step-by-step process for planting and care. Read on to gain valuable tips for troubleshooting issues, harvesting at peak freshness, and savoring your homegrown watercress. Equipped with this knowledge, you’ll be ready to unleash your inner green thumb and cultivate peppery watercress goodness in no time!
Why Grow Your Own Watercress?
Growing your own watercress offers many rewards. Here are some of the top benefits you can enjoy:
- Fresh and flavorful greens – Growing watercress at home lets you harvest fresh greens bursting with tangy, peppery flavor. You control the quality and taste.
- Nutrient-rich – Watercress contains vitamins A, C, K, antioxidants, and minerals like calcium and iron. It packs a nutritious punch!
- Cost-effective – You save money growing your own watercress instead of buying it. A little effort yields fresh greens.
- Satisfying to grow – Watercress thrives easily in containers, making it a satisfying herb to cultivate yourself.
A Brief History of Watercress
With a history spanning over 3,000 years, watercress has long been prized for its unique peppery taste and wealth of health benefits. Here’s a quick look at the fascinating history of this nutrient-packed green:
- Native to Europe and Asia, early gatherers harvested watercress from clean flowing streams and riverbeds.
- Ancient Greek physicians like Hippocrates recognized watercress’ medicinal properties, using it to treat blood disorders.
- During the Middle Ages, watercress was consumed to combat scurvy and purify the blood due to its high vitamin C content.
- In the 1800s, watercress gained popularity in England as a food source for undernourished urban workers and miners. Vendors sold bundles of the greens in the streets.
- Modern cultivation began in Germany in the late 19th century. Improved irrigation methods enabled commercial farming.
- Today, top watercress producers include the United States, United Kingdom, France, and China. Hydroponic technology allows year-round production.
- Both wild and cultivated watercress are popular ingredients in salads, soups, sandwiches and garnishes around the world.
Benefits of Eating Watercress
In addition to its delicious, peppery taste, eating watercress provides tremendous health benefits. Here are some of the top reasons to add more of this supergreen to your diet:
- Rich in vitamins and minerals – Watercress contains significant amounts of vitamins A, C, K, calcium, manganese, and carotenoid antioxidants like lutein and zeaxanthin. This makes it one of the most nutrient-dense greens.
- Powerful antioxidant effects – With high levels of vitamin C and carotenoids, watercress helps neutralize harmful free radicals to reduce oxidative stress and cell damage.
- Anti-inflammatory properties – Watercress possesses anti-inflammatory abilities which may help lower systemic inflammation, a key driver of chronic illnesses.
- Supports bone health – The calcium content in watercress promotes healthy, strong bones while the vitamin K aids calcium absorption and bone metabolism.
- Boosts immunity – The combination of vitamins A, C, and antioxidants in watercress enhances immune function to help your body fight infections and illness.
- Supports eye health – Lutein and zeaxanthin in watercress filter harmful blue light rays to preserve eye health and lower risks of macular degeneration.
- Aids digestion – Watercress stimulates bile production to break down fats and improve digestion. The fiber content also benefits gut health and regularity.
Clearly, adding watercress to your diet provides a wide spectrum of nutritional and health advantages!
Selecting the Best Watercress Seeds
Choosing the right watercress seeds is the first step to growing a thriving crop. Here are some tips for selecting quality seeds:
- Buy from reputable sources – Purchase watercress seeds from trusted seed companies and nurseries to ensure viability and health. Avoid random internet sources.
- Opt for untreated seeds – Untreated, non-coated seeds will germinate better than treated ones which may contain fungicides.
- Check for expiration dates – Only buy fresh seeds within their expiration date for optimal germination rates. Discard old seeds.
- Look for organic – Organic, non-GMO seeds offer the best quality and are not grown with synthetic pesticides.
- Examine seed color – Watercress seeds should be small and dark brown or black in color when fresh. Avoid pale-colored seeds.
- Buy local varieties – Choosing region-specific seeds helps ensure the watercress is suited for your climate conditions.
- Avoid invasive types – Some watercress varieties spread aggressively. Make sure the seeds suit contained planting.
- Purchase in breathable packaging – Well-sealed, breathable seed packets or envelopes keep seeds dry until planting.
- Compare sellers – Shopping around helps find the best deals. Bulk purchases can also be more economical.
Taking the time to find and purchase premium, viable watercress seeds will get your crop off to the right start.
Choosing the Best Containers for Growing Watercress
Selecting the right containers is key to providing watercress with the optimal growing conditions it needs. Here are some tips for picking the best containers for your watercress:
- Pots or planters at least 6 inches deep – This gives watercress roots ample room to spread out. Shallow containers restrict growth.
- Materials like plastic, clay, wood, or metal – These hold moisture well. Avoid porous materials like terracotta that dry out quickly.
- Individual containers or hydroponic systems – This gives you more control than growing in the ground. Contains spread.
- With drainage holes – Good drainage prevents waterlogged soil and root rot. Elevate pots to improve drainage.
- Black or opaque colors – Darker colors deter algae growth and help maintain cool soil temperatures.
- Self-watering pots – These regulate moisture content through built-in water reservoirs, saving maintenance time.
- Matching saucers – Saucers catch excess water and keep containers tidy. Just dump out excess.
- Clean before use – Wash used containers thoroughly with soap and water to prevent the spread of diseases.
- Proper capacity – Make sure containers are sized right for the number of plants you wish to grow.
Choosing containers designed to retain moisture allows you to meet watercress’ high water needs for lush growth and tender leaves.
Creating the Ideal Soil Mix for Watercress
Watercress thrives in soilless potting mixes that retain moisture and nutrients. Here is an ideal recipe to create the perfect watercress growing medium:
Ingredients:
- 2 parts peat or coco coir – Improves moisture retention
- 1 part perlite or vermiculite – Lightens the mix and improves drainage
- 1 part compost – Supplies nutrients
- 1⁄2 part charcoal (optional) – Helps control fungi and purify water
Instructions:
- Mix all ingredients together thoroughly in a large container or wheelbarrow.
- Add water slowly while turning the mix until it reaches a moist but not soggy consistency.
- For containers, fill them about 1 inch from the top with the soil mix.
- Plant your watercress seeds or transplants into the mix.
- Top dress containers with 1⁄4 inch of gravel to deter fungal growth.
- Use this same mix for later top dressing and re-potting as needed.
This customized soil blend will provide the ideal moisture retention, fertility, and pH balance that watercress prefers. Adjust proportions as needed to tune the mix to your conditions.
Providing the Right Sun Exposure
When it comes to sun exposure, watercress does best with about 4 to 6 hours of direct sunlight daily. Here are some tips for meeting its light requirements:
- Morning sun – Aim for morning sun exposure over hot afternoon light to keep plants cool.
- Partially shaded – Dappled sunlight or partial shade is ideal, especially in hot climates.
- South-facing positioning – Situate containers on a south-facing patio or balcony for sufficient sunlight.
- Use grow lights – If natural light is inadequate, supplement with full spectrum LED grow lights.
- Light shade structures – A shade cloth canopy filters intense sunlight to a comfortable level.
- Turn containers – Rotate pots occasionally so all sides get exposure to direct sunlight.
- Observe leaves – Monitor leaf color. Yellowish leaves can indicate insufficient sunlight.
- No direct midday sun – Avoid situating containers in full sun during the hottest part of the day.
With the right balance of sun exposure, your watercress will thrive! Adjust as needed based on your climate and growing environment.
Meeting Watercress’ High Water Needs
Since watercress naturally grows along stream banks, it requires constant access to water. Here are some tips for meeting its high moisture needs:
- Check soil daily – Test the soil moisture daily by touching the surface. Water whenever it starts to dry out.
- Maintain soggy (not saturated) soil – Watercress needs continually moist soil. Allow the soil to drain well after watering.
- Monitor container weight – Lift pots to get a feel for when they start to lighten as water depletes.
- Use drip irrigation – A drip system provides consistent moisture without overflowing containers.
- Water in morning – Watering early allows the foliage to dry out in sunlight, preventing diseases.
- Humid conditions – Grouping containers together or using a greenhouse helps maintain the humidity watercress enjoys.
- Spring for self-watering pots – These automatically water from reservoirs, taking the guesswork out.
- Water from the base – Watering from below encourages roots to grow downwards into moisture.
Proper, attentive watering keeps those tasty leaves growing rapidly. Don’t let watercress soil dry out!
Regulating Temperature
Watercress thrives best in cooler temperature ranges. Follow these tips to keep your crop in its optimal 60-70°F (15-21°C) comfort zone:
- Outdoor planting – Choose spring and fall periods to grow watercress outdoors, avoiding summer heat.
- Partially shaded spots – Locations out of full sun help maintain cooler soil temperatures.
- Morning sun – Early sun exposure helps temper the heat while shading containers in the afternoons.
- Indoor growing – Use a cool basement or air-conditioned sunroom for year-round cultivation.
- Greenhouse growing – Ventilate greenhouses to prevent excess heat buildup during the day.
- Air circulation – Use small fans to improve air movement and cool leaves.
- Mulch containers – A thin layer of chopped leaves or straw atop soil helps retain moisture and prevent temperature swings.
- Insulate roots – Wrap containers in insulation or burlap to protect roots from hard freezes in winter.
- Avoid heat exposure – Keep containers out of areas that collect and radiate heat, like concrete or asphalt.
With a little planning, you can easily keep your watercress cool and comfortable!
Timing Your Planting
Determining the optimal planting time for your region is important to support robust watercress growth.
- Spring – The moderate temperatures of spring make it an ideal season to plant watercress outdoors.
- Summer – Summer heat may bolt or diminish growth. Focus on indoor or greenhouse growing during summer.
- Fall – Fall offers a secondary optimal window for planting watercress in many regions.
- Winter – Where winters are mild, watercress can be grown outdoors year-round. Provide frost protection when needed.
- 8-10 weeks before last frost – When sowing outdoors, plant 10 weeks before your area’s last expected spring frost.
- 12-15 weeks before first fall frost – For a fall crop, sow seeds 15 weeks prior to the first fall frost date.
- Year-round for indoor growing – Indoors, watercress can be started anytime. Just ensure stable temperatures.
Check your local frost dates and climate to determine the best seasons and timing for planting your watercress. This helps ensure your crop gets established while conditions are optimal.

How to Plant Watercress Seeds
Ready to get your watercress started? Planting from seed is simple. Just follow these steps:
- Fill containers with moistened potting mix, leaving 1 inch at the top.
- Sprinkle seeds evenly over the soil surface. Space 1 inch apart.
- Gently press seeds into the soil, but don’t cover completely. They need light to germinate.
- Mist the soil to keep it evenly moist, but avoid saturation.
- Place containers in partial sun at 60-70°F.
- Seedlings will sprout in 7-14 days. Thin to 6 inches apart once established.
- If sprouts fail to emerge after 2-3 weeks, re-seed and maintain even soil moisture.
Be patient, keep seeds moist, and soon you will see sprouts! For a quicker start, opt for transplanting nursery-grown seedlings.
Caring for Your Watercress Crop
Once your watercress seeds have germinated or transplants are established, just a bit of attentive care will keep your crop thriving:
- Watering – Check soil moisture daily. Water immediately whenever the surface begins drying out.
- Sunlight – Ensure plants receive 4-6 hours of sun daily. Rotate containers or use grow lights to maintain exposure.
- Temperature – Keep watercress cool, between 60-70°F. Move containers indoors or use shade covers if needed.
- Fertilizing – Use a balanced liquid fertilizer every 2-4 weeks during the growing season to fuel growth.
- Pruning – Trim any yellowed or damaged foliage 1⁄4 inch above the base to maintain health.
- Weeding – Pull emerging weeds to prevent them competing for space, nutrients and moisture.
- Pest monitoring – Watch for slugs, snails, and aphids and remove any spotted immediately by hand.
- Harvesting – Begin snipping outer leaves about a month after sprouting. Harvest frequently to encourage growth.
With attentive, consistent care, your watercress will readily multiply into an abundant crop!
Avoiding Bolting in Watercress
If managed improperly, watercress can “bolt”, rapidly sending up flower stalks that make leaves bitter. Here are tips for preventing bolting:
- Cool conditions – Ensure watercress receives ample shade and temperatures are kept between 60-70°F to deter bolting.
- Constant moisture – Insufficient watering can trigger early bolting. Maintain wet soil conditions.
- No crowding – Thin plants to at least 4-6 inches apart to reduce competition and prevent going to seed.
- Regular harvesting – Frequently snip shoots to encourage vegetative growth rather than flowering.
- Balanced fertility – Applying a balanced organic fertilizer provides nutrients without promoting bolting.
- Limited root disturbance – Minimize transplanting or disturbing roots after plants are established.
- Afternoon shade – Hot afternoon sun on leaves can induce bolting. Provide shade covers.
- Young plants – Actively growing juvenile plants are less prone to bolting than maturing ones.
With preventative care, you can successfully grow watercress to maturity without the frustration of premature bolting.
Harvesting Watercress for Maximum Freshness
To collect watercress at the height of freshness, use these harvesting tips:
- Begin 4-6 weeks after sprouting – Wait for at least a month of growth before first harvests.
- Cut stems about 1 inch above soil – Use clean, sharp scissors or shears to snip stems above the crown.
- Prioritize outer leaves – Harvesting outward leaves stimulates new interior growth.
- Harvest frequently – Aim to cut leaves every 1-2 weeks to encourage continuous production.
- Harvest in morning – Watercress metabolizes sugars overnight, making morning the time of peak crispness.
- Handle gently – Transport harvested watercress carefully to avoid bruising tender leaves and stems.
- Chill immediately – To preserve freshness, store just-cut watercress in the refrigerator.
- Wash just before use – Gently rinse leaves under cool water. Pat dry with paper towels before eating.
With a routine harvesting schedule, your watercress will keep supplying you with an ongoing yield of delicious greens!
Storing Watercress Correctly
To retain the freshness and appeal of harvested watercress, utilize these proper storage methods:
- Wrap in paper towels – Gently pat harvested watercress dry with paper towels or a salad spinner.
- Seal in plastic bags – Place dried watercress in zip-close bags, pressing out excess air before sealing.
- Refrigerate immediately – Transfer bagged watercress straight to the fridge, using the coldest section.
- Use within 3-5 days – For best quality, use refrigerated watercress within 3-5 days of harvesting.
- Avoid freezing – Watercress gets soggy when frozen. Refrigeration preserves texture better.
- Check for deterioration – Discard any watercress that shows signs of yellowing, wilting or sliminess.
- Rinse before use – Rinse watercress under cool water just before eating or adding to recipes.
Proper post-harvest storage keeps watercress fresh, avoiding premature deterioration. With the right techniques, you can enjoy your homegrown watercress for up to a week.
Common Pests and Diseases
When growing watercress, it’s helpful to be aware of potential pests and diseases to watch for. Here are some of the most common:
Pests
- Aphids – These small sucking insects cluster on leaves and stems, transmitting plant viruses. rinse off with water jets or use natural insecticidal soap sprays.
- Caterpillars – Caterpillars eat holes in foliage. Hand pick them off plants. Use organic Bt sprays as a last resort.
- Snails and slugs – These leave telltale slime trails and holes in leaves. Use natural baits or traps to control them.
- Spider mites – Tiny spider mites form colonies on the undersides of leaves, causing stippling damage. Knock them off with a strong water spray or use neem oil.
Diseases
- Damping off – Fungal disease killing seedlings. Avoid overwatering and provide good airflow.
- Root rot – Caused by excess moisture. Allow soil to dry out between waterings and ensure drainage.
- Powdery mildew – White fungal coating on leaves. Increase air circulation and reduce moisture.
- Bacterial leaf spot – Angular translucent lesions on leaves. Disinfect and destroy affected plants.
Careful observation combined with organic controls can keep your watercress healthy and productive all season long. Be vigilant!

Using Watercress in Low Carb Recipes
With its fresh, zesty flavor and stellar nutrient profile, watercress is a fantastic addition to low carb recipes. Here are some delicious ways to enjoy it:
- Watercress Salad – Toss watercress, shredded carrots, avocado, and olive oil vinaigrette over spinach leaves for a powerhouse salad.
- Watercress Pesto – Blend watercress, basil, garlic, lemon juice, olive oil, and walnuts into a vibrant pesto to top chicken, fish, or roasted veggies.
- Scrambled Eggs with Watercress – Fold chopped watercress into scrambled eggs for extra color and nutrients. Serve with smoked salmon.
- Steak Salad – Pan-sear a steak and serve over watercress dressed with tangy mustard vinaigrette and crumbled blue cheese.
- Watercress Soup – Puree watercress, onions, bone broth, cream, and herbs into a rich, verdant soup. Garnish with crumbled bacon.
- Prosciutto Wrapped Asparagus – Wrap roasted asparagus spears with prosciutto and watercress for an easy, elegant appetizer.
With zero net carbs and a savory bite, watercress allows you to splash flavor and nutrition into low carb recipes. Get creative with this versatile green!
FAQs About Growing Watercress at Home
If you’re new to growing watercress, chances are you have some questions. Here are answers to some frequently asked questions:
How much sunlight does watercress need? Watercress thrives with 4 to 6 hours of direct sunlight daily. Avoid hot afternoon sun exposure. Morning sun is ideal.
What temperature is best for watercress? Watercress grows best in cool conditions between 60-70°F (15-21°C). Temperatures above 80°F can cause bolting.
How often should I water watercress? Check soil moisture daily, watering whenever the surface begins to dry out. Watercress requires consistently damp soil.
When is watercress ready for harvesting? Begin harvesting outer leaves about 4-6 weeks after plants are established. Cut leaves as needed, allowing inner leaves to continue growing.
What is the best way to use watercress? Watercress adds a tangy, peppery accent to salads, sandwiches, eggs, soups, smoothies, and as a garnish. Use raw or lightly cooked to preserve nutrients.
How do I store harvested watercress? After harvesting, rinse watercress gently and pat dry. Seal in plastic bags and refrigerate for 3 to 5 days maximum.
What causes watercress to bolt? Hot temperatures, inconsistent watering, crowding, and root disturbance can trigger watercress to bolt. Harvest frequently and maintain ideal growing conditions to prevent bolting.
Growing your own watercress is fun, easy, and rewarding! With a bit of care, you can enjoy fresh harvests of this nutrient-powerhouse green right from your backyard.
Add a Peppery Bite to Your Night
Adding homegrown watercress to your diet provides a mega boost of antioxidants, vitamins, and precious phytonutrients like glucosinolates. This zesty green not only benefits your health, but also infuses recipes with a delightfully peppery bite. By choosing the best seeds and containers, providing ideal growing conditions, and practicing attentive care, you can cultivate thriving watercress easily at home. Before you know it, you’ll have an abundant supply of tender greens ready to harvest! So why not grab some seeds and get growing? Your tastebuds will thank you.


