


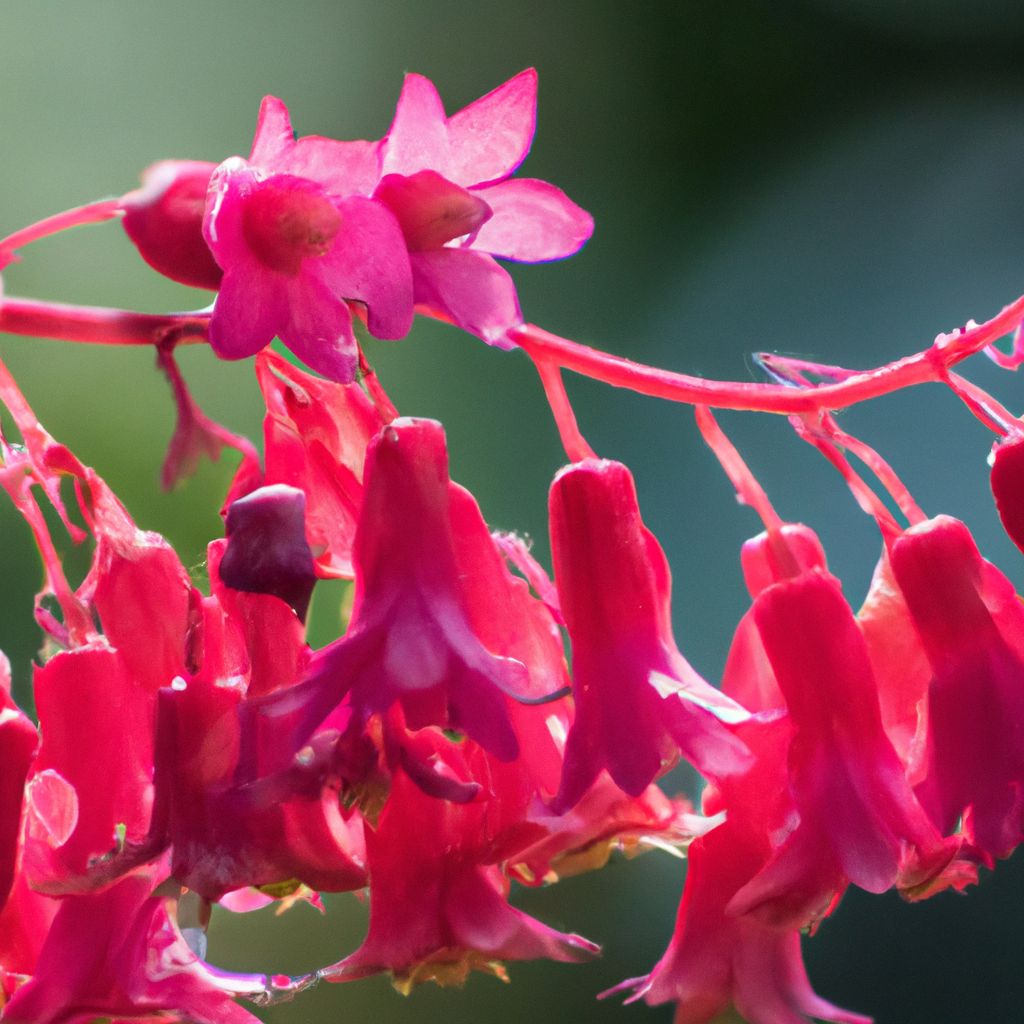
Coral bells belong to the Saxifrage family of plants. Their leaves come in diverse hues like lime green, burgundy red, silvery gray, and burnished bronze. The plants produce slender flower stalks bedecked with scores of tiny, bell-shaped blooms that gave coral bells their common name. Read on understand the ins and outs of planting coral bells and learn how to care for them in your own garden.
Flower Colors
Flower colors include:
White
Pink
Red
Orange
Purple
Multicolored
Bicolored like red and yellow
The tubular flowers provide abundant nectar that attracts butterflies, hummingbirds, and bees. These pollinators flock to coral bells, making them excellent for supporting backyard biodiversity.
In addition to being hugely decorative, coral bells are also deer and rabbit resistant. Their toxicity deters browsing animals, making coral bells ideal for gardens prone to nibbling animal guests. Coral bells require very little maintenance and thrive for many years when planted properly.
Growing Conditions
Native to forest lands and wooded slopes, coral bells thrive in dappled sunlight and moist, rich soil. They grow as perennials in USDA Hardiness Zones 4-9.
While adaptable to various sites, coral bells prefer organically rich, moisture-retentive loam. Soil should retain moisture but still drain well. Before planting, test drainage by digging a 12 inch deep hole and filling it with water. If water does not fully drain in 12 hours, amend the soil with compost to improve porosity.

Selecting the Best Site for Planting Coral Bells
Ideal Growing Conditions:
Sunlight: Select a partially shaded spot receiving morning sunlight and afternoon shade. About 4-6 hours of sun is optimal. Filtered light keeps foliage vibrant.
Soil: Coral bells thrive in nutrient-rich, humus heavy loam. They tolerate clay soil but require sharp drainage to protect the crown from rotting. Before planting, amend dense soils with 2-3 inches of organic compost or well-aged manure.
pH: Test soil pH and amend if needed to reach an ideal range of 5.5 to 7.0. Coral bells prefer slightly acidic to neutral soil.
Moisture: Choose a site with reliable moisture. Add peat moss or coco coir to improve water retention if needed.
Ideally, select a site protected from intense wind. It should drain fully after heavy rain with no puddling. When preparing new coral bells beds, address any drainage issues first.
Companion Plants
Some plants that complement coral bells include:
Ferns
Hostas
Astilbes
Hakonechloa grass
Hellebores
Lungwort
European ginger
Barrenwort
Foamflower
These companions coordinate beautifully with coral bells’ colors and textures. Plus they share similar site preferences and cultural needs like consistent moisture and rich soil.

Preparing the Planting Bed
Proper bed preparation sets the stage for coral bells to thrive for years. Start preparing at least one week before purchasing plants. Follow these important steps:
Planting Bed Preparation:
Remove all weeds including the roots. Discard debris like rocks and building materials.
Till or turn over the top 6-8 inches of soil using a garden fork or tiller. Break up large clumps.
Mix 2-3 inches of organic compost or well-aged manure into the loosened soil to build fertility, nutrient content, moisture retention and drainage.
Use a garden rake to smooth and level the planting bed so it looks neat and tidy.
Just before planting coral bells, water the prepared beds well and allow the water to fully drain out of the soil. This ensures ideal planting conditions.
How to Plant Coral Bells
Plant coral bells in spring once the threat of frost has passed. Follow these simple planting steps:
Planting Steps:
1. Dig wide, deep holes
Dig a hole twice the width and just as deep as the pot or container the coral bells plant came in.
This wide hole size encourages outward and downward root growth.
2. Carefully remove from pots
Gently remove the coral bells plant from its container.
Tease apart any circled or tangled roots formed inside the pot.
3. Prepare root ball
Use a knife to slice several long vertical cuts an inch deep around the root ball. This encourages roots to expand into surrounding soil.
Place the coral bells in the planting hole. The top of the root ball should be level with ground level.
4. Backfill
Backfill around the plant with the prepared soil blend, lightly firming the soil around the roots.
Leave an inch or two of space around the top of the root ball.
5. Water thoroughly
Water slowly and deeply after planting. This saturates soil and eliminates air pockets around roots to encourage establishment.
Initial Care Tips:
Cover bare ground with 2-3 inches of shredded bark mulch around plants. This reduces weeds and retains soil moisture as plants establish.
Check soil moisture frequently after planting, watering whenever the top few inches become dry.
Protect new transplants from late frosts by covering with garden fabric overnight if cold temperatures are expected.

Caring for Newly Planted Coral Bells
The first year after planting coral bells is critical for developing an extensive root system to anchor the plant. Follow these tips:
First Year Care:
⦁ Check soil moisture frequently, at least twice per week. Water whenever the top few inches become dry. New plants depend on consistent moisture to encourage root growth. Provide about 1 inch of water per week.
⦁ Replenish protective mulch as needed. Organic mulch conserves moisture, cools soil and prevents weeds.
⦁ Fertilize at planting time with gentle liquid fertilizer like fish emulsion diluted to half-strength. Fertilize again mid-summer.
⦁ Remove spent flowers just above the foliage to direct the plant’s energy into root development instead of seed production.
⦁ Monitor for pests like slugs, snails, earwigs and vine weevils. Remove by hand or apply organic treatments promptly if populations explode.
Long Term Care for Established Coral Bells
After 2-3 years, coral bell plants mature and become cold hardy and resilient. They require less intensive care but still benefit from:
Care Tips for Established Plants:
Check soil moisture weekly and water whenever the top few inches become dry. Established plants handle short dry spells but flower best with consistent moisture.
Apply a slow release, granular flower fertilizer in early spring. Follow package directions carefully. Excess nitrogen can cause floppy growth.
Prune off faded or damaged flowers down to the nearest leaf node. This neatens plants, directs energy to root and foliage, and may encourage reblooming.
Every 2 to 3 years in spring or fall, lift and divide overgrown clumps. Replant the divisions with ample breathing room. Doing this reinvigorates plants.
Remove tattered or infected leaves/stems anytime to maintain health. Dispose of diseased debris promptly.
Test soil pH yearly with a soil test kit. Amend if needed to keep the pH ideal between 5.5-7.0.
Mulch with 2 inches of organic matter yearly to conserve moisture, suppress weeds and insulate roots.
Winter Care Tips
As winter approaches, prune old foliage down to several inches above the ground after it dies back.
In very cold climates, insulate the base of plants by mounding a protective layer of shredded leaves, straw or evergreen boughs over the crown.
To prevent heaving of plants during freeze/thaw cycles, avoid early winter fertilization and maintain protective winter mulch.

Propagating Coral Bells
Gardeners can propagate coral bells easily through division or stem cuttings.
Dividing Overgrown Clumps
The best times to divide coral bells are early spring as growth resumes or fall before the ground freezes. Here are the steps:
Division Steps:
Use a garden fork to carefully lift the entire coral bells clump from the ground. Retain as much of the root mass as possible.
Shake or rinse off excess soil to expose the roots and make division easier.
Divide the parent plant into smaller clumps with a sharp knife or pruners, ensuring each division has ample healthy white roots and several leaf crowns.
Discard any diseased or nonviable sections.
Plant the divisions 12-15 inches apart in amended garden beds.
Water thoroughly after replanting. Monitor soil moisture and water frequently until plants are re-established.
By dividing overgrown coral bells every three years, you encourage vigorous growth and ongoing beauty. Regular division also allows you to expand plantings into new garden beds.
Propagating from Stem Cuttings
In addition to division, gardeners can also propagate coral bells from tip cuttings during the growing season. Here’s how:
Stem Cutting Steps:
Use sharp, sterile pruners to take 4-6 inch long stem tip cuttings from vigorous coral bells plants, choosing non-flowering stems. Make the cut just below a leaf node.
Strip off the lowest set of leaves then dip the cut end into rooting hormone powder. Tap off any excess powder.
Insert cuttings into containers filled with a light, sterile media like perlite or peat and perlite mix.
Water thoroughly and place containers in a warm spot (65-75°F) with bright, indirect light.
Keep the rooting mix evenly moist. Mist plant leaves periodically to boost humidity around cuttings.
In about 6-8 weeks, gently tug cuttings to check for sufficient root growth before transplanting into the garden, spacing plants 12 inches apart.
Stem cuttings enable you to expand your coral bells collection with different colors and varieties without buying new plants. Take cuttings anytime between late spring and midsummer while plants are actively growing.

Creative Design Tips
Coral bells provide stellar contrast and intrigue when combined with companion plants like ferns, hostas, astilbes and ornamental sedges.
Ideas for Using Coral Bells:
⦁ As a colorful anchor plant surrounded by airy textures
⦁ To delineate curve-shaped walkways, borders and garden edges
⦁ As a low care ground cover on slopes, amid rock gardens, or underplanted around trees and shrubs
⦁ Grouped in clusters of varying heights within perennial or woodland beds to create depth
⦁ Grown in decorative containers paired with annuals or small shrubs
No matter how they are incorporated, coral bells flowers and foliage will enhance your landscape with vibrant, lasting beauty through three seasons. Follow sound cultural practices and coral bells will thrive for years as beloved garden workhorses.
FAQs
How do I prepare soil for planting coral bells?
Loosen soil to 8 inches deep, mixing 3-4 inches of compost. Level, rake smooth and water deeply before planting. Coral bells need consistently moist, nutrient-rich soil with organic matter to thrive.
What plants combine well with coral bells?
Some plants that complement coral bells in form, color, and growing needs include hostas, astilbes, ferns, heucheras, hellebores, ornamental grasses and ajuga.
Should coral bells be cut back for winter?
Trim back dead foliage at the end of fall but leave any intact basal leaves to serve as insulation for the crown. Then prune out damaged leaves just before new spring growth begins.
How cold hardy are coral bells?
Most coral bells tolerate winter temperatures ranging from USDA zones 3-9 when planted in appropriate sites suited to their zone. Mulch the roots in fall to insulate from extreme cold and fluctuating freeze/thaw cycles.


