


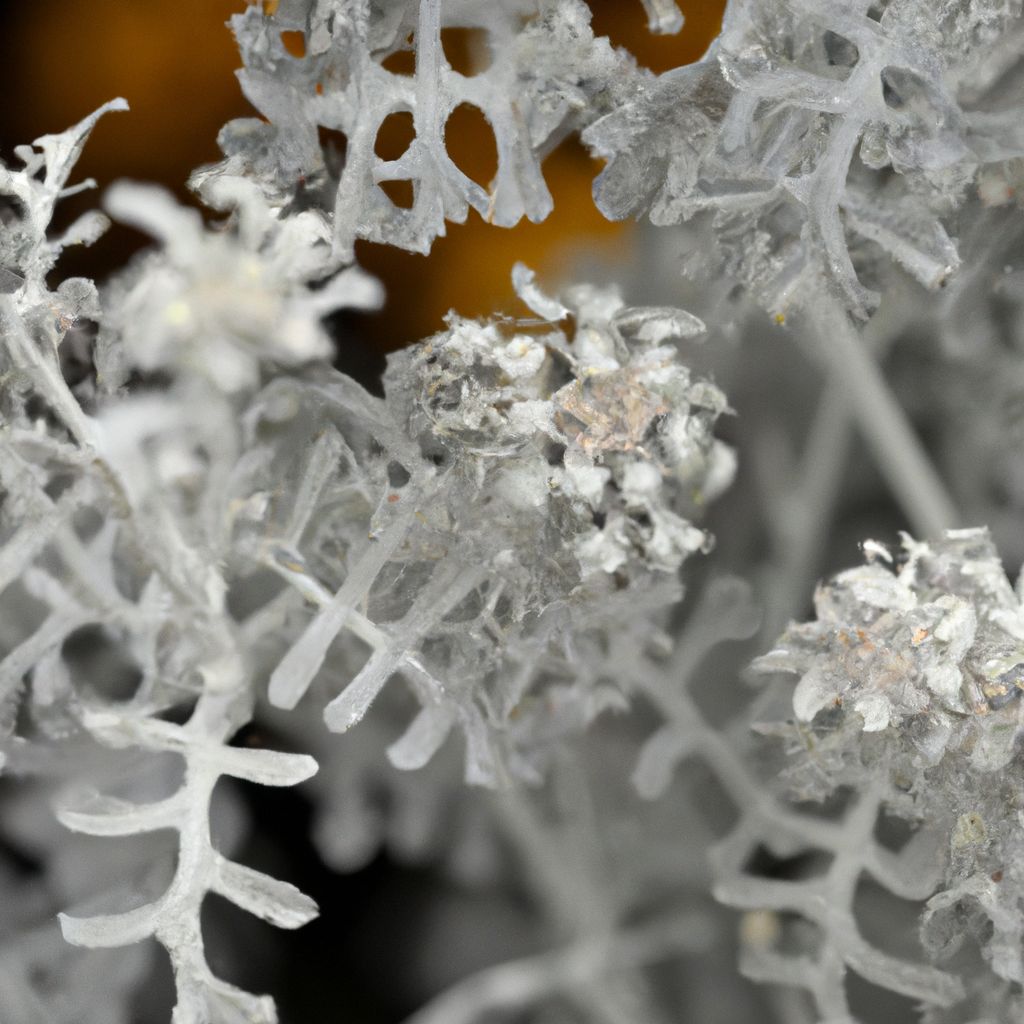
Dusty Miller, known botanically as Senecio cineraria, is an elegant annual plant valued for its striking silver-gray foliage that provides unique texture and contrast to garden beds and containers. This guide will provide key tips for successfully planting and caring for Dusty Miller so you can enjoy its beauty.
Why Grow Dusty Miller?
Beyond its ornamental good looks, Dusty Miller offers these exceptional merits that make it a top choice for gardens:
Drought Resistance
The silvery coatings on Dusty Miller foliage enable it to reflect sunlight and conserve moisture. Once established, plants are quite drought hardy and water-wise.
Pest and Disease Resistance
Relatively free of most pests and diseases, Dusty Miller’s natural pest-repelling compounds allow for chemical-free gardening. Periodic treatments may still be needed if pests like spider mites appear.
Low-Maintenance
This unfussy plant has modest soil fertility needs, requires little watering or pruning, and can tolerate being slightly pot-bound, earning it a reputation as one of the most low-maintenance ornamentals.
High Heat Tolerance
Dusty Miller endures sweltering summers better than many plants. But afternoon shade in intensely hot southern zones provides added protection.
Four-Season Interest
Dusty Miller brings year-round appeal. It flourishes through summer, makes a lovely flowering plant for pollinators in fall, offers winter structure, and fills space as other plants emerge in spring.
Versatile Uses
Superb versatility makes Dusty Miller at home in beds and borders, elegant spilling from containers, cascading in hanging baskets, or as a textural annual groundcover. It pairs beautifully with other plants.
Where to Plant Dusty Miller
Proper siting ensures Dusty Miller thrives. It favors these locations:
Sun Exposure
Plant in full sun to partial shade. At least 6 hours of direct sun is best where summers are not blistering hot. Light afternoon shade can provide relief in extremely hot southern zones.
Soil Conditions
Well-drained soil is essential to prevent fungal root diseases. Loamy sand or sandy loam soils with a slightly acidic pH of 5.5-6.5 are ideal. Dusty Miller tolerates poor, sandy soils.
Air Circulation
Good airflow wards off foliar diseases like powdery mildew. Avoid tucking plants where stagnant air pools around foliage.
Hardiness Zones
Mostly grown as an annual outside zones 9-11, Dusty Miller may overwinter as a perennial in zone 8 and warmer regions. Potted plants can be overwintered indoors in colder climates.

Prepare Planting Area
Follow these steps to ready planting beds or containers for Dusty Miller:
Select Site
Choose an area boasting full sun to light afternoon shade with well-drained fertile soil.
Improve Drainage
Incorporate 2-3 inches of coarse sand or perlite into heavy clay or compacted soils to create the fast drainage Dusty Miller needs.
Enrich Soil
Mix in 2-4 inches of aged compost or well-rotted manure over the planting area or container soil. These organic amendments provide nutrients, lighten texture, enhance drainage, and help regulate soil moisture. Avoid overly rich soil which can diminish Dusty Miller’s decorative silver leaf hues.
Review Soil pH
Test planting area soil pH using an inexpensive soil test kit. Dusty Miller favors slightly acidic soil with a pH between 5.5-6.5. If pH is too high, amend soil as needed with elemental sulfur according to package rates. Re-test later to confirm desired pH levels have been reached before planting.
Level Beds
Use a garden rake to gently grade and smooth the soil surface. This removes bumps and creates a tidy garden canvas awaiting plants.
How to Plant Dusty Miller
You can grow lush Dusty Miller through seeds, nursery starts, or stem cuttings. Follow these guidelines for success:
When to Plant Dusty Miller
Ideal planting times after danger of frost include:
- Spring: Plant nursery starts or hardened off seedlings sown indoors 8-10 weeks prior
- Summer: Sow seeds directly in prepared beds once soil warms
- Fall: Transplant nursery plants for winter gardens in frost-free zones
Planting Dusty Miller Seeds
You can directly sow Dusty Miller seeds into prepared garden beds for a budget-friendly option. Follow best practices:
- Wait until after final spring frost when soil warms to at least 60 ̊F
- Sow seeds 1⁄4 inch deep in loose soil, spaced 12 inches apart
- Gently tamp soil and keep moist until seeds germinate in 5-15 days
- Thin seedlings to 12-15 inches apart when 2-3 true leaves appear
Transplanting Nursery Starts
Carefully remove plants from containers, gently loosen bound white roots, then transplant into prepared planting holes:
- Dig holes the depth and about 1.5 times width of root balls
- Backfill holes with surrounding soil blended with starter fertilizer
- Firm soil gently around transplants leaving soil line unchanged
- Water thoroughly until root zones are fully saturated
Growing from Cuttings
Taking 3-4 inch tip cuttings from mature plants is fast and economical. Follow these instructions:
- Use a sharp, sterile knife or pruners to make cuttings
- Strip lower leaves and dip cut ends in rooting hormone
- Insert cuttings 2 inches deep into sterile seedling mix
- Maintain constant lightly moist soil
- Transplant seedlings into garden spaces once rooted
Companion Plants
The neutral gray foliage of Dusty Miller beautifully highlights surrounding plants. It partners elegantly with:
- Bright flowers: Marigolds, zinnias, salvias, verbenas, petunias
- Pastel flowers: Cosmos, alyssum, dianthus, asters
- Contrasting greens: Ferns, ivies, chartreuse sweet potato vine
- Architectural plants: Large tropicals, ornamental grasses and succulents
Caring for Dusty Miller
Keep your Dusty Miller flourishing by providing attentive care:
Watering Wisely
Too much moisture fosters disease while underwatering causes wilting. Follow these best practices:
- Water thoroughly in drought until soil is moist 6 inches deep
- Allow the top 1-2 inches of soil to partially dry before rewatering
- Pay extra attention watering in hot weather and for container plants
Promoting Lush Growth
Give Dusty Miller a vigorous start and sustained beauty with proper nourishment and pruning:
Feed Plants
- Fertilize monthly during the growing season using water-soluble or granular plant food
- Alternate fertilizing with fish emulsion and bloom-boosting formulas
- Cease feeding by September so plants harden off for winter
Pinch Back Tips
- Pinching back leggy stem tips triggers bushier, compact new growth
- Start pinching once seedlings reach 4 inches tall
- Continue pinching tips every 4-6 weeks during the growing season
- Use sterile pruners to avoid transferring diseases
Remove Spent Blooms
- Snip off faded flower heads using garden snips or shears
- Deadheading directs energy towards lush foliage instead of seeds
- It also keeps plants looking neat and encourages reblooming
Maintain Lightly Moist Soil
Dusty Miller prefers consistently evenly moist soil. Take these steps prevent issues:
- Add 2-3 inches of shredded bark, leaves, straw or other organic mulch atop the root zone of plants to cool soil, reduce watering needs by 25%, and improve moisture retention
- Group plants with similar watering needs in the same beds and irrigate zones to simplify watering
- Hand water using a watering wand with adjustable flow control for precision directed watering
- Cultivate soil lightly around plants to disrupt crusting and maintain surface permeability allowing irrigation to penetrate
Prevent Weeds
Vigorously growing weeds steal water, nutrients and light. Stop them with tried-and-true methods:
- Apply 3-4 inches of organic mulch to smother weeds and reduce seeds germinating
- Surround new transplants with cardboard covered with decorative bark or stones for a maintenance-free look
- Cover planting beds with landscape fabric, cutting X’s to insert transplants
- Keep nearby turf neatly mowed and turf edges sharply defined to avoid encroachment
- Hand pull weeds after watering while soil is moist and roots release easily
Use Support Rings or Peony Cages
- Sturdy support rings hold flexible mesh fencing or plastic netting to prop up tall, top-heavy plants
- Alternatively, place decorative peony cages over plants as emerging foliage reaches 6 inches tall
- Take care to avoid bruising softer growth when installing supports

Troubleshooting Problems
Though largely free of issues, be watchful for potential Dusty Miller problems:
Pests
- Spider mites cause stippling and webs on leaves – Control heavy infestations with insecticidal soap or neem oil
- Slugs and snails may chew holes in leaves – Block with diatomaceous earth, copper tape barriers or organic baits
Diseases
- Root rot results from excess moisture – Improve drainage and avoid overwatering
- Powdery mildew coats leaves in white powdery spots – Space plants for airflow and prune affected parts
- Botrytis blight leads to spots on leaves and gray mold on flowers – Remove affected parts immediately
Environmental and Cultural Issues
- Plants decline from too much fertilizer and develop burnt leaf tips from saline watering
- Curling leaves, chlorotic new growth, or stunted plants indicates improper soil pH
- Leggy open growth happens without adequate sunlight or pinching back
Overwintering Tips
- In zone 8+, established plants often maintain evergreen foliage through winter
- Potted plants should be moved indoors before frost in colder zones
- Cut stems back by half, grow indoors as houseplants until spring
- Water sparingly overwinter, allowing soil to moderately dry between waterings
Dividing Dusty Miller
Every few years mature Dusty Miller clumps benefit from division in early spring:
- Water plants the day before dividing
- Use a sharp shovel or spade to cut entire clump into sections
- Dusty Miller has shallow roots so take care not to damage
- Replant divisions 15 inches apart in prepared soil
- Water thoroughly after replanting, repeat daily initially
How to Propagate Dusty Miller
Propagate more Dusty Miller plants through seeds saved from spent flowers or stem cuttings:
Seed Saving
Allow a few plants to bloom and set seed in fall. To collect:
- Identify dried seed heads and clip nearly mature stems
- Invert into paper bag, shake out seeds as heads fully dry
- Label bags with plant name and date
- Store in cool, dark place to plant following spring
Stem Cuttings
The simplest propagation method is stem cuttings rooted in water, perlite, vermiculite, or potting soil:
- Take 3-4 inch tip cuttings below leaf nodes in spring using sterile scissors or pruners
- Optionally dip the cut ends in rooting hormone powder/gel to spur root growth
- Place cuttings in soilless rooting medium like perlite/vermiculite
- Maintain warm (65-75°F) temperatures and constant moisture
- Transplant new plants once roots form in approximately 3-5 weeks
Landscape Uses for Dusty Miller
The eye-catching neutral gray leaves of Dusty Miller complement colorful garden plants inbeds and containers. It shines in these landscape roles:
Borders and Bed Edges
The bushy mounded form makes Dusty Miller ideal for delineating beds as a living silver-hued hedge. Its neutral color provides the perfect counterpoint to brightly hued flowers.
Container Thriller
Let Dusty Miller spill attractively over pot rims, combining height with colorful annuals and trailing accents. Its drapes of gray foliage pairs with anything.
Cascading Elements
The gracefully arching stems of Dusty Miller are lovely draping over walls, hanging baskets or raised beds. Allow its fountain-like shape to flow fluidly.
Foliage Backdrop
Plant en masse as a neutral “wallpaper” that lets vibrant blooms pop visually. Use to provide contrast behind salvias, marigolds, zinnias and bold tropicals.
Groundcover
Shear plants periodically to maintain a compact shape for carefree silver groundcover that suppresses weeds and brightens shady areas.
Get Creative With Dusty Miller
Beyond traditional landscaping roles, have fun utilizing Dusty Miller in unique ways:
- Fill gaps in mixed container designs needing “spillers”
- Weave into wreaths, swags or flower arrangements
- Craft gorgeous pressed flower art for framing
- Dry and preserve silver bouquets for winter interest
- Make herb infused Dusty Miller water for pets to enjoy

Tips for Growing Gorgeous Dusty Miller
Cultivate stunning Dusty Miller with this advice:
Start plants off right by sowing seeds or transplanting starts into nutrient-rich, well-drained soil. Site in full sun to partial shade where plants will thrive.
Water young plants daily until established. Then provide thorough weekly soakings during dry periods for moisture-loving Dusty Miller.
Apply an organic mulch layer around plants to cool soil, improve moisture retention and prevent weeds from encroaching on roots and robbing nutrients. Replenish as needed.
Pinch back leggy shoots to encourage beautifully bushy and full growth. Be sure to remove spent blooms and old foliage at season end.
Protect potted plants by moving into a sunny window over winter in zones where Dusty Miller is grown as an annual. Resume outdoor planting after the danger of frost passes next spring.
Divide substantial 3-5 year old clumps in early spring to rejuvenate, then plant sections 15 inches apart in prepared garden soil to expand your Dusty Miller landscape.
Grow Dusty Miller – Your Own Garden Gem
By following the tips provided, you’ll be rewarded with vibrant flourishing foliage, graceful movement and wonderful contrast that makes Dusty Miller a treasured garden gem. If you’re looking to add some interest and texture to your landscaping, incorporating dusty miller in these ways can be a valuable addition to any outdoor space.


