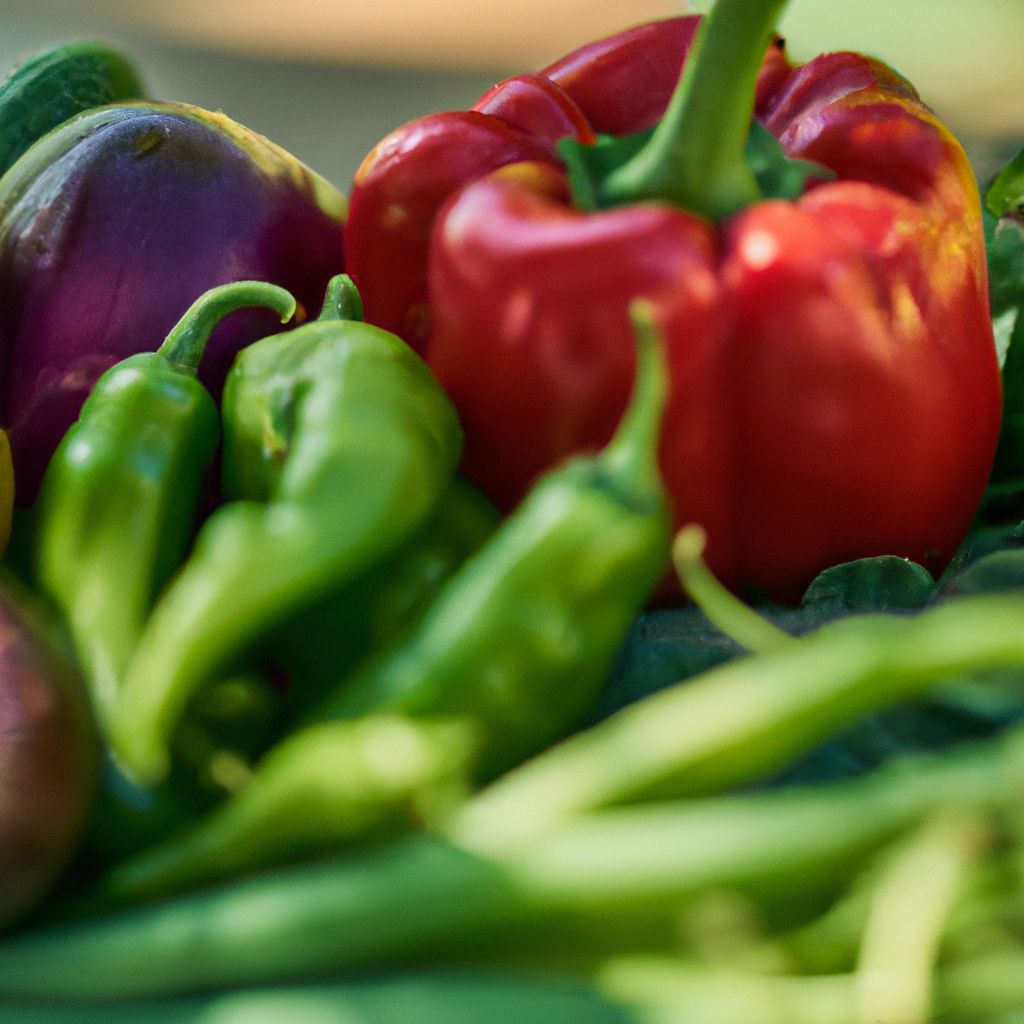
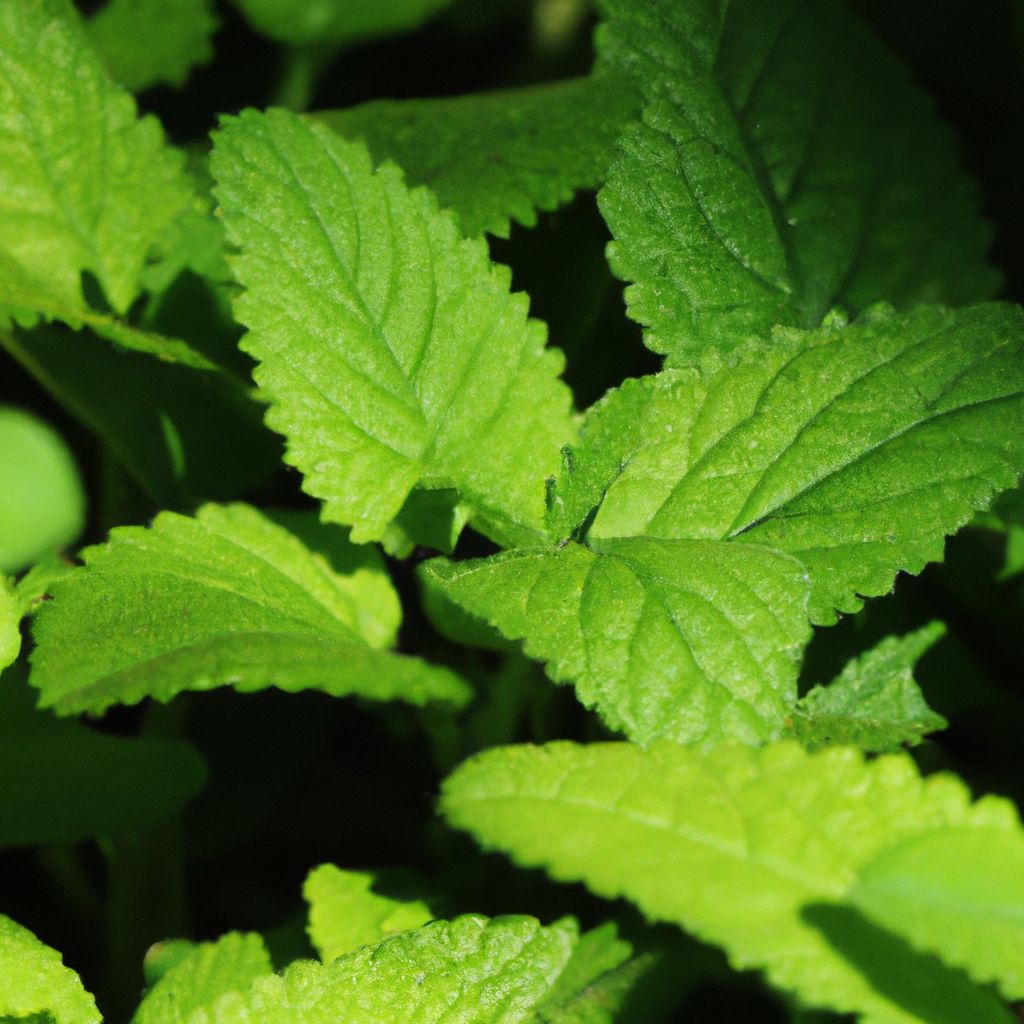
West Africa has a long, rich tradition of cultivating indigenous vegetables that have provided essential nutrition and health benefits for generations. Propagating these Western African homegrown vegetables allows growers to preserve precious culinary and horticultural heritage while enjoying fresh, flavored produce. With the proper techniques and care, it is possible to successfully grow these vegetables at home.
Choosing the Right Location
When starting a garden for West African vegetables, site selection is a crucial first step. Most varieties thrive in the region’s tropical climates, with average temperatures between 70-90°F. Look for locations that receive ample rainfall during the growing season. Full sun exposure, with at least 6 hours of direct sunlight daily, is vital. Well-drained, fertile soil with a slightly acidic pH around 6.0-6.8 is ideal. Situate the garden in a warm area protected from strong winds. Allow enough space for the varieties you wish to grow to mature, spacing plants appropriately. Conduct a soil test to determine if amendments are needed to create optimal growing conditions.
Consider convenience as well – choose a spot that is easily accessible for regular care and maintenance. Incorporating physical barriers like fences or trellises, or using companion planting with pest-deterring plants, can protect vegetables from common garden pests. Careful site selection sets up your West African vegetable garden for success.
Assessing Climate and Sunlight
When assessing a potential garden location, consider the climate and sunlight exposure. West African vegetable varieties thrive in warm conditions, ideally with daytime temperatures between 70-90°F. Select an area with a long growing season and moderate, consistent rainfall. Full sun is essential, so choose a site that receives at least 6-8 hours of direct sunlight daily. Monitor sunlight patterns throughout the day to identify optimal garden placement. Aim for a spot that receives morning sun to dry dew but avoids intense midday and afternoon sun.
Evaluating Soil Quality and Drainage
In addition to climate, carefully evaluate the soil quality and drainage. Well-drained, nutrient-rich soil with a slightly acidic pH around 6.0-6.8 is ideal for most West African vegetables. The soil should be loamy and friable, not overly sandy or dense clay. Dig down 8-12 inches to check for compaction. Soil that crumbles easily in your hand indicates good aeration and drainage. Avoid low-lying areas where water collects and pools. Amending soil to improve drainage and fertility is easier than trying to modify heavy clay or marshy sites.
Sourcing Reliable Water Supply
Since vegetables require consistent moisture, assess potential water sources when planning your garden. If relying on rainwater, consider historical precipitation patterns for your area. Supplement with irrigation if rainfall is sparse or inconsistent during the growing season. Situate the garden near an outdoor spigot for accessible watering. Investing in a rain barrel or drip irrigation system can provide an efficient supplemental water supply right to the plants’ roots. Ensure adequate water will be available before planting.
Allowing Adequate Space
When choosing your garden location, allow ample space for the vegetables to grow to maturity with proper spacing. Overcrowding stresses plants and reduces air circulation. Follow seed packet recommendations for optimal spacing between plants and rows. Consider the mature size of each vegetable variety – tall crops may eventually shade lower growers if planted too closely. Planning for succession planting, crop rotation and companion plants will also impact space requirements. Allow room to maneuver around beds for care and harvest.

Preparing the Soil
Preparing the soil thoroughly before planting is time well spent. Remove any weeds, rocks or debris that may hinder growth. Dig and till the soil to a depth of 8-12 inches using a spade or tiller to loosen compacted earth. This allows vegetable roots to spread unimpeded and access nutrients and moisture deep in the soil profile.
Test the soil to determine the pH and nutrient levels. West African vegetables thrive when the pH falls between 6.0-6.8. If the soil is too acidic, add lime or wood ash to raise the pH. If too alkaline, incorporate sulfur to lower the pH.
Next, mix 2-4 inches of finished compost or well-rotted manure throughout the soil. Compost contributes beneficial organic matter, nutrients, and improved moisture retention. Manure provides a slow-release fertilizer. Rake beds smooth and shape planting rows or mounds. Proper soil preparation sets your vegetables up for vigorous growth.
Removing Weeds and Debris
Preparing garden beds starts with removing any weeds, rocks, roots or debris. Weeds compete with vegetable plants for water, space and nutrients. Their roots also disrupt the soil structure. Remove by hand pulling or using a hoe. Debris like stones and trash can impede root development and make working the soil difficult. Inspect beds thoroughly and eliminate any unwanted materials.
Loosening and Tilling Soil
Loose, crumbly soil provides the ideal environment for vegetable roots to spread and grow. Compacted, dense earth restricts development. Use a spade or rototiller to turn and break up the soil to a depth of 8-12 inches, allowing ample room for vigorous root systems. As you till, incorporate 2-4 inches of compost or other organic matter to improve fertility, drainage and moisture retention.
Soil Testing to Optimize Nutrients
Before planting, get your soil tested by your local extension service or a private lab. This provides key data on the soil pH and levels of essential nutrients like nitrogen, phosphorus and potassium. Soil testing ensures you identify any nutritive deficiencies and correct them precisely through proper amendments. This tailored approach is better than applying general fertilizers that may not address your garden’s specific needs.
Applying Targeted Soil Amendments
Based on your soil test results, you can apply targeted amendments to optimize soil conditions. If the pH is too low, add lime or wood ash to raise it. For alkaline soil, use sulfur to lower the pH. Adjusting to the ideal range allows plants to access nutrients. To supplement key nutrients, add compost, manure, bone meal, kelp and rock powders. Your soil test report will provide exact recommendations for the amendments your garden requires.
Levelling Beds and Marking Rows
Once amendments are thoroughly incorporated, smooth and level the garden beds. This promotes good drainage. Mark straight rows with string and stakes to guide seeding and transplanting. Spacing rows accurately makes the best use of garden space. Consistently preparing soil optimally each season gets vegetables off to a vigorous start.

Starting Plants from Seed
Many gardeners enjoy the process of starting West African vegetables from seed. When choosing seeds, select varieties suited to the warm growing season with disease resistance. Determine the number of days from seed to harvest to plan plantings accordingly. Sow seeds directly in the garden after danger of frost according to packet directions, or start earlier indoors under grow lights.
For indoor starts, use sterile seed starting mix and containers with drainage holes. Sow seeds at the recommended depth, usually 1⁄4-1 inch deep. Water gently with a spray bottle to avoid displacing seeds. Place containers in a sunny area or under grow lights set to 16 hours per day. Maintain a temperature around 70°F. Thin seedlings if they become overcrowded. Harden off plants before transplanting by gradually exposing them to outdoor conditions over 7-10 days. Transplant on a calm, cloudy day taking care not to disturb the roots.
Selecting High Quality Seeds
Source seeds from reputable suppliers that specialize in West African vegetable varieties adapted to the region. Look for non-GMO, open-pollinated seeds that breed true to type. Heirloom varieties offer exceptional flavor and cultural heritage. Check seed packets for maturity time, ideal planting conditions, and disease resistance to ensure a robust harvest.
Mastering Indoor Seed Starting
Get a head start on the season by sowing seeds indoors 4-6 weeks before your last frost date. Use sterile seed starting mix in containers with drainage holes. Follow planting depths on seed packets, usually 1⁄4-1 inch deep. Gently water with a spray bottle to avoid disturbing seeds. Provide heat mats to maintain 70°F soil temperature for germination. Once sprouted, move seedlings to bright, sunny spots.
Hardening Off Seedlings
When ready to transplant outdoors, begin hardening off seedlings. This gradually exposes them to outdoor conditions over 7-10 days. Initially place them in a sheltered spot for a few hours, increasing time outside over the week. Reduce watering slightly to slow growth. Monitor for any signs of transplant stress. Hardening off prevents shock and helps young plants thrive in the garden.
Caring for Your Vegetable Garden
Consistent care is crucial for West African vegetable plants to thrive. Seeds and transplants need frequent watering until established, about 1-2 inches per week. Established plants may need less depending on rainfall. Water early in the day to allow the foliage time to dry before nightfall, preventing disease. Drip irrigation or soaker hoses deliver water efficiently right to the plant roots.
Weeds compete with vegetables for water and nutrients. Control them by hand pulling, hoeing or applying mulch. Organic mulches like wood chips or straw conserve moisture, suppress weeds and moderate soil temperatures. Side dress plants with a balanced fertilizer or compost every 3-4 weeks. Support vining crops with trellises and prune plants to remove dead material and encourage growth. Check for pests or diseases daily and treat any infections promptly. Consistent maintenance keeps plants healthy and productive.
Providing Regular, Deep Watering
Vegetables require consistent soil moisture from germination through harvest. About 1-2 inches of water per week is ideal, from either rainfall or irrigation. Check soil frequently, watering again when the top few inches become dry. Early morning watering allows time for foliage to dry. Drip irrigation or soaker hoses at the root zone conserve water and prevent disease. Deep, infrequent irrigation encourages robust root growth.
Controlling Weeds Naturally
Weeds compete with vegetables for water, light and nutrients. They can harbor pests too. Control by hand pulling, hoeing, or applying mulch 2-4 inches deep to block light. Organic mulches like wood chips, straw or leaf litter suppress weeds while retaining soil moisture and reducing watering needs. They also keep soil cool in summer and insulate beds over winter.
Supporting Plants with Trellises
Vining West African vegetables like okra, beans and peas grow vertically and require support. Install trellises, fences or poles when transplanting seedlings. Gently train vines to climb as they grow. Proper support prevents broken branches and keeps fruits clean and easy to harvest. It also maximizes garden space compared to sprawling plants.
Checking for Pests and Diseases
Preventive practices are key for healthy West African vegetable plants. Scout plants daily for any signs of pest infestation or disease infection. Isolate and promptly remove affected plants to prevent spreading. Early intervention is much easier than managing a major outbreak. Implementing organic controls at the first sign of trouble keeps problems manageable.
Managing Pests and Diseases
West African vegetable gardens can be prone to certain pests and diseases. Prevention starts with garden sanitation. Remove weeds and debris that may harbor pests. Rotate annual crops to different beds each season to disrupt pest life cycles. Control aphids, caterpillars, beetles and other pests first through physical barriers, beneficial insects or natural pesticides. If infestations persist, use organic insecticidal soap or neem oil treatments.
For plant diseases like wilts, blights and leaf spots, improve air circulation and promptly treat or remove infected plants. Water plants at the soil line instead of wetting foliage. Apply organic fungicides for added protection. With proactive management using organic approaches, serious pest and disease problems can be avoided.
Practicing Good Garden Sanitation
The foundation of disease and pest prevention is proper garden sanitation. Remove any weeds, dead leaves or plant debris that can harbor pests. Fall cleanup eliminates overwintering sites. Collect and destroy infected plant material through burning, burying or hot composting to remove sources of future contamination. Keeping the garden tidy limits areas where pests can thrive.
Implementing Crop Rotation
Rotating vegetable families to different beds each year limits disease carryover in the soil. Do not follow highly susceptible crops like tomatoes or squash with related types. For example, alternate solanaceous crops like tomatoes and peppers with brassicas such as cabbage and kale. Using cover crops or green manures in rotation also disrupts pest life cycles.
Targeting Organic Pest Control First
If pests like aphids, beetles or caterpillars appear, target organic controls first. Removing infested leaves or plants can reduce small outbreaks. Apply insecticidal soap or neem oil to coat pests and suffocate them. Introduce beneficial insects like ladybugs and lacewings to prey on garden pests. With close monitoring, these methods can effectively manage most pest problems.

Harvesting Your Bounty
One of the highlights of growing West African vegetables is enjoying the fruits of your labor at harvest time. Different vegetables reach maturity and peak flavor at various times. Follow the days to maturity listed on seed packets. Check frequently as vegetables near their estimated maturity date. Indicators like size, firmness and color changes often signal ripeness.
Harvest vegetables like okra and eggplants while still small and tender. Allow root crops like yams to bulk up to full size. Use pruners or knives for clean cuts that won’t damage plants. Gently twist ripe vegetables to free them from stems. Handle produce carefully to avoid bruising. Transfer to a shaded location promptly after harvest. Proper post-harvest handling preserves flavor and quality.
Identifying Peak Maturity
The harvest window for vegetables is small for optimal flavor and texture. Consult seed packets or plant tags to determine days to maturity so you can start checking for ripeness near the estimated date. The size, color, and firmness of produce are key indicators. For example, okra pods should be harvested when still small and tender before they become tough.
Using Proper Harvesting Tools and Techniques
Having the right harvesting tools and techniques prevents damage to plants and produce. Use sharp pruners or knives for clean cuts rather than tearing produce off forcefully. Gently twist ripe vegetables to separate from vines. Avoid bruising delicate fruits and vegetables when handling them. Work swiftly yet carefully during harvest to maintain the highest quality.
Caring for Produce Post-Harvest
After harvest, transfer produce to a shaded, cool location as soon as possible. Gently wash vegetables to remove dirt but avoid soaking them. Store produce in breathable containers like baskets or perforated bags. Refrigerate any items not being used immediately. With proper post-harvest handling, the flavors and nutrition of garden-fresh vegetables are retained.
Overwintering Your Garden
While summer crops finish, you can keep your garden productive into the cooler fall months. Plant cold hardy greens like kale and cabbage for fall harvests. As spent plants fade, pull up annuals and discard any with pests or diseases to remove sources of potential infections next year. Chop remaining plant material and mix into compost piles.
Prepare beds for winter by spreading compost and layering mulch to enrich and insulate the soil. Planting cover crops like clover or rye adds organic matter and protects against erosion. Move any unused seeds to a cool, dry indoor storage area. Clean, sharpen and maintain tools before storing for next year. Evaluate what worked well this gardening season and start planning future adjustments and new varieties to try next time.
Removing Annual Plants and Debris
As summer crops like tomatoes, peppers and eggplant decline, remove the spent annual plants. Discard any with signs of pests or disease rather than composting. This prevents overwintering sites for insects and disease carryover in the garden. Chop healthy plant material to add to compost or work into beds. Eliminating debris removes potential sources of future problems.
Cover Cropping for Soil Health
Consider planting cover crops like clover, rye or legumes in empty garden beds. As they grow over fall and winter, their roots add organic matter and nutrients. The vegetation protects soil from erosion. Come spring, turn the covers into the soil before planting. This natural green manure boosts fertility for the next vegetable crop.
Storing Tools and Supplies for Winter
Part of garden bed preparation for winter is maintaining tools and supplies. Clean, sharpen and repair all equipment so it’s ready for spring planting. Coat metal surfaces with oil to prevent rust. Store chemical-free in a dry location. Take inventory of seeds, fertilizers and other supplies. Replace old seed packets and stock up on essentials during end of season sales.

Continuing Traditions through Gardening
Propagating West African indigenous vegetable varieties preserves cultural heritage and traditions while providing an abundance of unique flavors and nutrients. By growing these heirloom plants, gardeners can also gain a deeper connection to the land and its bounty. With each successive season caring for the soil and plants, knowledge and skills are strengthened. Share these values and plants with others to keep ancestral gardening customs alive. Although it requires dedication, the efforts are rewarded many times over.
Preserving Heirloom Vegetables
Heirloom vegetables passed down through generations have exceptional flavors and cultural significance. Propagating these open-pollinated varieties from season to season preserves their legacy. Saving and reusing seeds maintains diverse genetics. Share prized heirlooms with other home gardeners along with their growing traditions.
Strengthening Cultural Connections
Growing traditional crops provides a meaningful connection to ancestral culinary heritage. With each planting and harvest, the bond between the gardener, the land, and their lineage is renewed. The knowledge gained by nurturing the soil and vegetable varieties is the true bounty of this endeavor that can be passed along to future generations.


