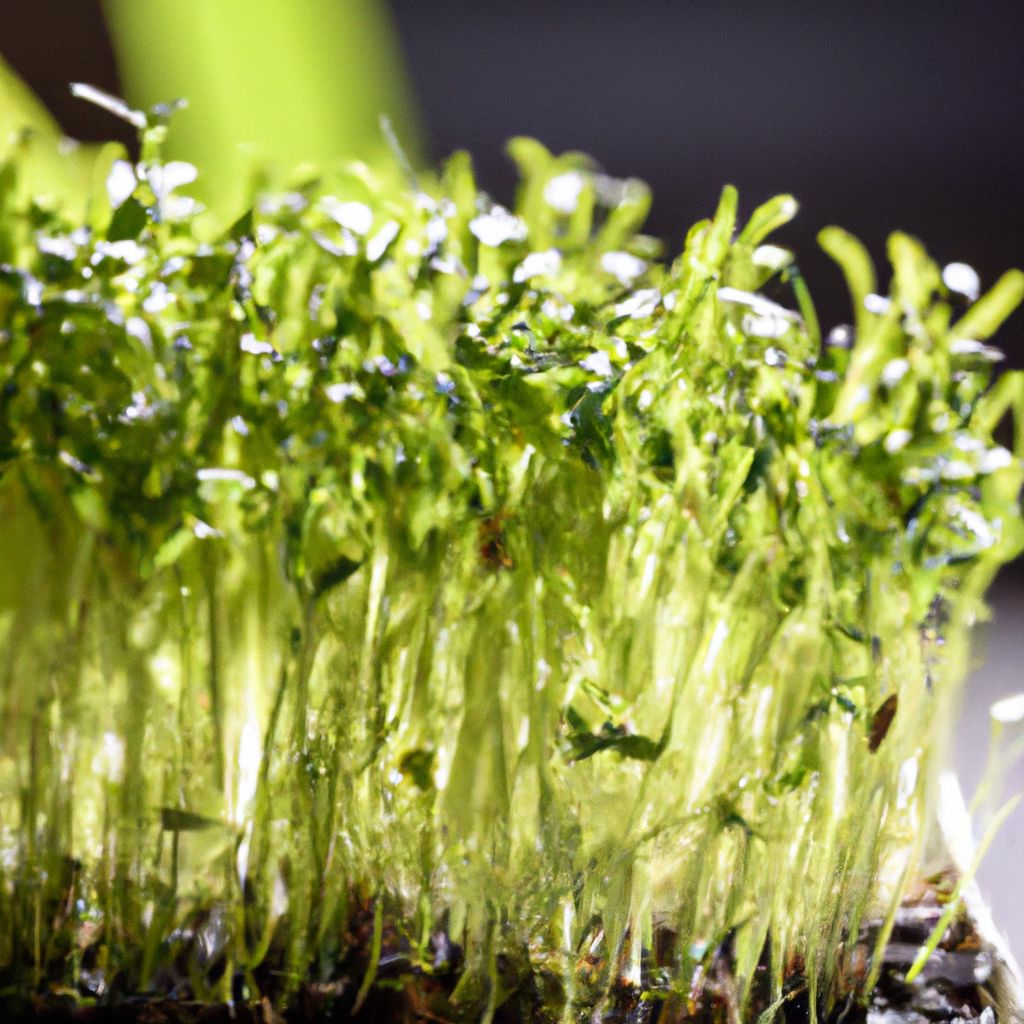
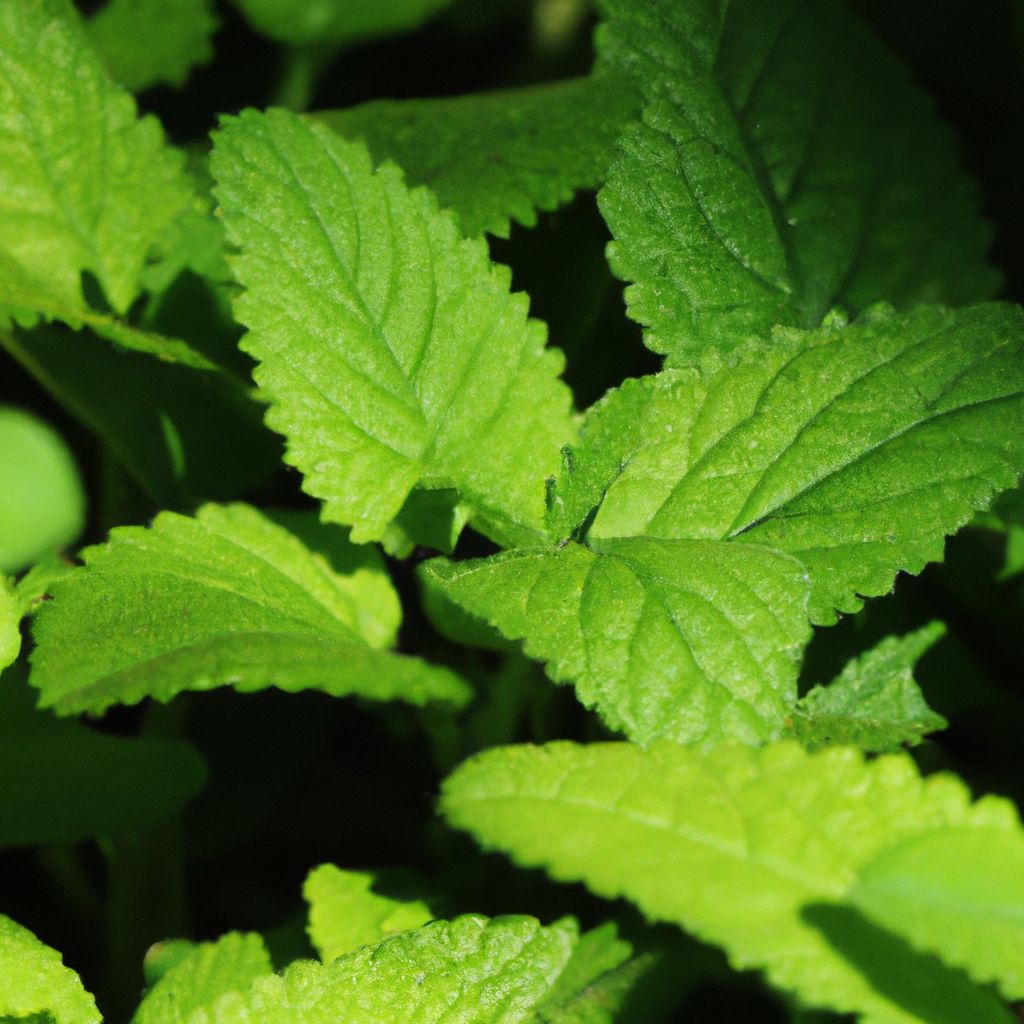
Did you know growing chia at home is super easy? When you grow your own chia plants, you get the freshest, highest quality seeds while saving money. Homegrown chia also provides the satisfaction of cultivating and harvesting this nutritious crop yourself.
Chia seeds have exploded in popularity in recent years as a result of their stellar nutritional profile. Packed with fiber, protein, antioxidants, and omega-3 fatty acids, chia delivers an array of health perks like improved digestion, heart health, and inflammation reduction. No wonder these tiny seeds have become a darling of the superfood world!
In this complete guide, we will cover everything you need to know to successfully grow chia seeds in your own backyard or containers.
What are Chia Seeds?
Chia seeds come from the desert plant Salvia hispanica, part of the mint family. Native to parts of Mexico and Guatemala, chia was a staple food for the ancient Aztecs and Mayans.
The tiny seeds range in color from black to white. Despite their small size, chia seeds are packed with nutrients. Here are some of the top benefits:
- High in fiber – Helps regulate digestion and prevents constipation
- Good source of protein – Builds muscle and curbs hunger pangs
- Rich in omega-3 fatty acids – Reduces inflammation and heart disease risk
- Loaded with antioxidants – May lower risk of chronic diseases
- Provides minerals like calcium, magnesium and iron
In addition to these stellar nutritional attributes, chia is also highly hydrophilic. This means the seeds can absorb up to 10 times their weight in water, forming a gel. This makes chia useful for hydration, cooking, and even egg substitution in recipes.
Why Grow Chia Seeds at Home?
When you grow your own chia plants, you get to enjoy the freshest, most vibrant seeds while saving money and reducing your environmental impact. Additional reasons to cultivate chia at home include:
Harvest Chia Seeds at Their Nutritional Peak
Chia seeds begin losing nutrients quickly after harvesting. When you grow chia yourself, you can harvest seeds at the exact moment their nutritional profile peaks. This ensures you get the maximum health benefits from your chia seeds.
Guarantee Seed Quality and Purity
Not all commercially grown chia is of the same quality. Home growing allows you to control variables like soil health, watering, and exposure to chemicals. You can be sure your homegrown chia seeds are grown organically and handled safely.
Lower Cost Compared to Buying Chia
A packet of chia seeds costs $5 to $10 at the grocery store. But you can buy a packet of chia seeds for planting for around $2. Each plant produces thousands of seeds, so you end up with a large supply for very little investment.
Convenient Access to Fresh Seeds
No more running to the store when you use up your chia seed supply! With homegrown chia, you have a steady harvest available anytime you need it.
Chia is Water-Efficient
Chia is drought-resistant and does not require much irrigation once established. This makes it ideal for environments concerned about water conservation.
Environmental Sustainability
When you grow chia seeds at home, you eliminate the resources used to transport imported seeds in trucks and planes. Homegrown chia has less environmental impact.
Fun and Rewarding Hobby
For many gardeners, the joy of nurturing plants from seed to harvest is extremely rewarding. And being able to enjoy the fresh seeds you grew makes it even better.
Getting Started with Growing Chia Seeds
Growing chia at home is simple when you follow a few basic guidelines. Here is what you need to know to get your chia seed garden up and thriving:
Selecting High-Quality Chia Seeds
Obviously, the seeds you start with will greatly impact the success and quality of your eventual chia seed harvest. When purchasing chia seeds for planting, look for:
- Organic seeds or seeds from a reputable source
- High germination rate of at least 80%
- Seeds packaged for planting, not culinary use
- Seeds within 1 year of harvest for optimal viability
- Cool, dry storage conditions before purchase
Both white and black chia seeds will give you excellent results when growing. The pigmentation does not affect the nutrient profile.
When selecting chia seeds, be sure to read the product details and descriptions carefully. Reputable sellers will provide information on the seed’s origin, purity, germination rate, and packaging date. This helps ensure the seeds you purchase will grow successfully. Contact the seller if you need clarification on any product details.
High germination rates above 80% give you confidence most of the seeds will sprout when planted. Lower rates mean more seeds fail to germinate, so look for the highest rates possible.
Packaging is also important – chia seeds sold specifically for planting typically come in sealed mylar bags to extend shelf life. Seeds sold in plastic tubs for eating may lose viability quicker.
Always opt for recently packaged seeds, ideally within a year of harvest. The older chia seeds get, the lower the germination rate becomes. Newly harvested seeds give you the best chance of success.
Preparing Soil and Containers
Chia thrives in well-draining, sandy soil with a pH between 6 and 8. To prepare your planting beds:
- Choose a sunny location for your plants
- Mix in compost or organic fertilizer to improve drainage and nutrition
- Use raised garden beds or containers at least 1 foot deep
- Ensure containers have drainage holes at the bottom
- Seeds do not require much space, plant 4-6 inches apart
Proper soil preparation is vital when growing chia seeds. Chia prefers loose, sandy soil that drains well. Compacted or heavy clay soils will impede drainage leading to root rot.
Work in 2-3 inches of compost or other organic matter like well-rotted manure before planting. You can also mix in a balanced organic fertilizer to enrich the soil. The improved drainage and nutrition will provide ideal conditions for chia to thrive.
Raised garden beds are excellent for growing chia, as you can fill them with nutrient-rich soil tailored specifically to chia’s preferences. Equally, containers like pots, planters, or window boxes work well, provided they are at least 1 foot deep and have drainage holes.
Always test your soil pH before planting. Chia grows best in slightly acidic to neutral soil between pH 6.0-7.0. Use a home soil test kit and amend the pH with lime if too acidic or sulfur if too alkaline.
Planting Chia Seeds
Chia has a relatively long growing season of 90-120 days. Follow these steps for planting:
- Sow seeds directly in the soil 1⁄4 to 1⁄2 inch deep
- Space seeds 4-6 inches apart in rows or containers
- Cover seeds lightly with soil and water gently after planting
- Keep soil moist until seeds sprout in 5-7 days
- Thin seedlings to 12 inch spacing 2-3 weeks after sprouting
- Grow chia in average temperatures of 65-80°F
Chia can be planted as early as 2-4 weeks before your region’s last expected frost when soil temperatures reach 65°F. Plant too early and seeds may rot in cool soil. Wait until all danger of frost has passed for best results.
Space seeds 4-6 inches apart in rows spaced 12-18 inches apart. This prevents overcrowding and allows air circulation once the plants mature. You can also scatter seeds throughout containers and thin later.
Gently press seeds about 1/4 to 1/2 inch down into the soil before covering lightly with loose soil or compost. Deeper planting can reduce germination. Water gently to moisten soil after planting.
Maintain consistent moisture in the top 1 inch of soil until sprouting, which takes 5-7 days. Temperatures between 70-80°F are optimal for germination. Don’t allow seeds to dry out during this critical stage.
Thin overcrowded seedlings to every 12 inches to avoid competition for light and nutrients. Snip off weaker looking chia plants and leave the most robust specimens.
Sunlight Requirements
Chia thrives best with full sun. Ensure plants get at least 6-8 hours of direct sunlight daily. Track sunlight patterns and adjust plant positioning as needed throughout the growing season. Shelter seedlings if temperatures exceed 90°F.
Chia seeds originate from the deserts of Mexico and Guatemala and their growth habits reflect this. They require abundant sunlight and will produce poorly in shady conditions.
Aim to site chia in a location receiving direct sun for at least 6-8 hours per day. South or west-facing sites are ideal. Observe how sunlight reaches different parts of your yard during the day.
If growing chia in containers, have the ability to move them around to sunnier spots as needed. Turn the pots periodically so all sides get equal sun exposure. Bring containers indoors or provide shade cloth if temperatures exceed 90°F.
Consistent sunlight fuels vigorous growth. Leggy, weak plants with sparse leaves often indicate insufficient sunlight. Ensure your plants get their full sunlight requirements throughout their growing season.
Maintaining Your Chia Garden
Chia is relatively low-maintenance once established, but does require some care to achieve maximum harvests:
- Water 1-2 inches per week until flowering starts
- Weed regularly to prevent competition for nutrients
- Prune overlapping leaves and underbrush to improve air circulation
- Fertilize every 4-6 weeks with a balanced 10-10-10 fertilizer
- Monitor for pests like aphids or whiteflies and treat organically
- Remove any diseased plants quickly to prevent spreading
- Avoid overwatering which can cause root rot
Follow these maintenance practices and your chia garden will flourish!
Watering Needs
Chia seeds originate from the arid climates of Central America. While the plants require regular moisture for the first 60 days or so, established chia is quite drought-hardy.
Aim to provide 1-2 inches of water per week from seedling stage through the onset of flowering. Soil should remain moist but not waterlogged. Allow the top inch to dry out between waterings.
As flowering starts, chia enters a dormant period with reduced water needs. You can decrease watering frequency, waiting until the top few inches of soil are dry before watering again.
Always water chia deeply and infrequently, rather than frequent light sprinklings. Deep watering promotes deeper root growth, creating more drought resilience. Avoid watering at night, which increases risk of disease.
Observe plant appearance for signs of under or overwatering. Wilting leaves or drier, browning leaf tips indicate under watering. Conversely, yellowed leaves, mold growth and root rot result from overwatering.
Weeding
Be diligent about weeding your chia garden every 7-10 days. Weeds compete for water, nutrients and sunlight, stunting your chia plants’ growth.
It’s easiest to remove weeds when they are small by hand pulling or hoeing. Take care not to disturb chia’s shallow root systems in the process.
Mulching around chia plants with 2-3 inches of organic matter like wood chips helps suppress weeds. But avoid piling mulch against plant stems, which can cause rotting.
For container-grown chia, stay on top of weeding the entire pot. Even one or two weeds can quickly choke out young chia seedlings as they struggle to establish.
Pruning
While chia plants are not pruned heavily, occasional pruning improves air circulation and light penetration.
Trim back any dead or broken branches close to the main stem. Remove old flowers after they fade using pruning shears.
If leaves become overcrowded, thin congested areas to allow more airflow and reduce humidity and pests. Always prune judiciously, leaving ample foliage for photosynthesis.
Pruning is generally not needed in the first 60 days when chia is rapidly growing. Begin selective pruning after plants mature to redirect energy to flowering and seed production.
Pest Prevention
Chia seeds generally are not plagued by extensive pest problems. But it’s still wise to take preventative measures:
- Eliminate hiding places by removing weeds, debris and dense undergrowth
- Intercrop with pest-repelling plants like onions, garlic or parsley
- Use floating row covers as a physical barrier against pests
- Apply neem oil or insecticidal soap sprays as needed
- Attract beneficial insects like ladybugs that prey on pests
- Hand pick pests like caterpillars and aphids
Common chia pests to watch for include aphids, spider mites, thrips, leafhoppers and caterpillars. Catch infestations early before they spread and cause major damage.
Be vigilant inspecting both sides of leaves for bugs. Use organic remedies like neem oil instead of harsh synthetic pesticides. With proactive maintenance, serious pest problems can be avoided.
Disease Prevention
Chia is susceptible to fungal diseases if plants remain wet for extended time periods. Strategies to keep your crop healthy include:
- Allow soil to partly dry out between waterings
- Space and prune plants to encourage airflow
- Disinfect tools before use with garden disinfectant
- Remove and destroy infected plants immediately
- Rotate chia planting areas yearly
- Water in morning so plants dry during the day
Signs of fungal disease include spots on leaves or stems, wilting plants and white mold or powder on leaves. Infected plants should be pulled up and disposed of promptly.
Good cultural practices like crop rotation and adequate drainage help prevent fungal and bacterial diseases from taking hold in your garden. Keep an eye out and take action at the first signs of infection.
Fertilization
While chia plants are not heavy feeders, providing adequate fertility enhances growth and productivity:
- Test soil before planting and amend as needed
- Work compost into beds before sowing seeds
- Side dress growing plants with balanced organic fertilizer
- Top dress with compost or worm castings mid-season
- Avoid high nitrogen fertilizers which encourage leafy growth over seed production
A 10-10-10 or 5-10-5 organic fertilizer applied according to package directions provides a balanced nutritional boost.
Liquid kelp fertilizer is an excellent foliar feed, providing micronutrients and growth hormones. Apply every 2-3 weeks from seedling stage through flowering.
Listen to your plants – if they grow slowly or have yellowed older leaves, increase fertility levels accordingly. With proper nutrition, your chia will thrive.
Identifying When Chia Seeds are Ready for Harvest
Knowing the optimal time to harvest ensures you get perfectly ripe chia seeds. Seeds are ready for harvest when:
- The plants turn from green to yellow or brown
- The leaves and stem become dry and brittle
- The seed heads are dry and make a rustling sound when shaken
- Seeds easily separate from the plant when touched or shaken
This maturation process typically takes 90-120 days from planting. Harvest time can vary based on climate and growing conditions.
It is important to harvest chia seeds at just the right time. Seeds are mature when plants transition from green to yellow or brown and the foliage becomes brittle. Petting the seed heads gives clues – mature seeds make an obvious rustling sound.
Check a few seeds to see if they separate easily from the seed heads. If they pop off with minimal effort, the seeds are ready for harvest. If they stay stubbornly attached, they need more time to fully ripen.
Don’t harvest too early or seeds may fail to germinate later due to incomplete maturation. Leaving seeds in the field too long increases risk of losses from weather and birds.
Time your planting date appropriately so seeds mature before your region’s rainy season or first fall frost. With experience, you will learn the perfect harvest window for your climate.
Harvesting Techniques
When your plants display the signs of ripeness above, follow these steps for harvesting:
- Cut seed heads from plants using gardening shears
- Place seed heads in a single layer in a basket or on a tarp
- Allow to dry for 1-2 weeks in a warm, well-ventilated area
- Gently rub heads together over a large bowl to separate seeds
- Remove any debris like leaves or stems from the seeds
- Optional – use a fan or mesh strainer to further clean seeds
Expect each plant to produce around 1000-2000 raw chia seeds when harvested.
For best results, harvest chia seeds when the weather is warm and dry. Use hand pruners to snip off the top 6 inches or so of each seed stalk.
To finish drying, spread the cut seed heads in a single layer on mesh racks, tarps or burlap bags. Provide ample airflow and allow to dry for 1-2 weeks.
When thoroughly dry, grab bunches of seed heads and gently rub them together over a large bowl. The chia seeds will readily separate and fall with minimal effort when fully dry.
Next, use a fan or mesh strainer to remove any bits of leaves, stems or other debris that may be mixed in with the seeds. Discard any seeds that appear undersized, discolored or odd shaped.
For short term storage, place seeds in sealed glass jars in a cool pantry away from heat, sunlight or moisture. For longer storage, freeze excess seeds in airtight freezer bags.
With this simple process, a modest 10 square foot chia plot can provide over 10 pounds of nutritious seeds for your pantry.
Processing and Storing Chia Seeds
Proper post-harvest processing and storage preserves your chia seeds’ freshness:
- Allow fresh seeds to dry for 1-2 weeks after harvesting until crunchy
- Check seeds are thoroughly dry to prevent mold growth
- Place seeds in sealed glass jars or mylar bags
- Store in cool, dark place with stable temperature
- Refrigeration can extend shelf life of seeds up to 2 years
- For long term storage, freeze excess seeds
Follow these tips and your harvested chia seeds will maintain optimal nutritional quality.
Drying seeds adequately after harvest is the most important step for longevity and preventing spoilage. Even slight moisture content allows mold to develop.
Test seed dryness by biting into a few. They should feel very hard and crunchy when chewed, with no traces of internal moisture. If in doubt, dry seeds longer to ensure absolute dryness.
Glass jars make ideal storage containers for chia seeds, providing an airtight seal. The darkness of the glass also protects light-sensitive oils in the seeds from degrading over time.
The optimal storage temperature for chia seeds ranges between 50-70°F. Avoid warm spots which accelerate decomposition of fats in the seeds. Prevent cold exposure which damages vitality.
Refrigerating chia seeds extends shelf life even further. Seeds keep over 2 years refrigerated compared to 6-12 months at room temperature. To freeze, package seeds with excess air removed in airtight freezer bags.
When removing seeds for use, limit exposure to light, heat and moisture. Scoop out only what is needed, then quickly reseal containers. Follow sound storage practices and your harvest stays nutritious.
Uses and Recipes for Fresh Chia Seeds
Once you’ve enjoyed the satisfaction of growing and harvesting chia seeds, it’s time to use your homegrown bounty! Chia offers versatility in the kitchen. Some tasty ways to use fresh chia include:
- Chia pudding – Soak chia seeds in milk or yogurt. Add fruit and nuts.
- Smoothies – Blend chia seeds into fruit or vegetable smoothies.
- Oatmeal – Top your morning oatmeal with chia seeds.
- Salads – Sprinkle chia seeds over leafy or grain salads.
- Vegetarian burgers – Add chia seeds to bind veggie burger patties.
- Energy bars – Combine chia seeds with dried fruit and nuts.
- Baked goods – Substitute chia egg replacement to make muffins, breads etc.
- Yogurt – Stir chia seeds into yogurt bowls along with granola and fruit.
- Hot cereal – Cook chia seeds into your morning porridge or cream of wheat.
- Sauces and dressings – Whisk chia seeds into vinaigrettes and sauces.
With so many applications, your homegrown chia seeds will keep your recipes vibrant and nutritious.
One of the joys of growing your own food is using the fruits of your harvest in delicious recipes. Your fresh chia seeds can be used in sweet and savory dishes:
Chia Pudding
Soak 1/4 cup chia seeds in 2 cups milk or yogurt overnight. Add chopped fruit, nuts, spices and sweetener to taste. Let the seeds plump up to create a decadent tapioca-like pudding.
Fruit and Chia Smoothies
Add 2-3 tablespoons of chia seeds to your favorite smoothie recipe for a nutrition and protein boost. Their mild flavor complements any ingredients. Blend well to break up the seeds.
Overnight Chia Oats
Combine oats, chia seeds, milk and your preferred toppings like fruit, cinnamon, or nut butter. Refrigerate overnight so the chia seeds absorb the liquid and soften the oats. Enjoy for breakfast.
Chia Seed Dressing
Whisk together chia seeds, lemon juice, garlic, and seasonings to make a zesty salad dressing. The seeds will absorb some of the liquid to create a thicker texture.
Chia Seed Crackers
Grind chia seeds in a food processor. Combine with other dry ingredients, oil and water to form a dough. Roll out, cut into crackers and bake until crisp.
With some creativity, chia seeds can be incorporated into all kinds of recipes from savory to sweet. Enjoy experimenting with your homegrown superfood!
The Many Health Benefits of Chia Seeds
Beyond providing great taste, chia seeds deliver a host of well-documented health benefits. Here’s an overview of the many ways these tiny seeds can enhance your wellbeing:
- Rich in antioxidants that combat free radical damage
- Packed with omega-3 fatty acids that reduce inflammation
- Great source of fiber to support digestive and heart health
- Contain more protein than most grains to build muscle
- Help control blood sugar when eaten in moderation
- Provide minerals like calcium, magnesium and phosphorus
- Help maintain electrolyte balance when consumed hydrated
- Give an energy boost due to slow-release carbohydrates
- Support bone health due to calcium and boron content
- Assist in weight loss by promoting satiety
With regular consumption, the nutrients and fiber in chia seeds can lower risks of obesity, diabetes, high cholesterol, heart disease and numerous other chronic health conditions.
Chia’s ability to absorb up to 12 times its weight in water makes it a great choice before exercise to hydrate the body and electrolytes.
So by growing your own chia seeds at home, you ensure a steady supply of this amazing superfood and all it’s incredible benefits!
Growing Chia in Containers
While chia can be grown directly in garden beds, container gardening offers several advantages:
- Allows growing chia anywhere space is limited
- Better control over soil quality and drainage
- Ability to move plants into optimal sun exposure
- Convenience of tending plants close to your home
- Avoid soilborne diseases by using sterile potting mixes
- Keep deer, rabbits and other wildlife from disturbing plants
- Flexibility to start plants indoors and transplant later
When selecting containers:
- Use pots at least 12 inches wide and deep
- Make sure containers have drainage holes
- Choose durable materials like terra cotta, plastic or wood
- Use trellises or cages to support heavy seed heads
- Allow 1-3 plants per 12 inch pot depending on size
With quality potting soil, regular watering, and adequate sunlight, container-grown chia can thrive anywhere from patios to rooftops.
Companion Planting with Chia
Companion planting involves strategically intermixing different plants together in a garden space for mutual benefit.
Certain plants make excellent companions for chia. Beneficial pairings include:
- Radishes – deter pests like aphids from chia
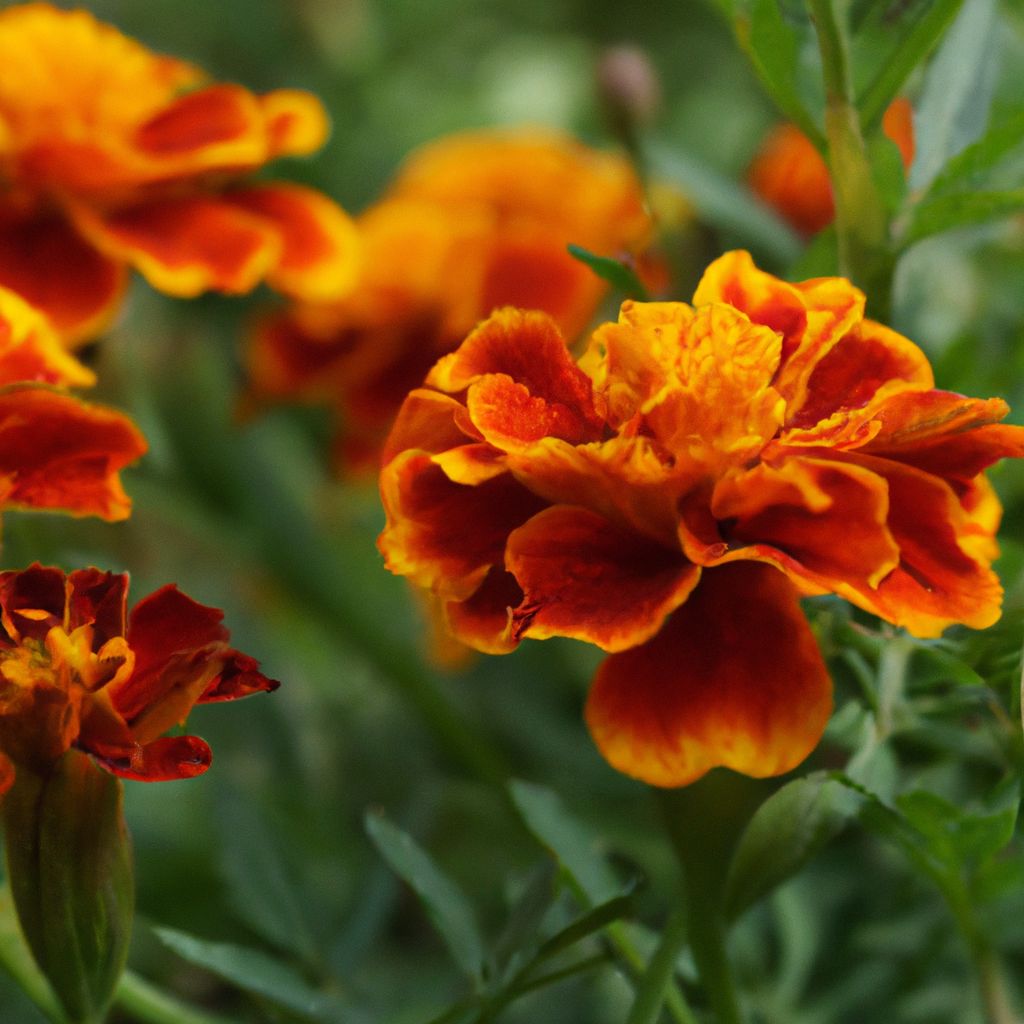
- Marigolds – repel damaging nematodes
- Basil – deters mosquitos and flies
- Borage – improves growth and flavor of chia
- Carrots – masking scent confuses chia’s pests
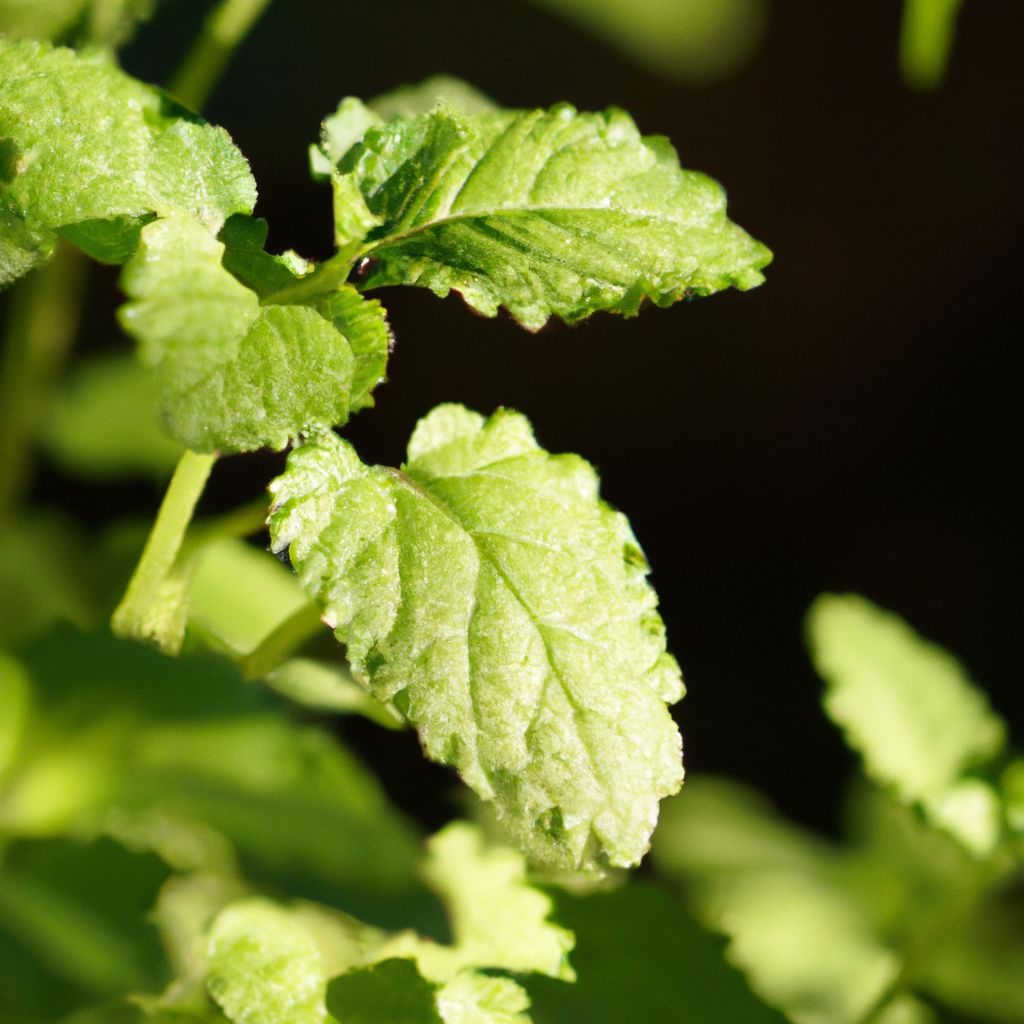
- Peppermint – repels destructive spiders mites
Always avoid planting chia near fennel, sage or rue, as these herbs inhibit chia’s development.
On the other hand, chia makes a great companion for:
- Tomatoes – chia shelters tomatoes and boosts their flavor
- Cucumbers – protects against beetles
- Broccoli – enhances growth and deters pests
- Cauliflower – masks cauliflower’s scent to confuse pests
- Swiss Chard – helps block wind damage
Utilizing these strategic combinations maximizes plant health and productivity while minimizing pests. Try experimenting with companion planting for your chia crop!
Common Challenges When Growing Chia
While relatively unfussy, chia plants can encounter some potential setbacks. Being aware of these common challenges can help you identify and resolve any issues in your crop:
Poor Germination
This is often traced back to the age or viability of the seeds. Always source fresh seeds packaged specifically for planting. Make sure soil is moist and temperates sufficiently warm during the sprouting phase.
Slow Growth
Inadequate sunlight, poor drainage resulting in overwatering, or lack of nutrients can all cause stunted plants. Evaluate sunlight and drainage conditions and amend soil with compost or organic fertilizer to stimulate growth.
Leggy Seedlings
Leggy, weak looking chia seedlings typically indicate a need for more sunlight. Give them optimal exposure right from the start. Transplanting leggy seedlings to “bury” some of the stem can help.
Flowering But No Seed Production
Extreme heat, over-fertilization, overwatering, or insufficient sunlight cause plants to flower but not set seed. Review all growing conditions and adjust as needed to encourage seed development.
Insect Pests
Aphids, spider mites, caterpillars and others can attack chia plants, sucking juices and damaging foliage and seeds. Remove pests by hand immediately. Use row covers, neem oil or insecticidal soap for severe infestations.
Fungal Diseases
Powdery mildew, root or stem rot result from overly moist conditions and poor air circulation. Improve drainage, increase spacing between plants, and remove infected material promptly.
Don’t let potential issues deter you. With attentive care and swift troubleshooting, your homegrown chia crop will prosper and provide an abundant harvest.
Reap the Benefits of Homegrown Chia
Growing chia seeds at home is an easy and extremely rewarding endeavor for gardeners of every skill level. These nutritious seeds bursting with protein, omega-3s and antioxidants can be grown successfully with minimal equipment, space, or prior experience required.
With proper care given to planting preparation, sunlight, water and fertilization needs, chia will generously reward the home grower with an ample supply of fresh, organic superfood seeds. Avoid pests, diseases and other pitfalls by following sound growing practices.
Before you know it, you’ll be harvesting thousands of crunchy, flavorful seeds that can be enjoyed in smoothies, salads, baked goods and more. Plus you’ll gain the satisfaction and pride that comes from nourishing yourself with chia seeds grown with your own hands.
So why not give homegrown chia a try? With this complete guide, you now have all the knowledge needed to cultivate chia from seed to pantry. Reap the benefits for health, taste and sustainability that only homegrown chia can provide.


